
Frenching in Jeep TJ LED tail Lights
A lot of 1980 – 2006 Jeep owners HATE the stock wrangler tail lights. They are literally basic trailer lights, don’t look great, and have a tendency to get broken on the trail.
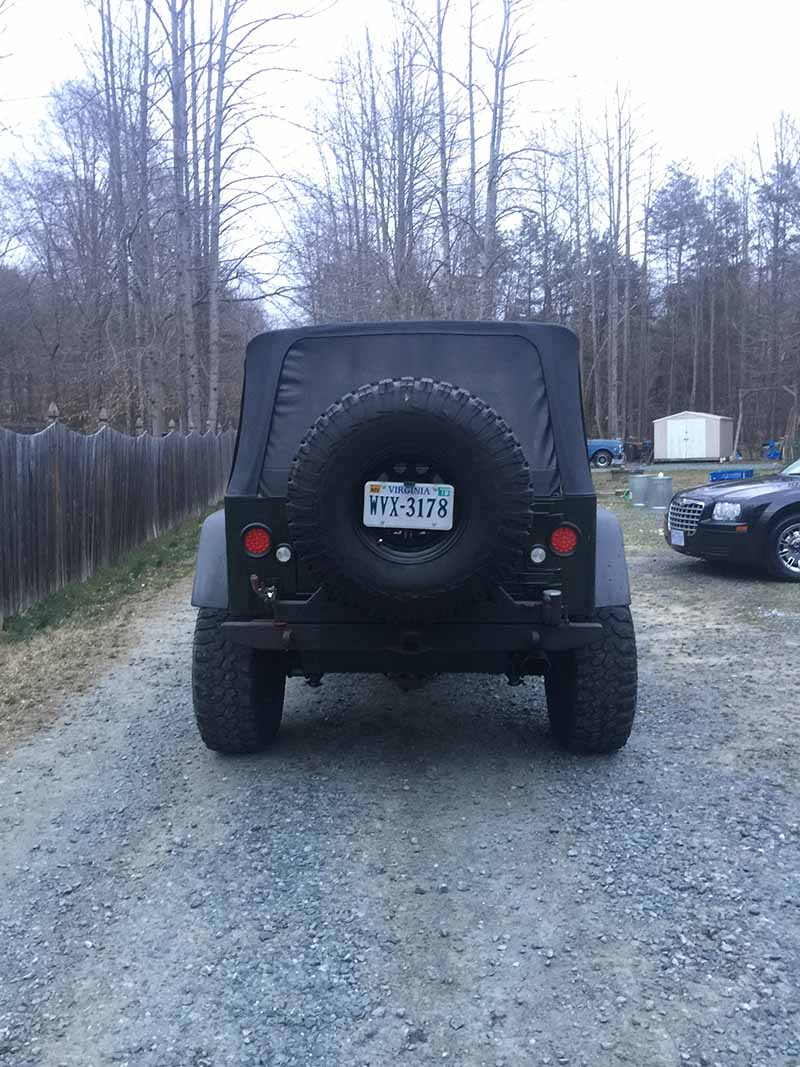
For all those reasons, the owner of this 1997 TJ asked us to do a “Frenched” in conversion with some DOT legal tail lights, put in brighter LED reverse lights, and made it all look like a factory job.
Tools we used:
- 4.25″ Hole Saw
- 2.75″ Hole Saw
- Soldering Iron
- Digital Multi-Meter
- Framing Square
- 1/2″ high torque drill
- Heat Shink Tubing
- 2 Self Tapping #12 stainless screws
- Spray paint


Basic Installation Guide –
Step 1:
Unplug the Battery
Step 2:
Remove the 4 screws holding on the stock tail light covers, then remove the stock bulbs, and the three retaining screws that hold the tail light housings to the Jeep.
Step 3:
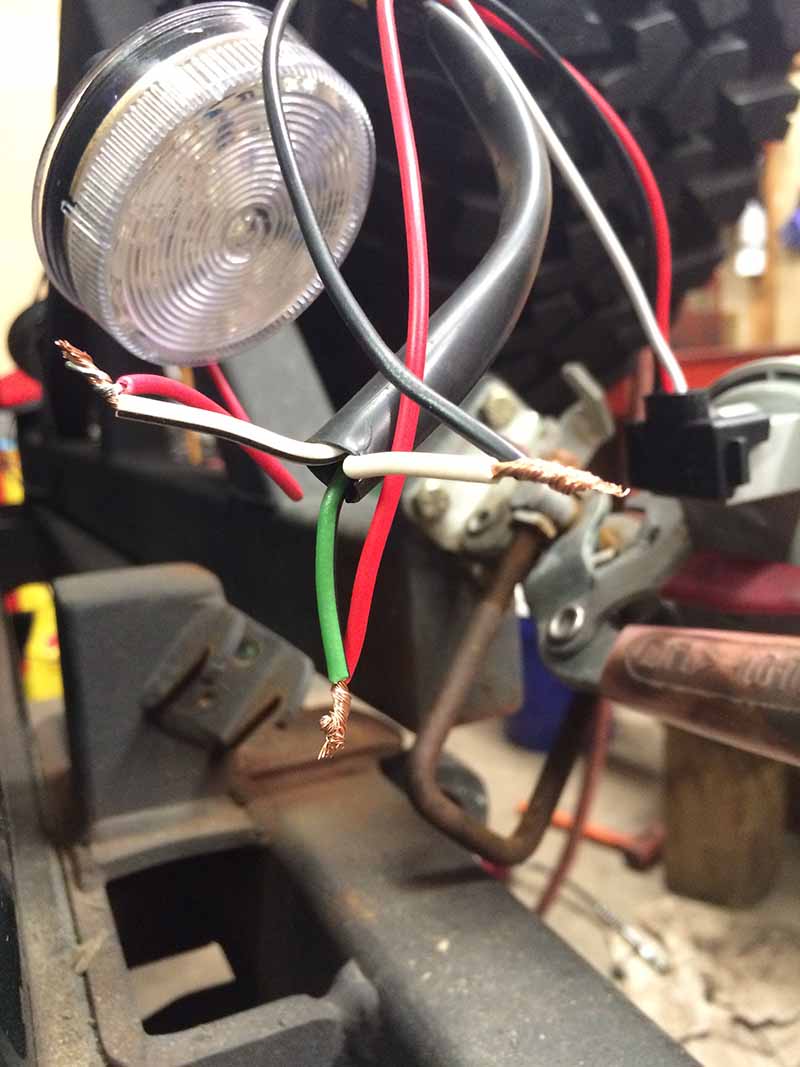
Un-Plug the factory harness, and using a Multi-Meter determine which wires do what. There should be a lights on 12V hot (running lights), a switched 12V (turn signal/brake), and a switched constant 12v (reverse). The systems ground through the housing.
Step 4:
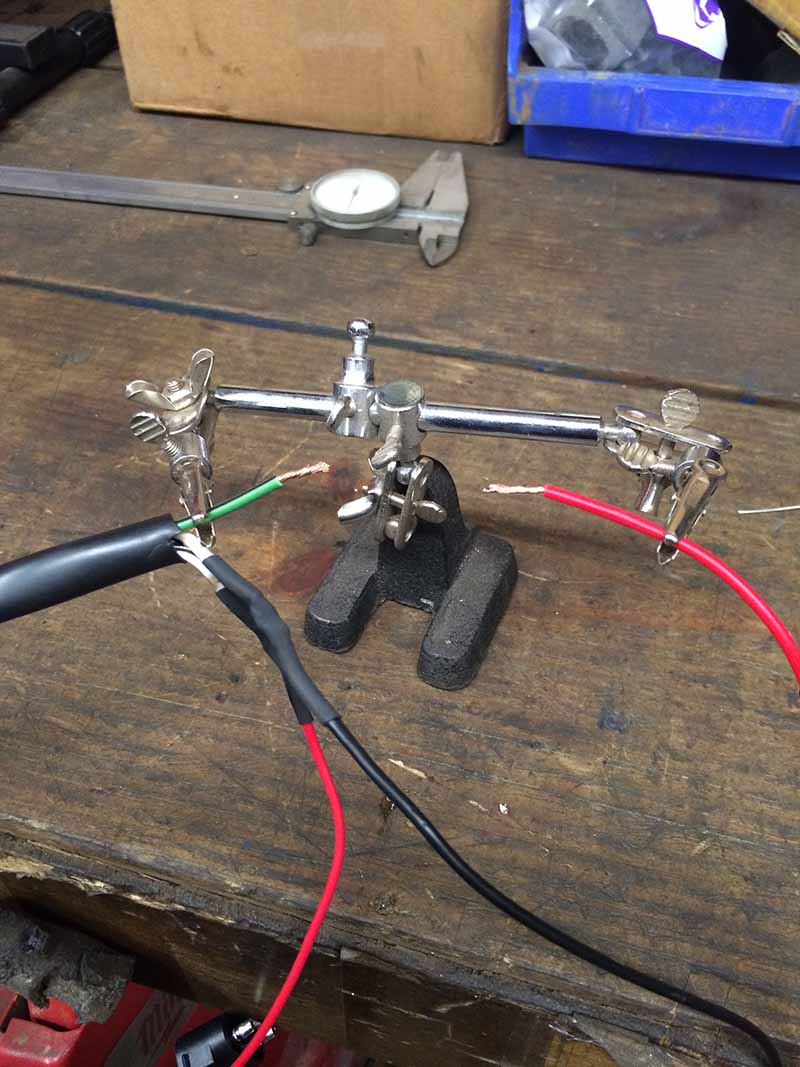
Test the circuit by twisting the connections together and testing all functions. Once that is correct cut the factory harness, and solder then heat shrink the appropriate wires from the lighting pigtails to their partners.
Step 5:
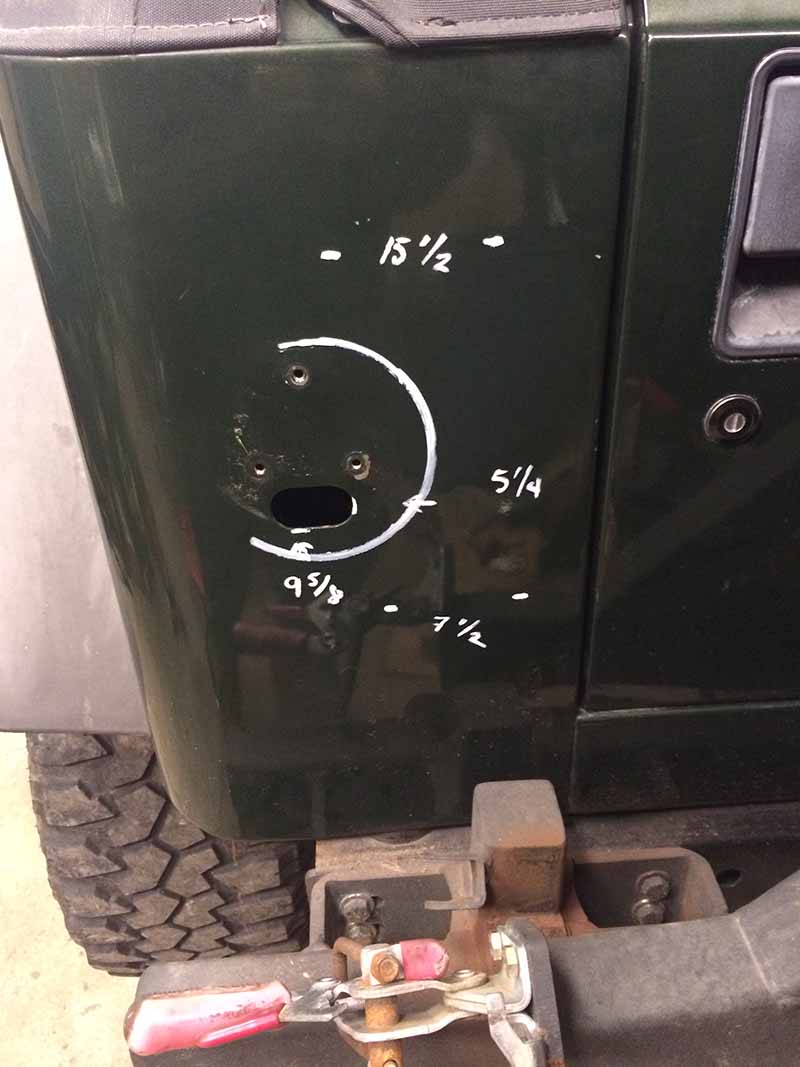
Locate the drilling center points for both brake and reverse lights, and ensure that they are the same on both sides. Start with the hinge side, since it is space limited, then transfer those measurements to the driver side. Next place masking tape on the body around the areas to be cut. This prevents metal shards from scratching the paint.
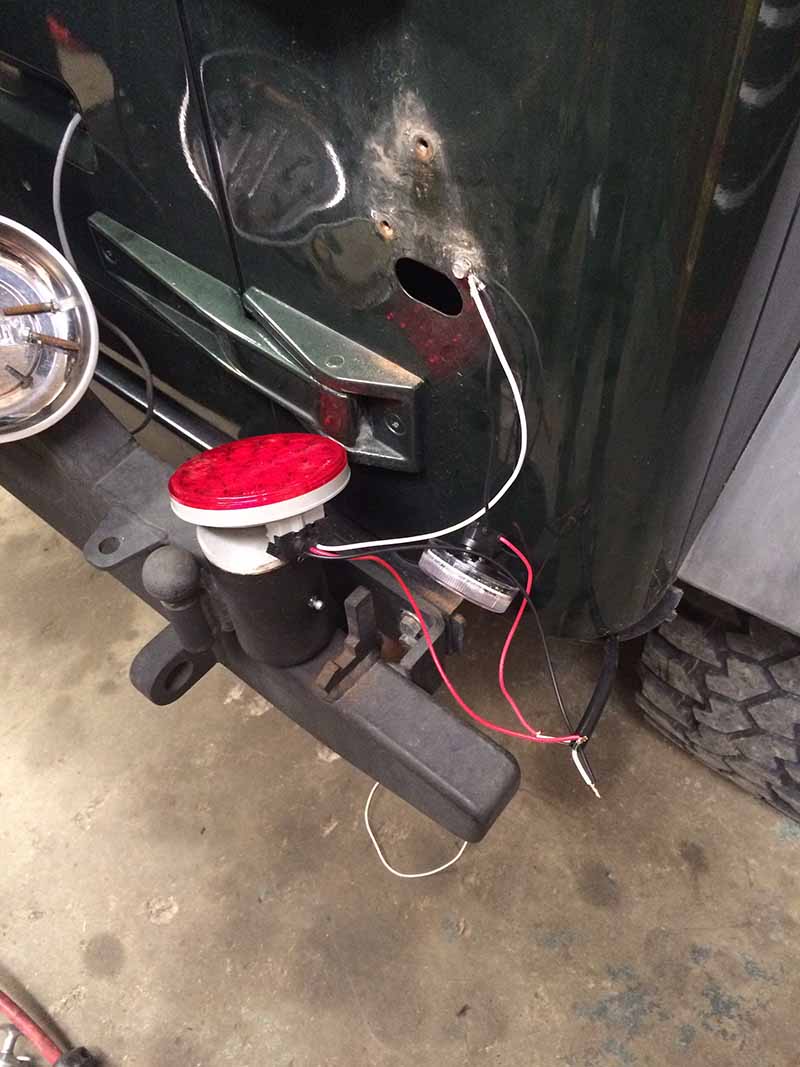
Cut 4 beautiful holes in the Jeep. Then file the cut edges to remove any sharp areas.
Step 6:
Mask off and paint the cut surfaces and allow to dry for approx 20 min.
Step 7:
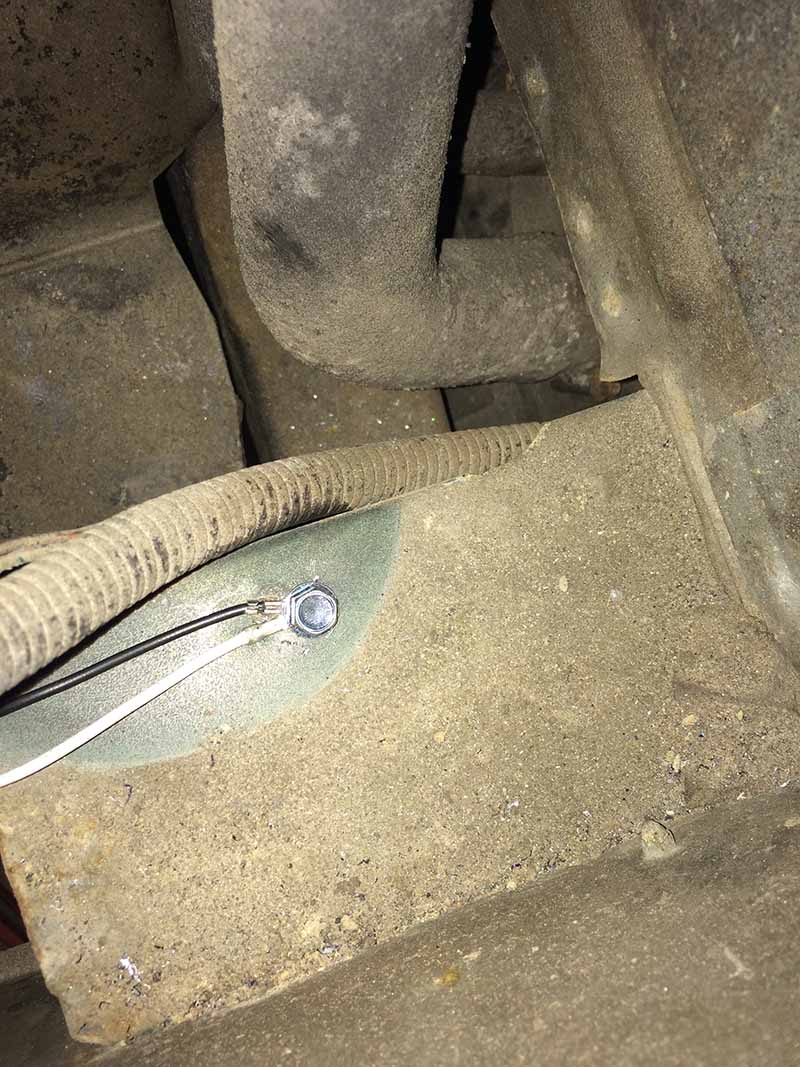
Using the self tapping screws install the ground onto the body braces behind the factory tailgate. Make sure you clean the areas to ensure a good ground.
Step 8:
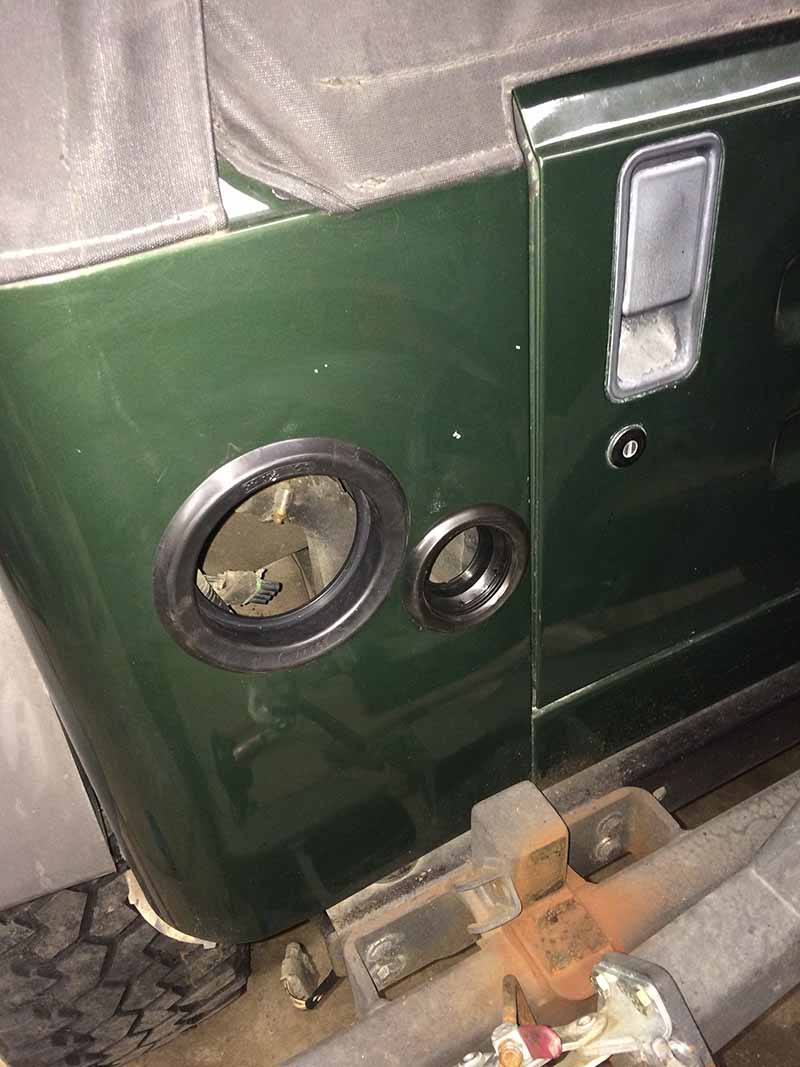
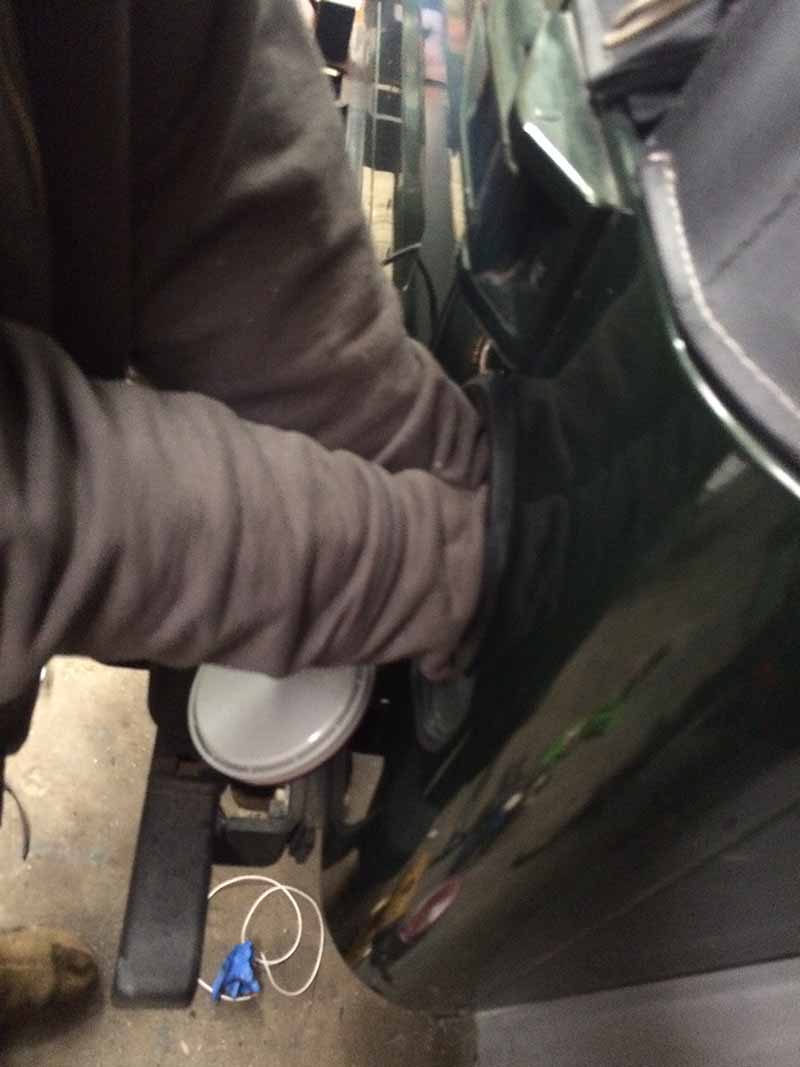
Install the grommets, and spray with windex (This will help the light housing slide into the grommets easier). Connect the wiring harnesses, and then press firmly with the palm of your hand, starting the lights at an angle, then working your way around until they sit flush in the housing.
Step 9:
Install the new flasher relay into the receptacle under the dashboard.
Step 10:
Test all light functions, running lights, turn, hazards, and reverse… and you’re done!
Its approx a three hour install, and not too difficult assuming you have all the right tools, and aren’t afraid to cut 4 pretty large holes in the body of your Jeep.

Want us to install a set for you?
If cutting holes in your Jeep makes you nervous, and you would rather let the experts do it, thats what we are here for, just give us a call to set up an appointment today!