
If you are performing a 1 piece axle swap we have assembled the following how to guide, by modifying and adding to the Randysworldwide.com instructions with photos, additional info, and a few tips that make this job a snap.
Their pdf can be found here ===> M20 1-Piece Axle Kit Instructions (1219 KB)
——
Instructions for Jeep CJ5, CJ7 &CJ8
DISSASEMBLY:
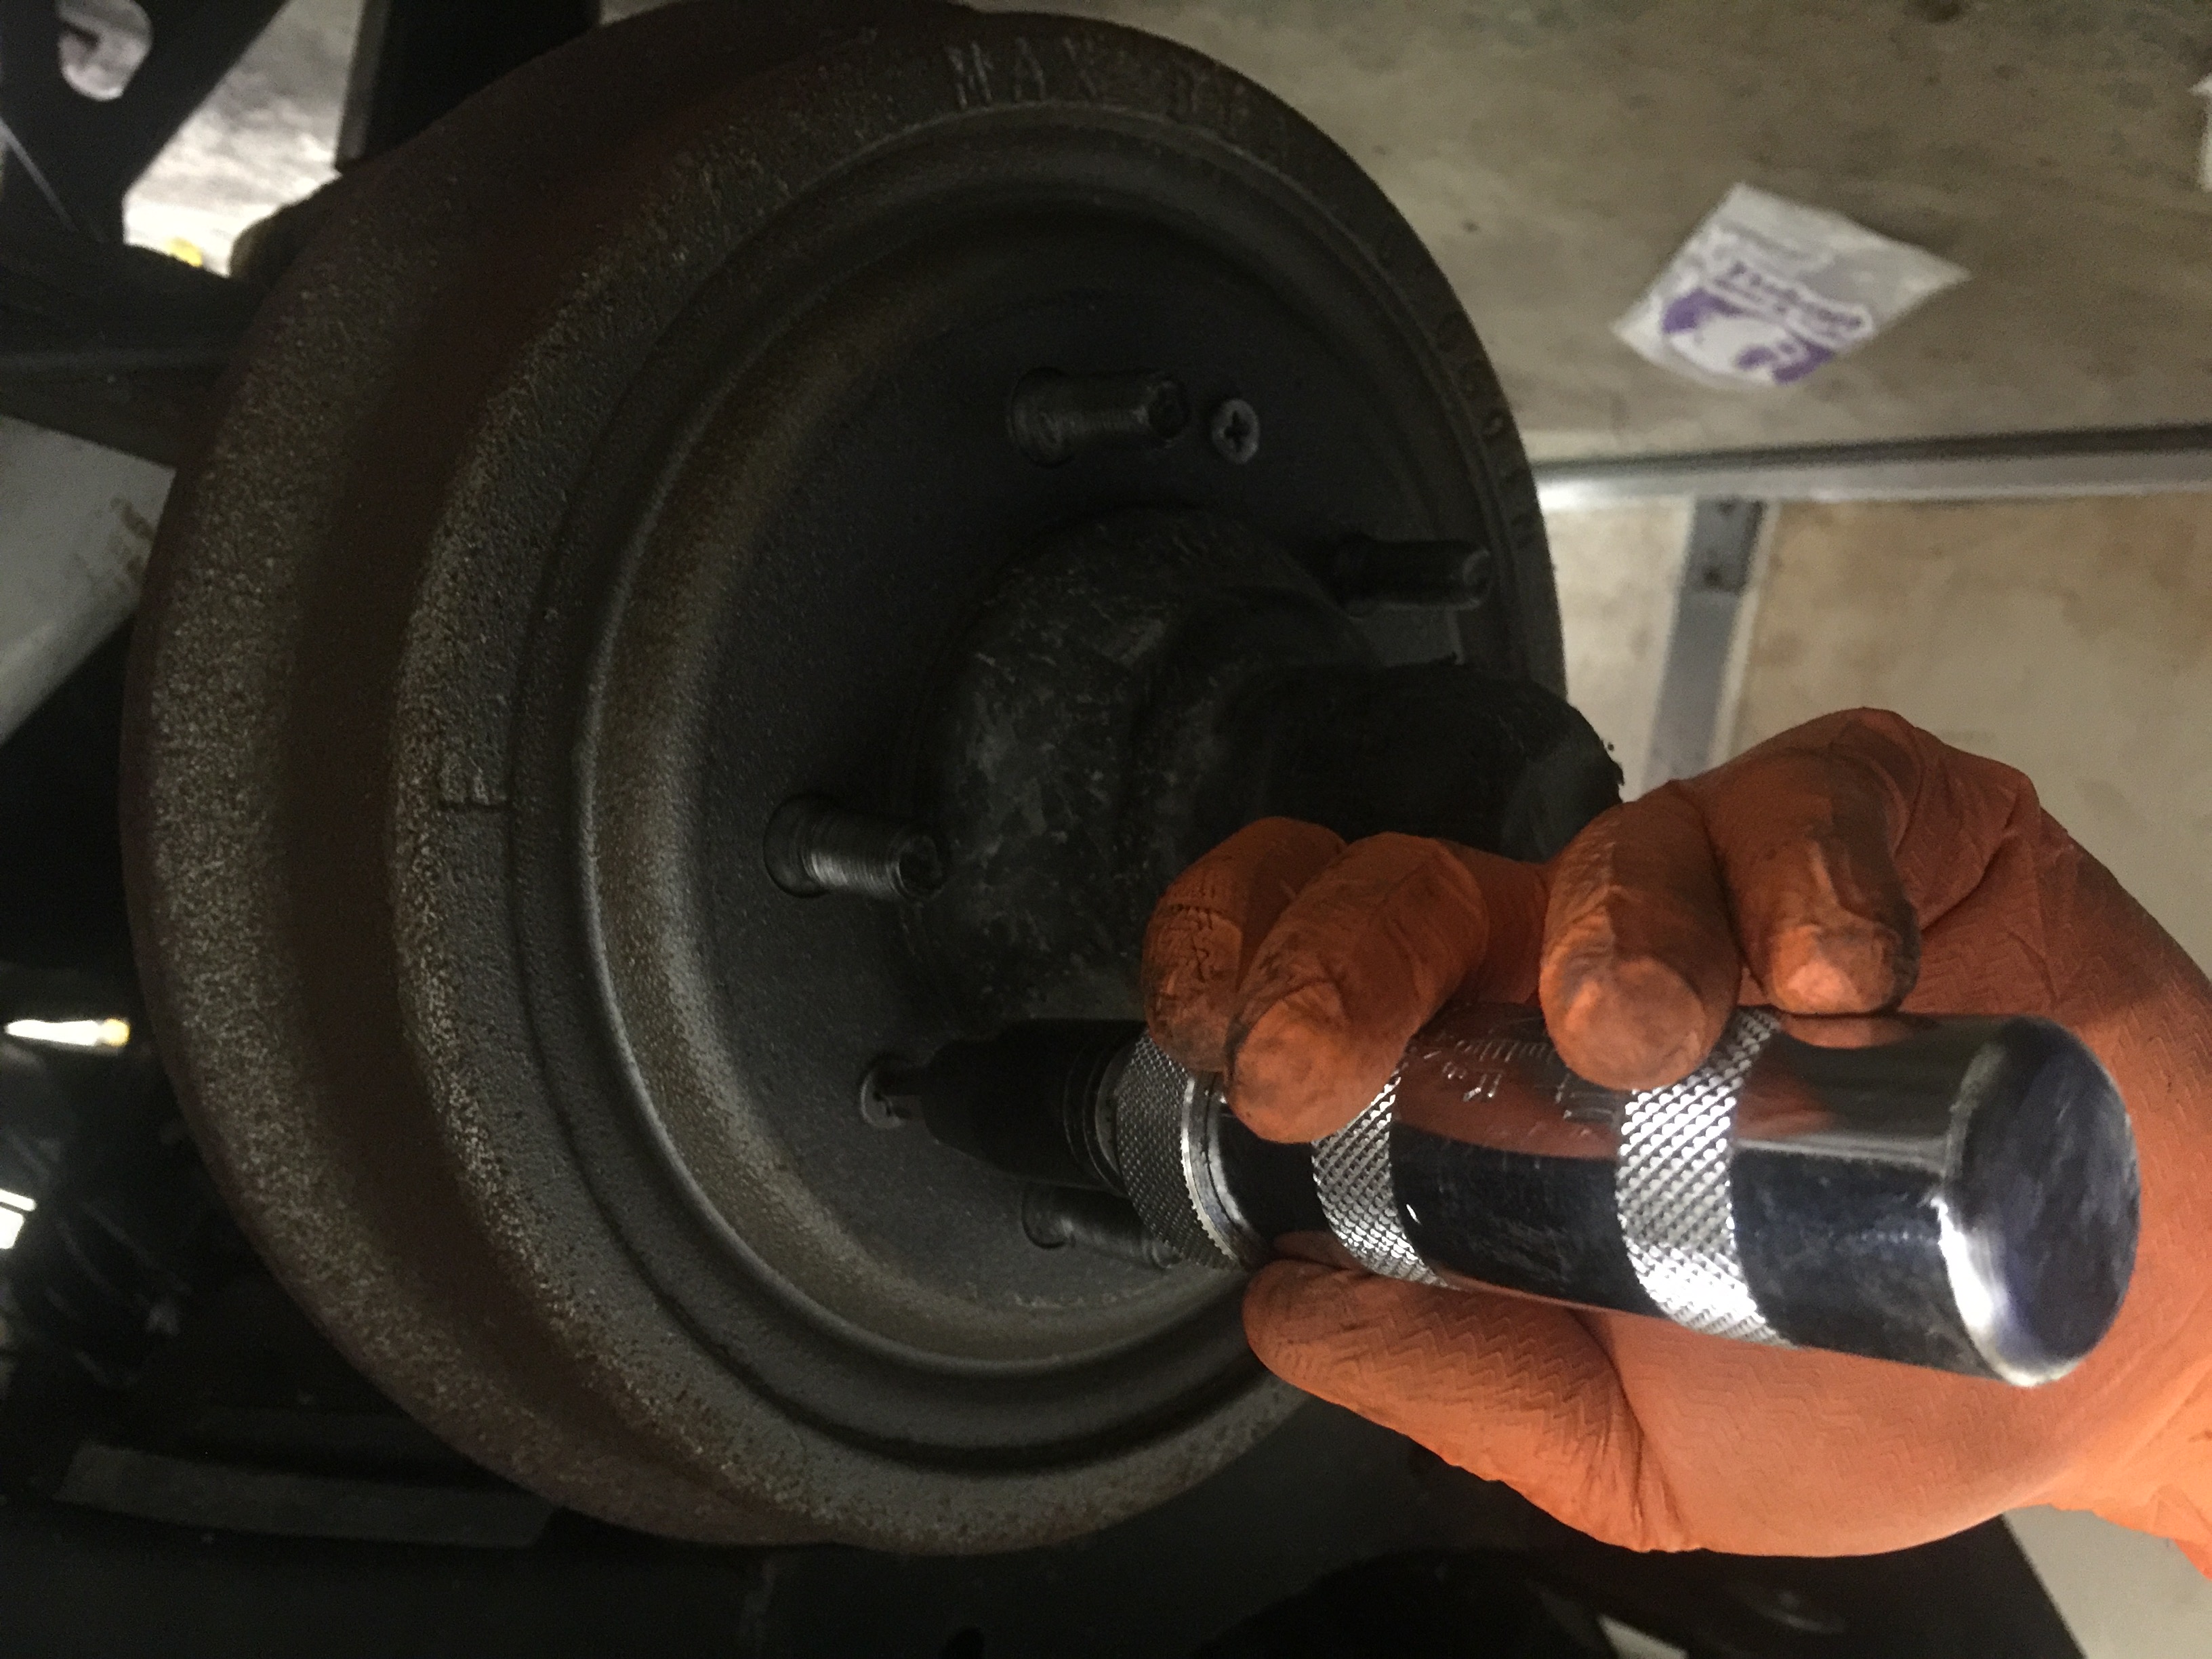
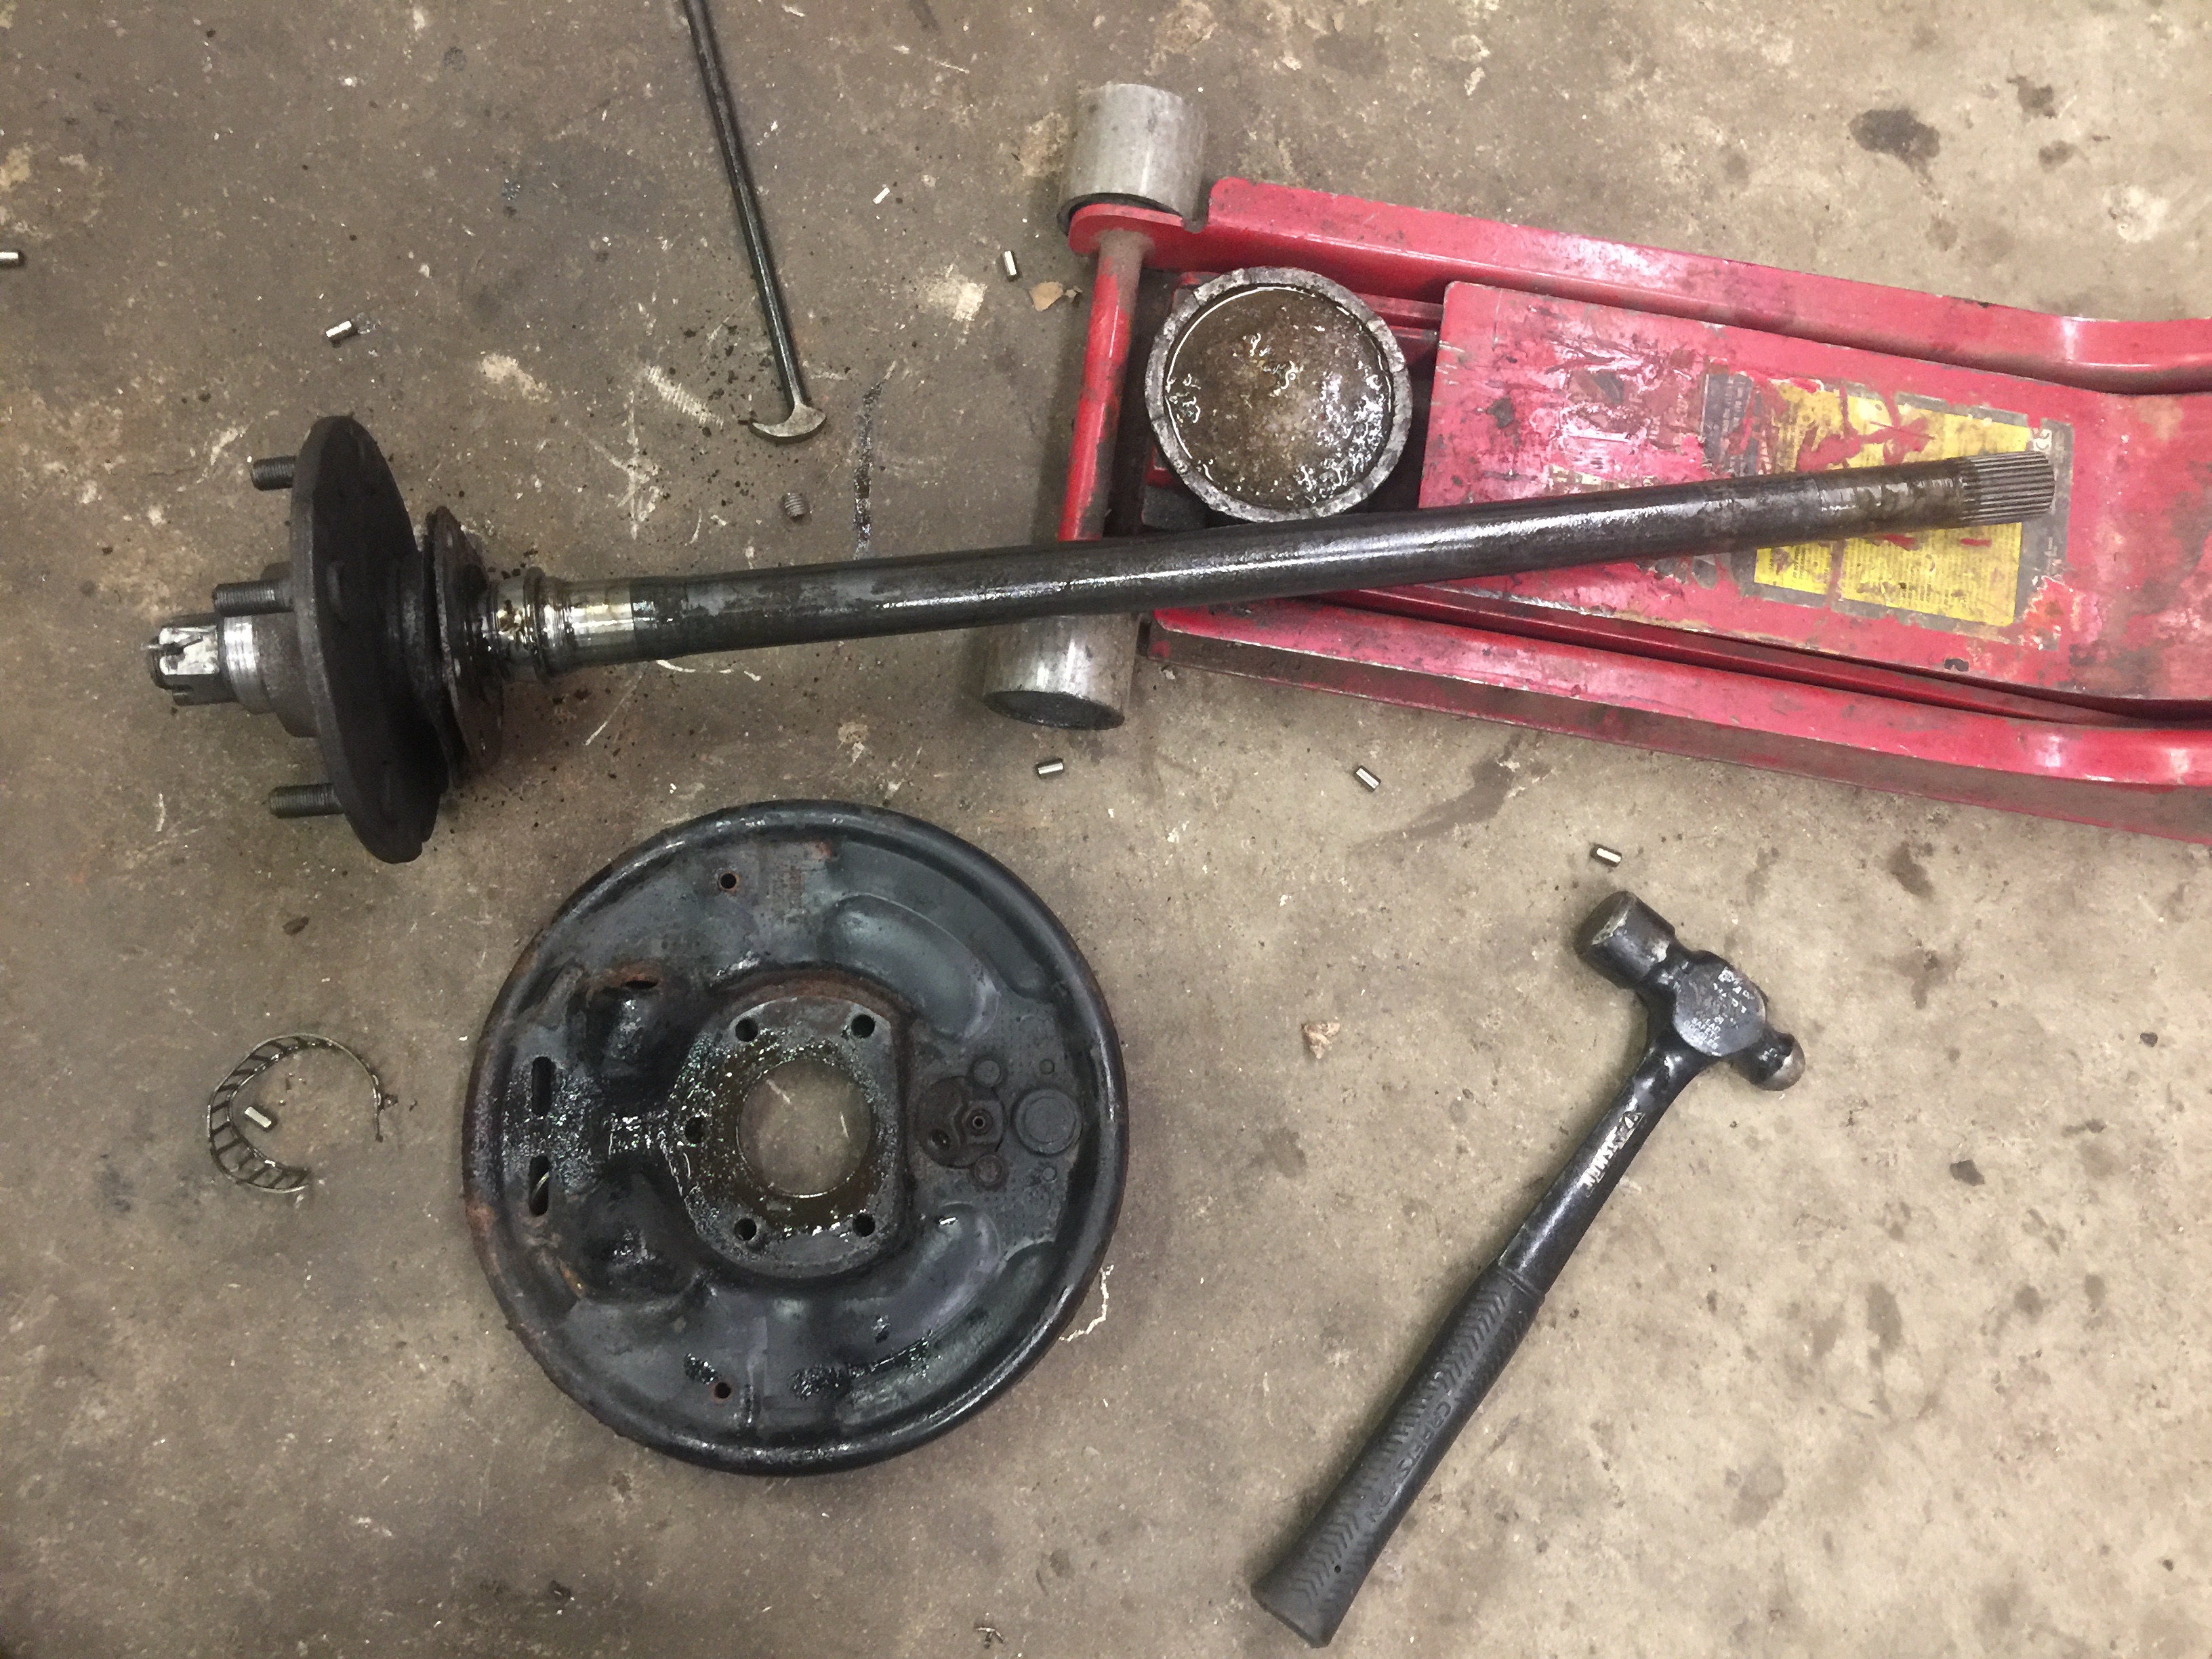
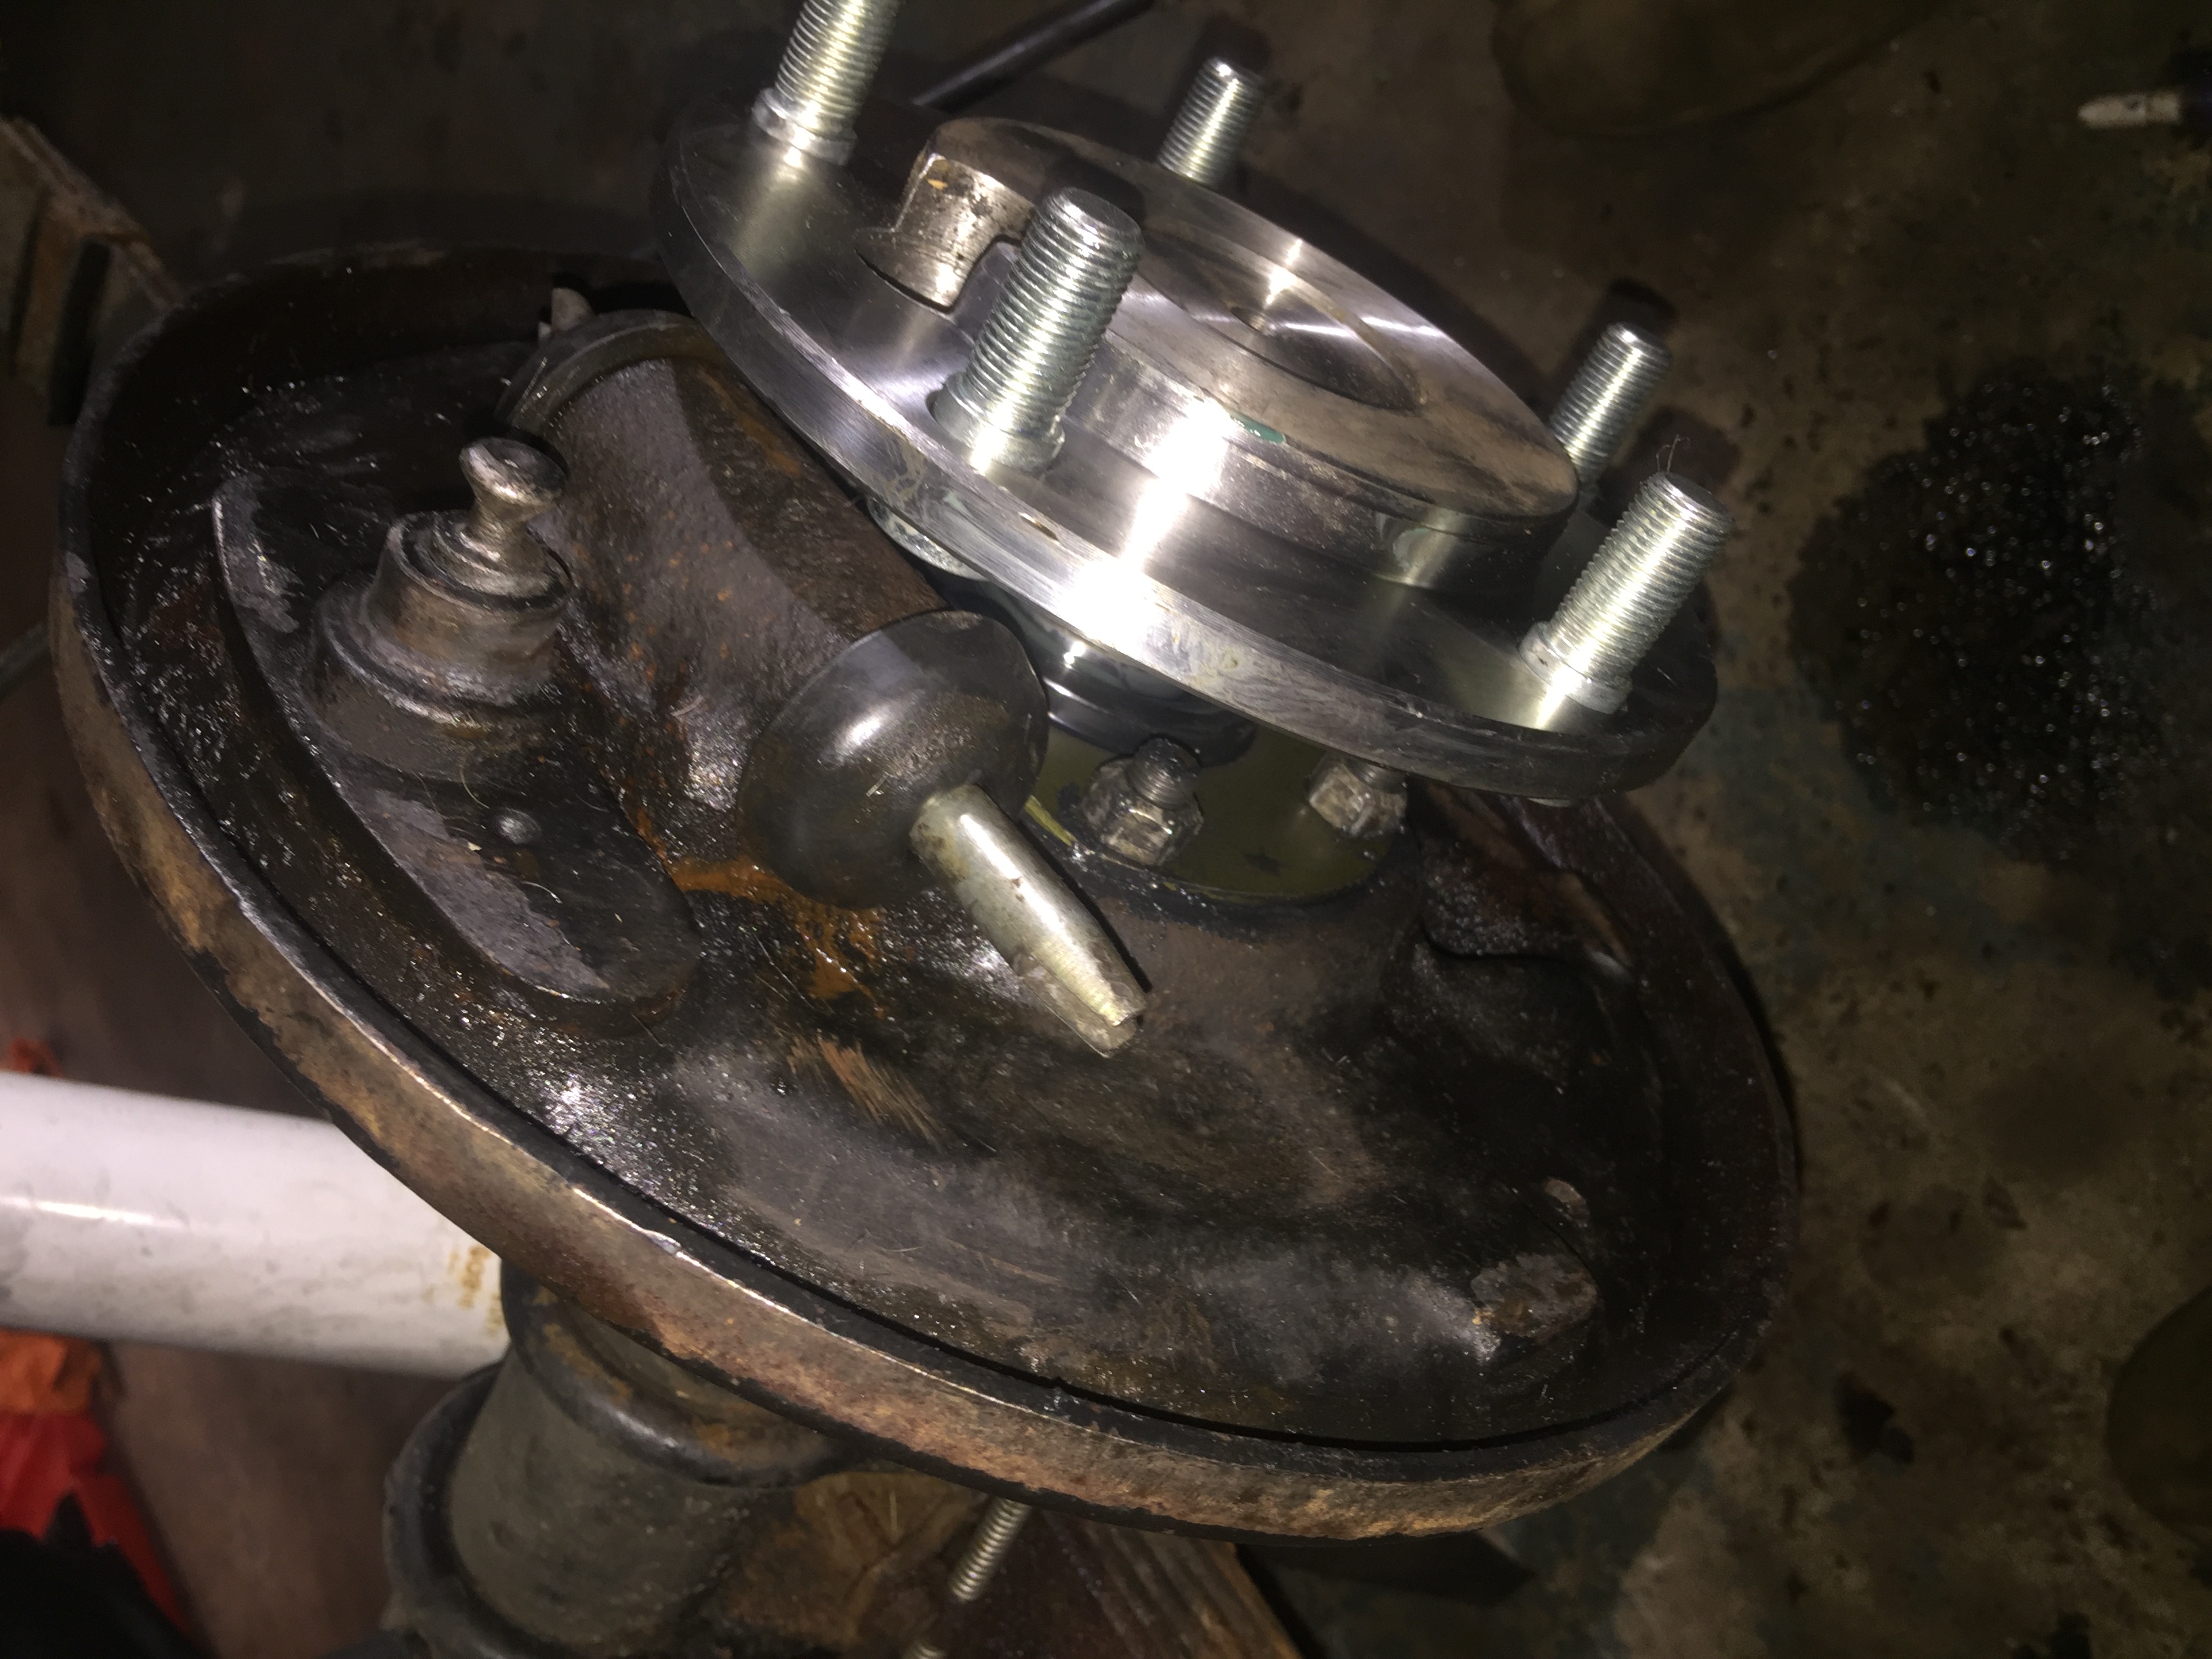
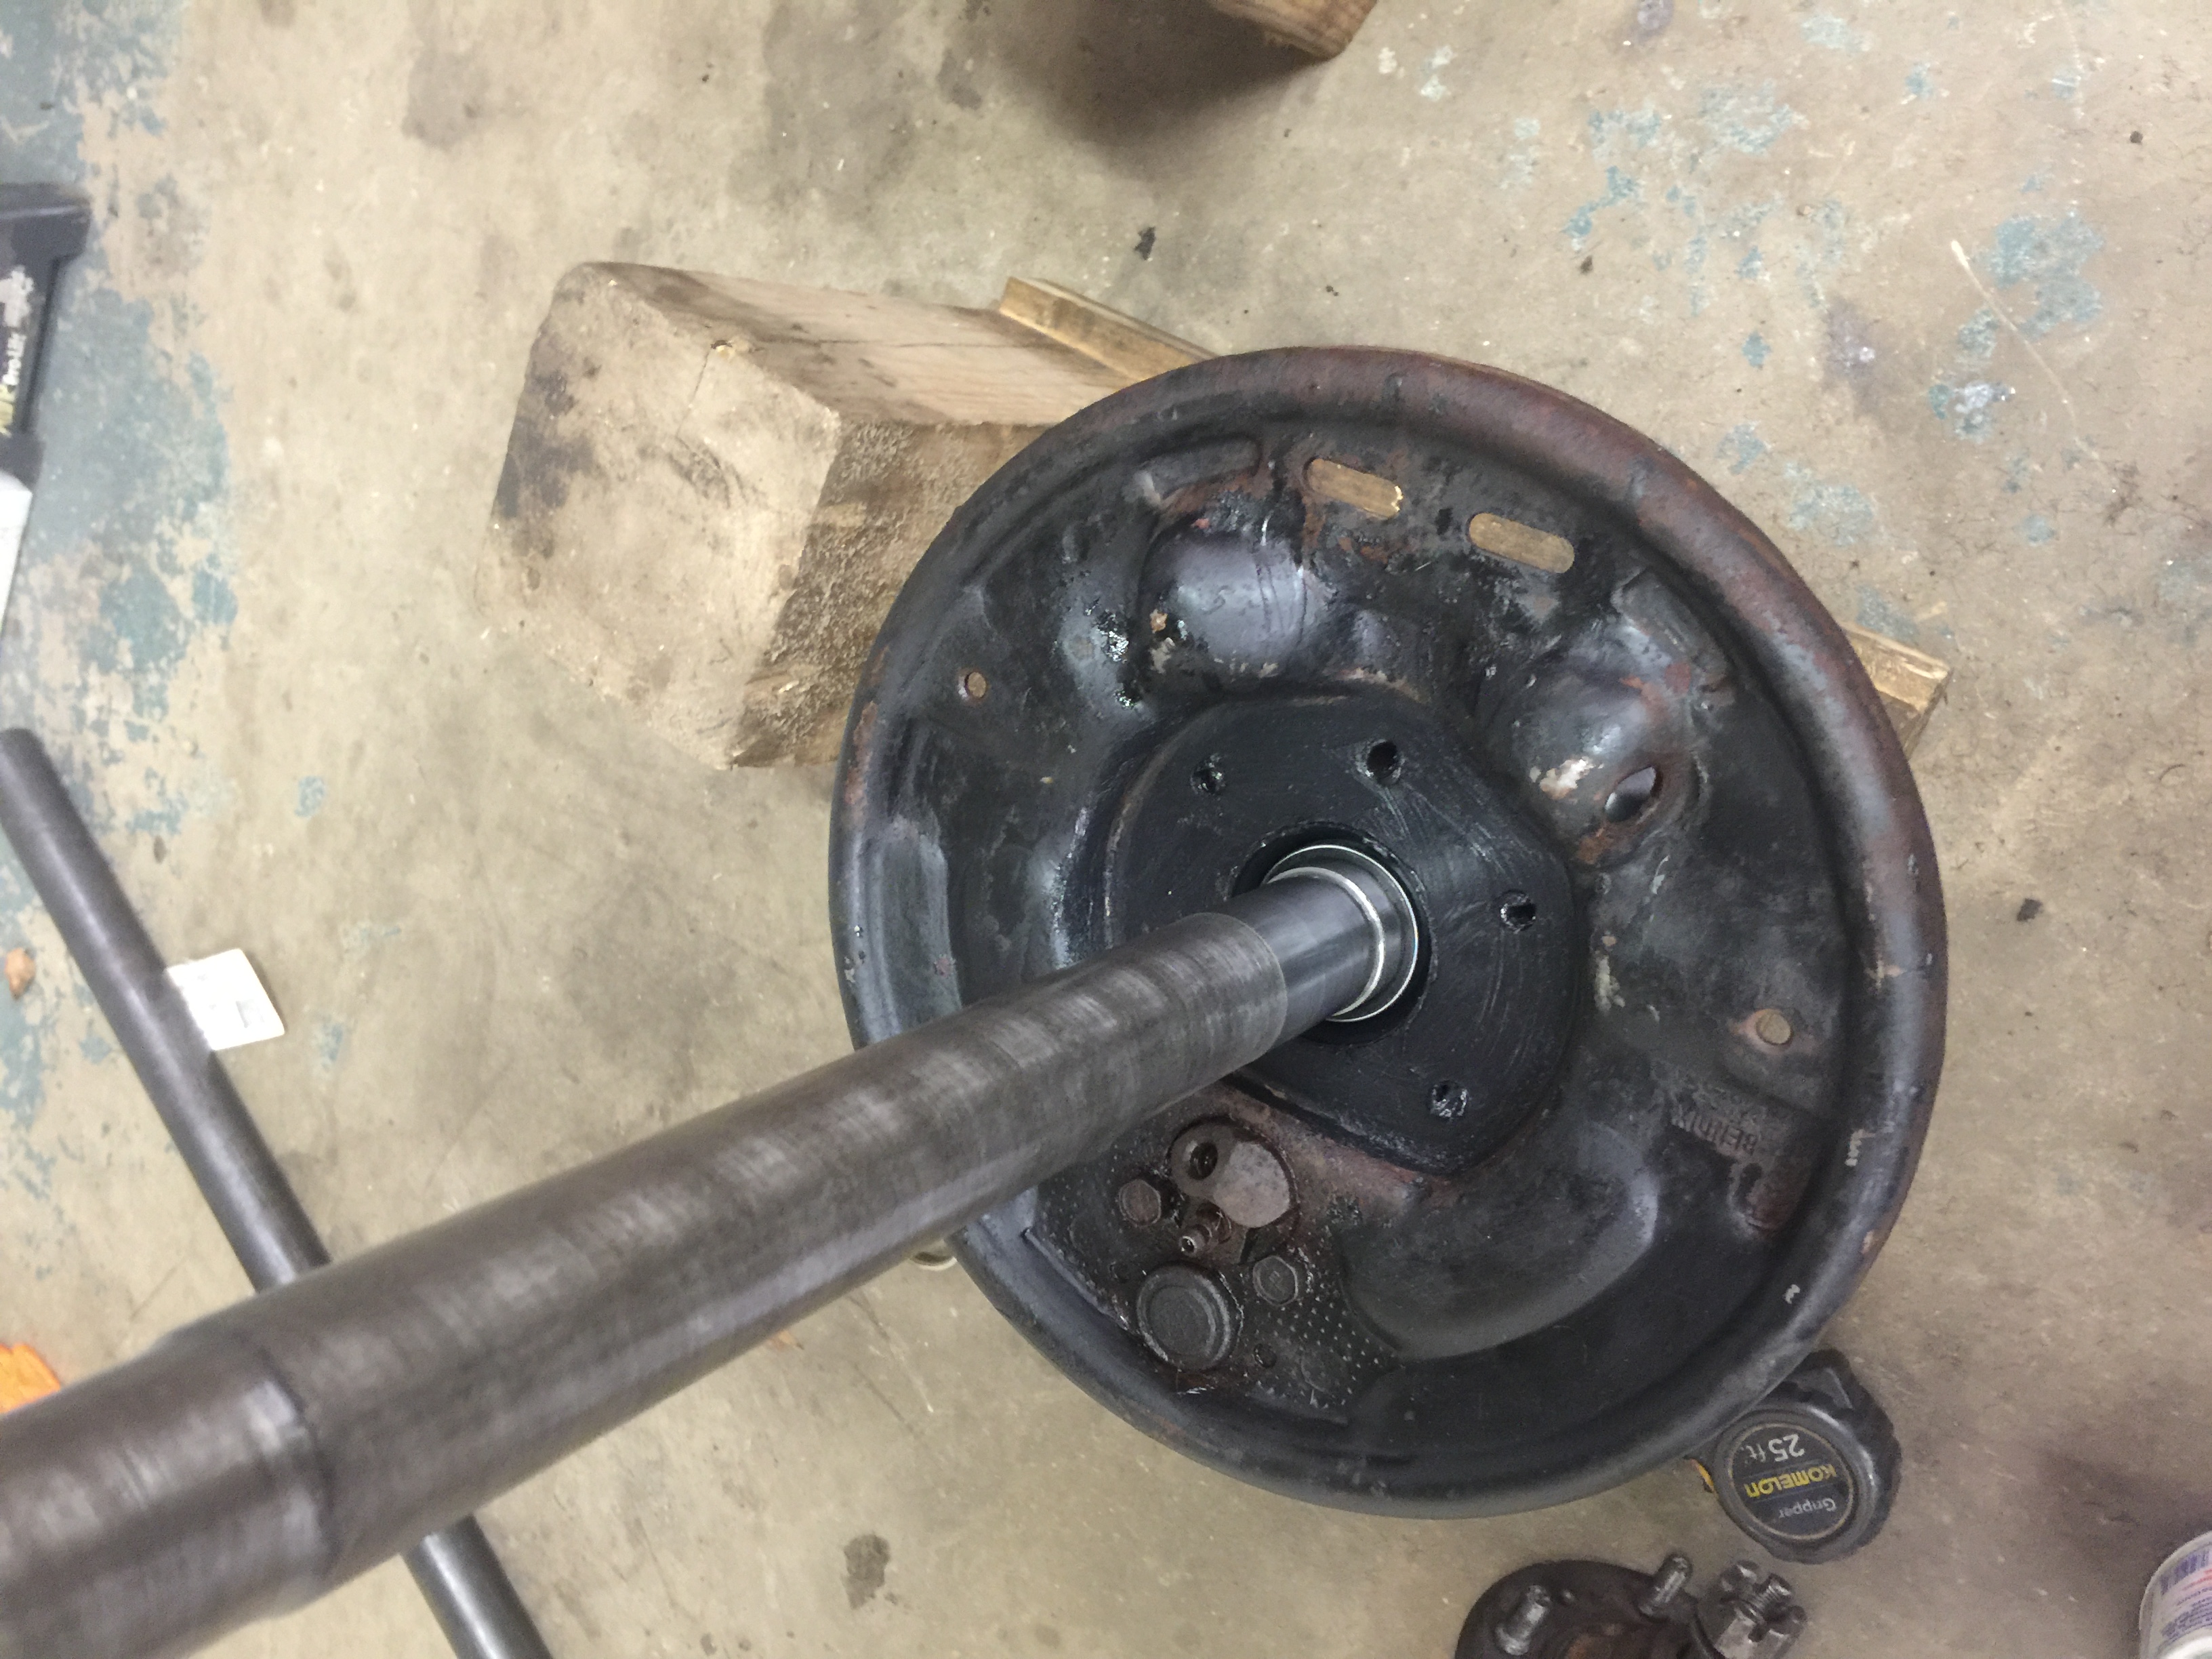
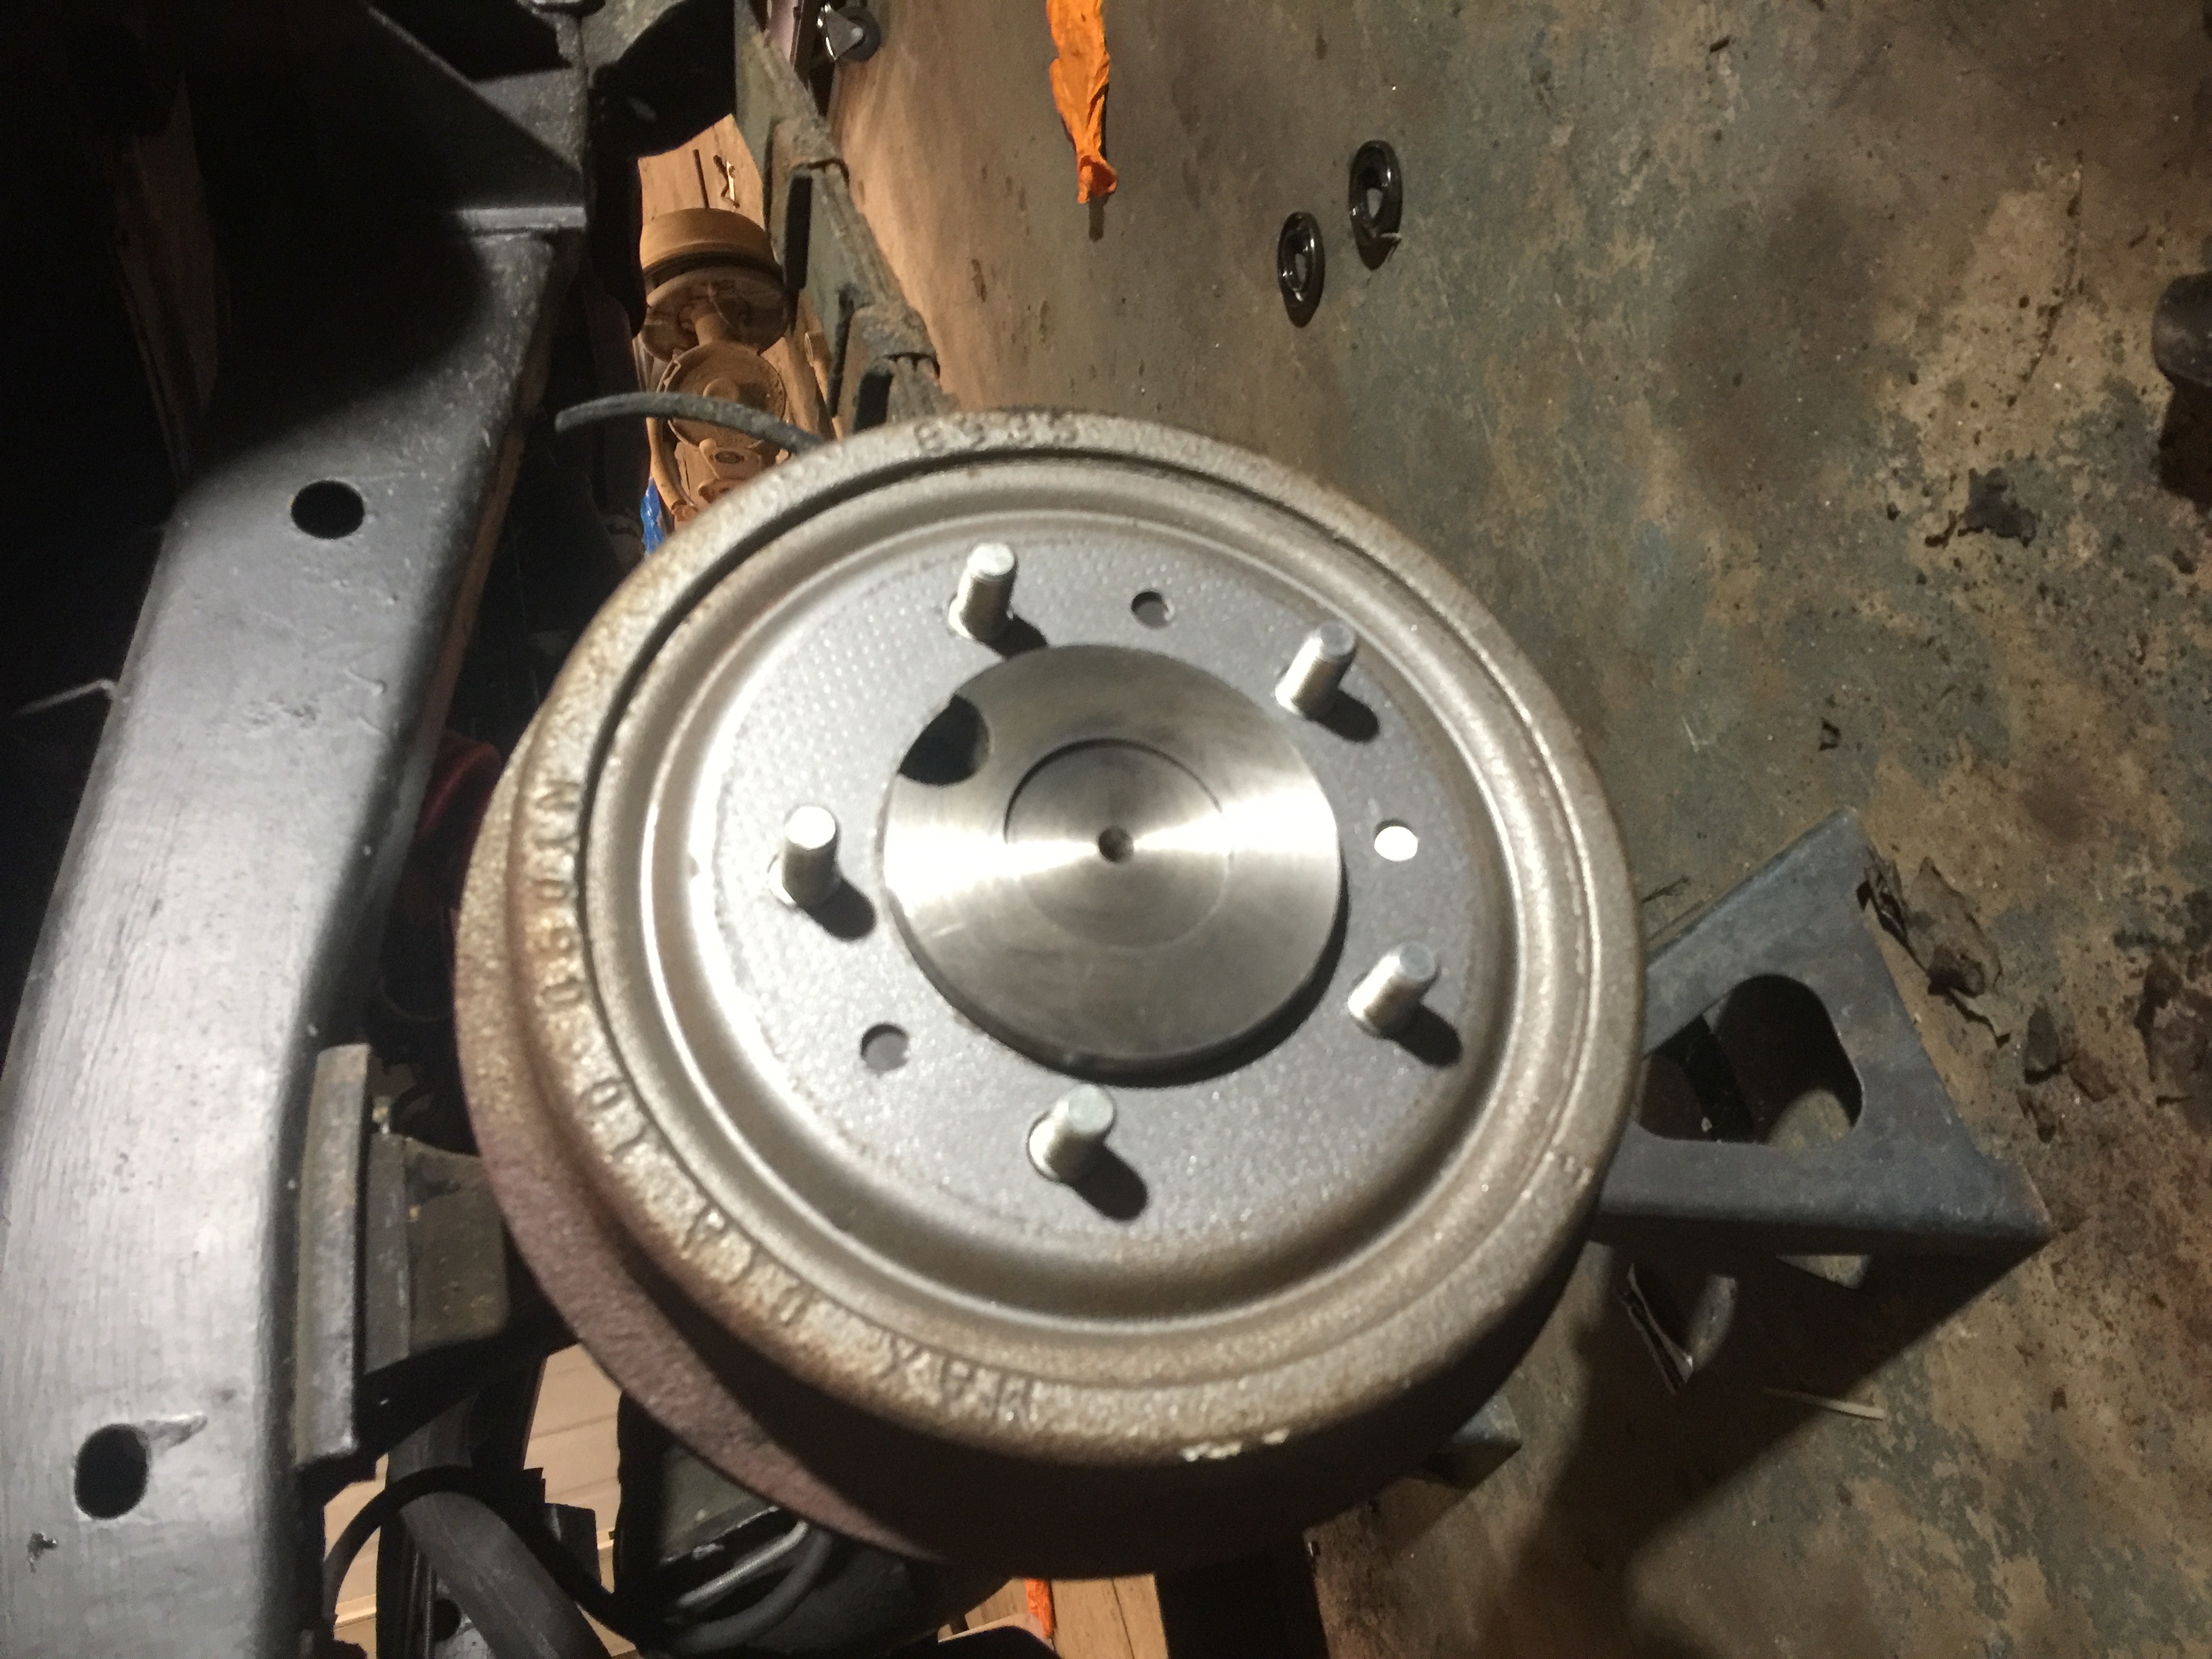
1.) Using an impact driver remove the drum retaining bolts, then remove the axle nut cover, and the brake drum.
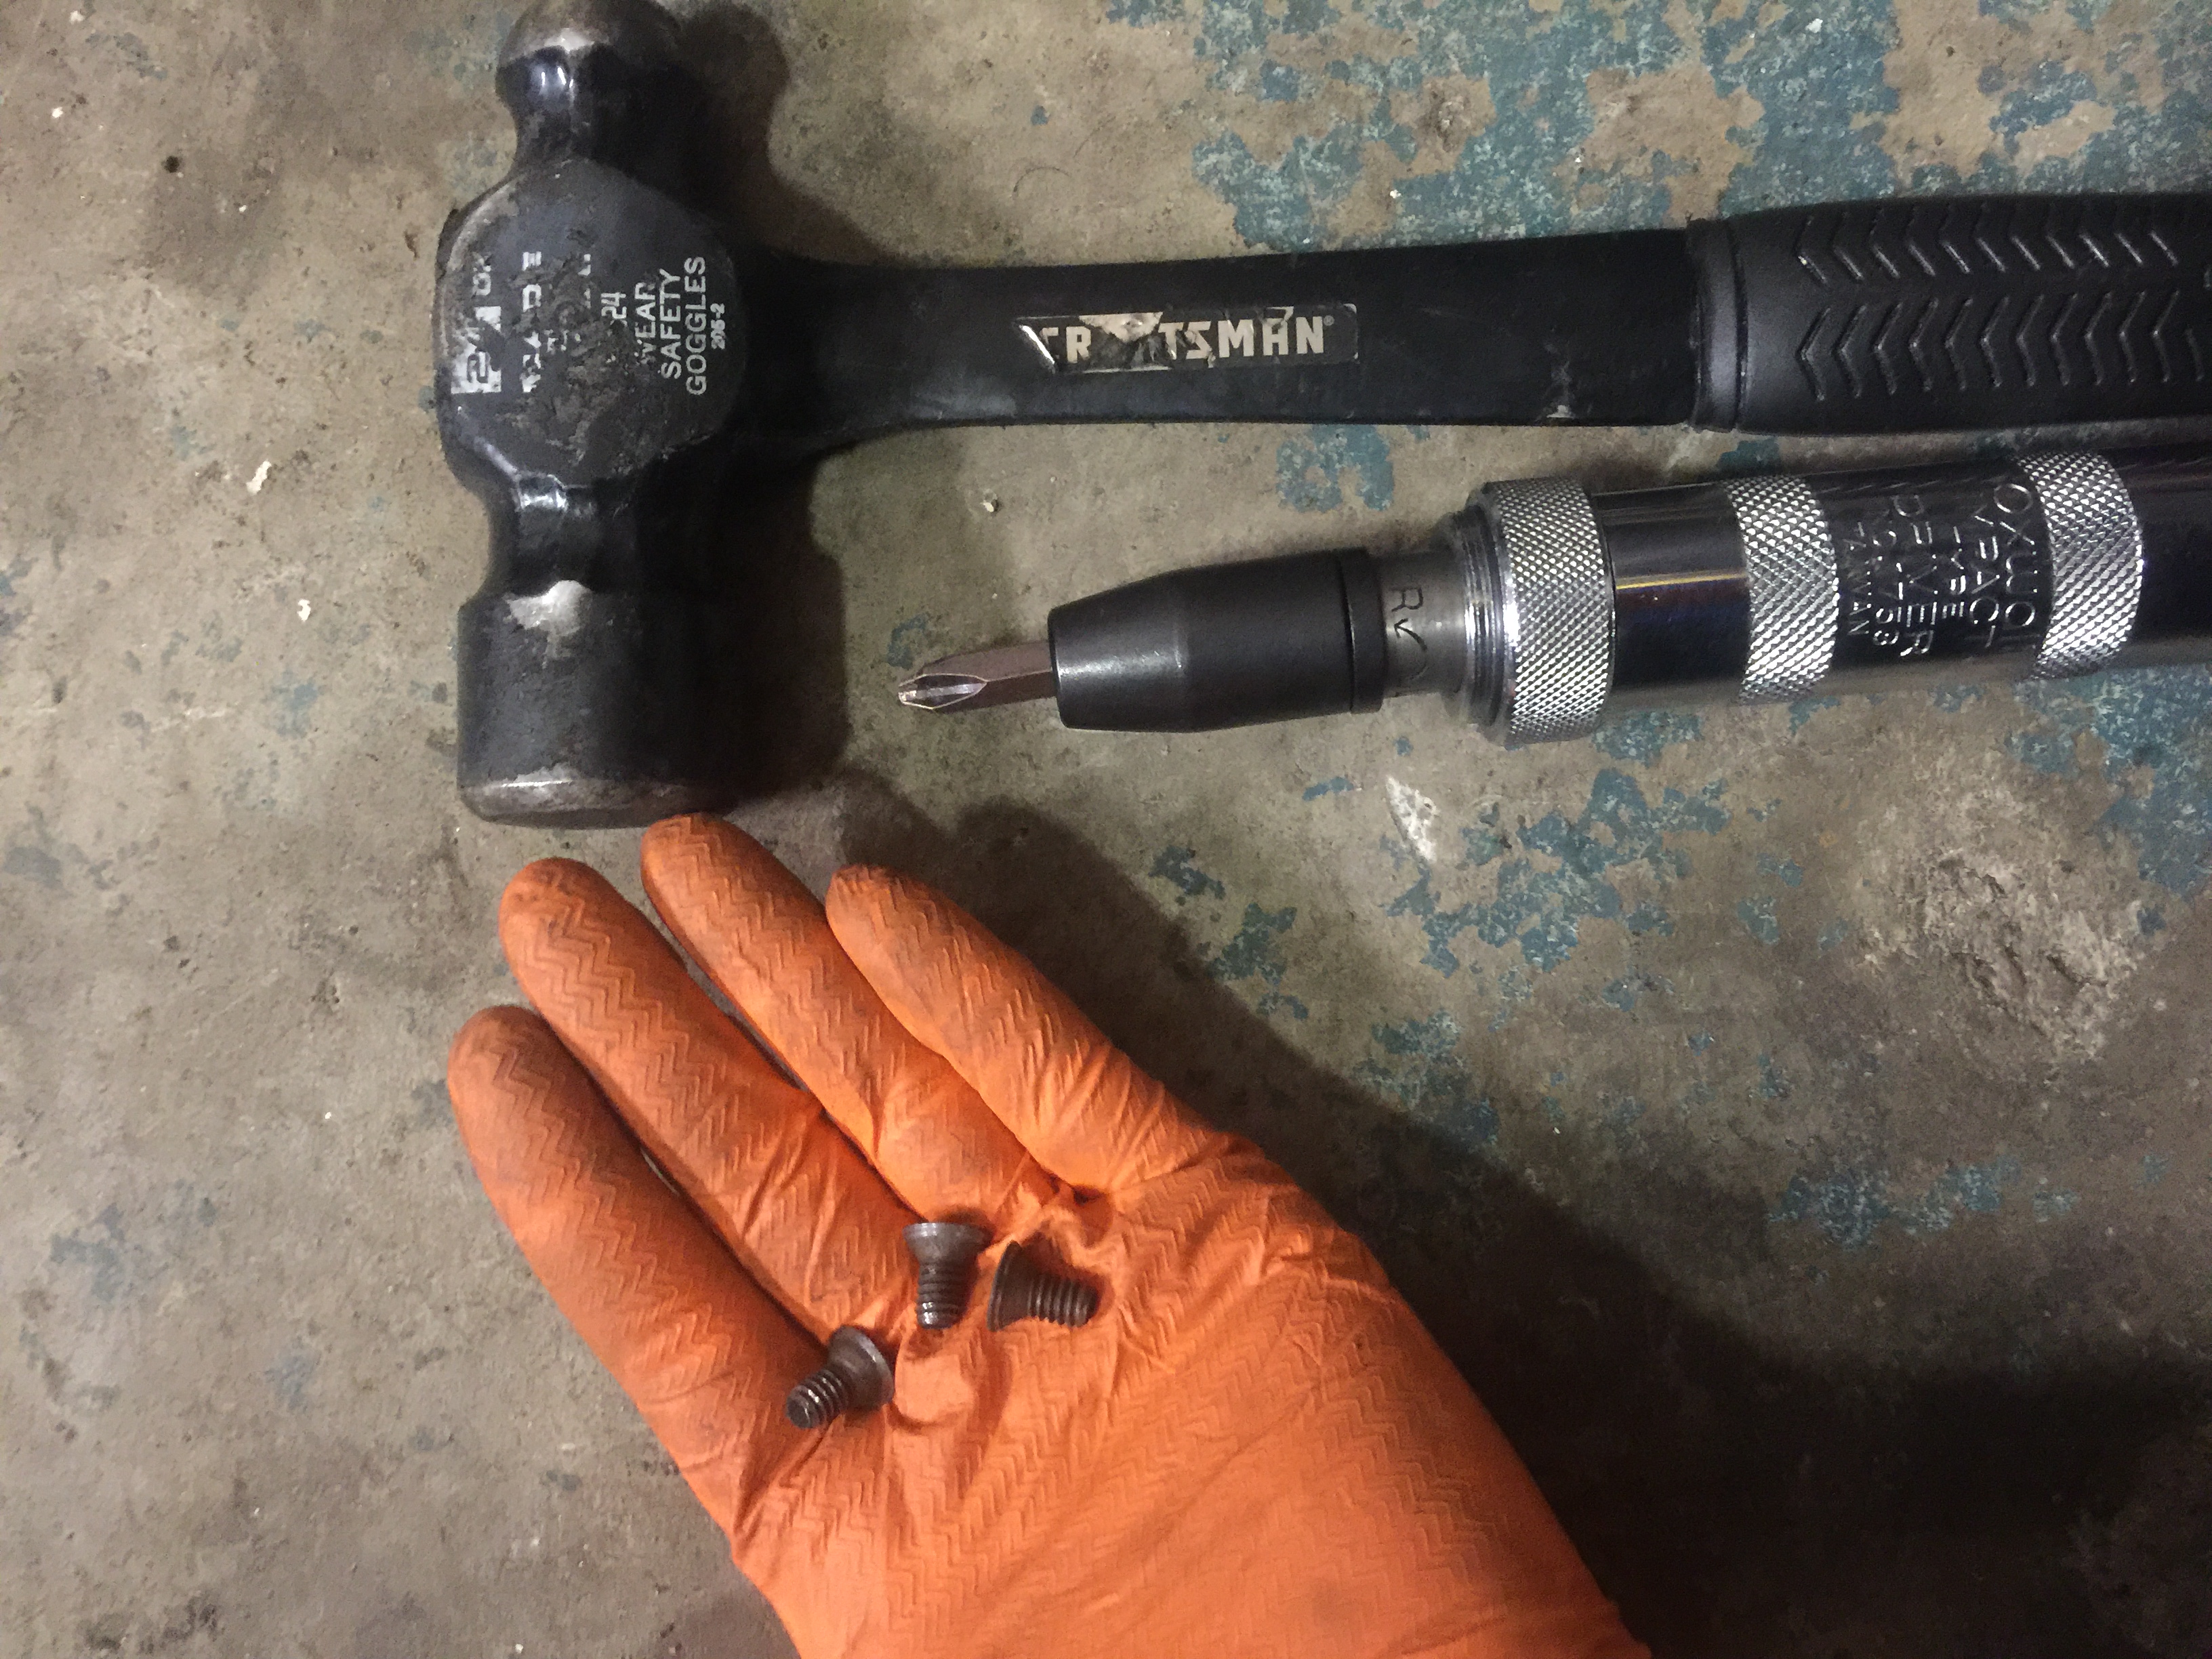

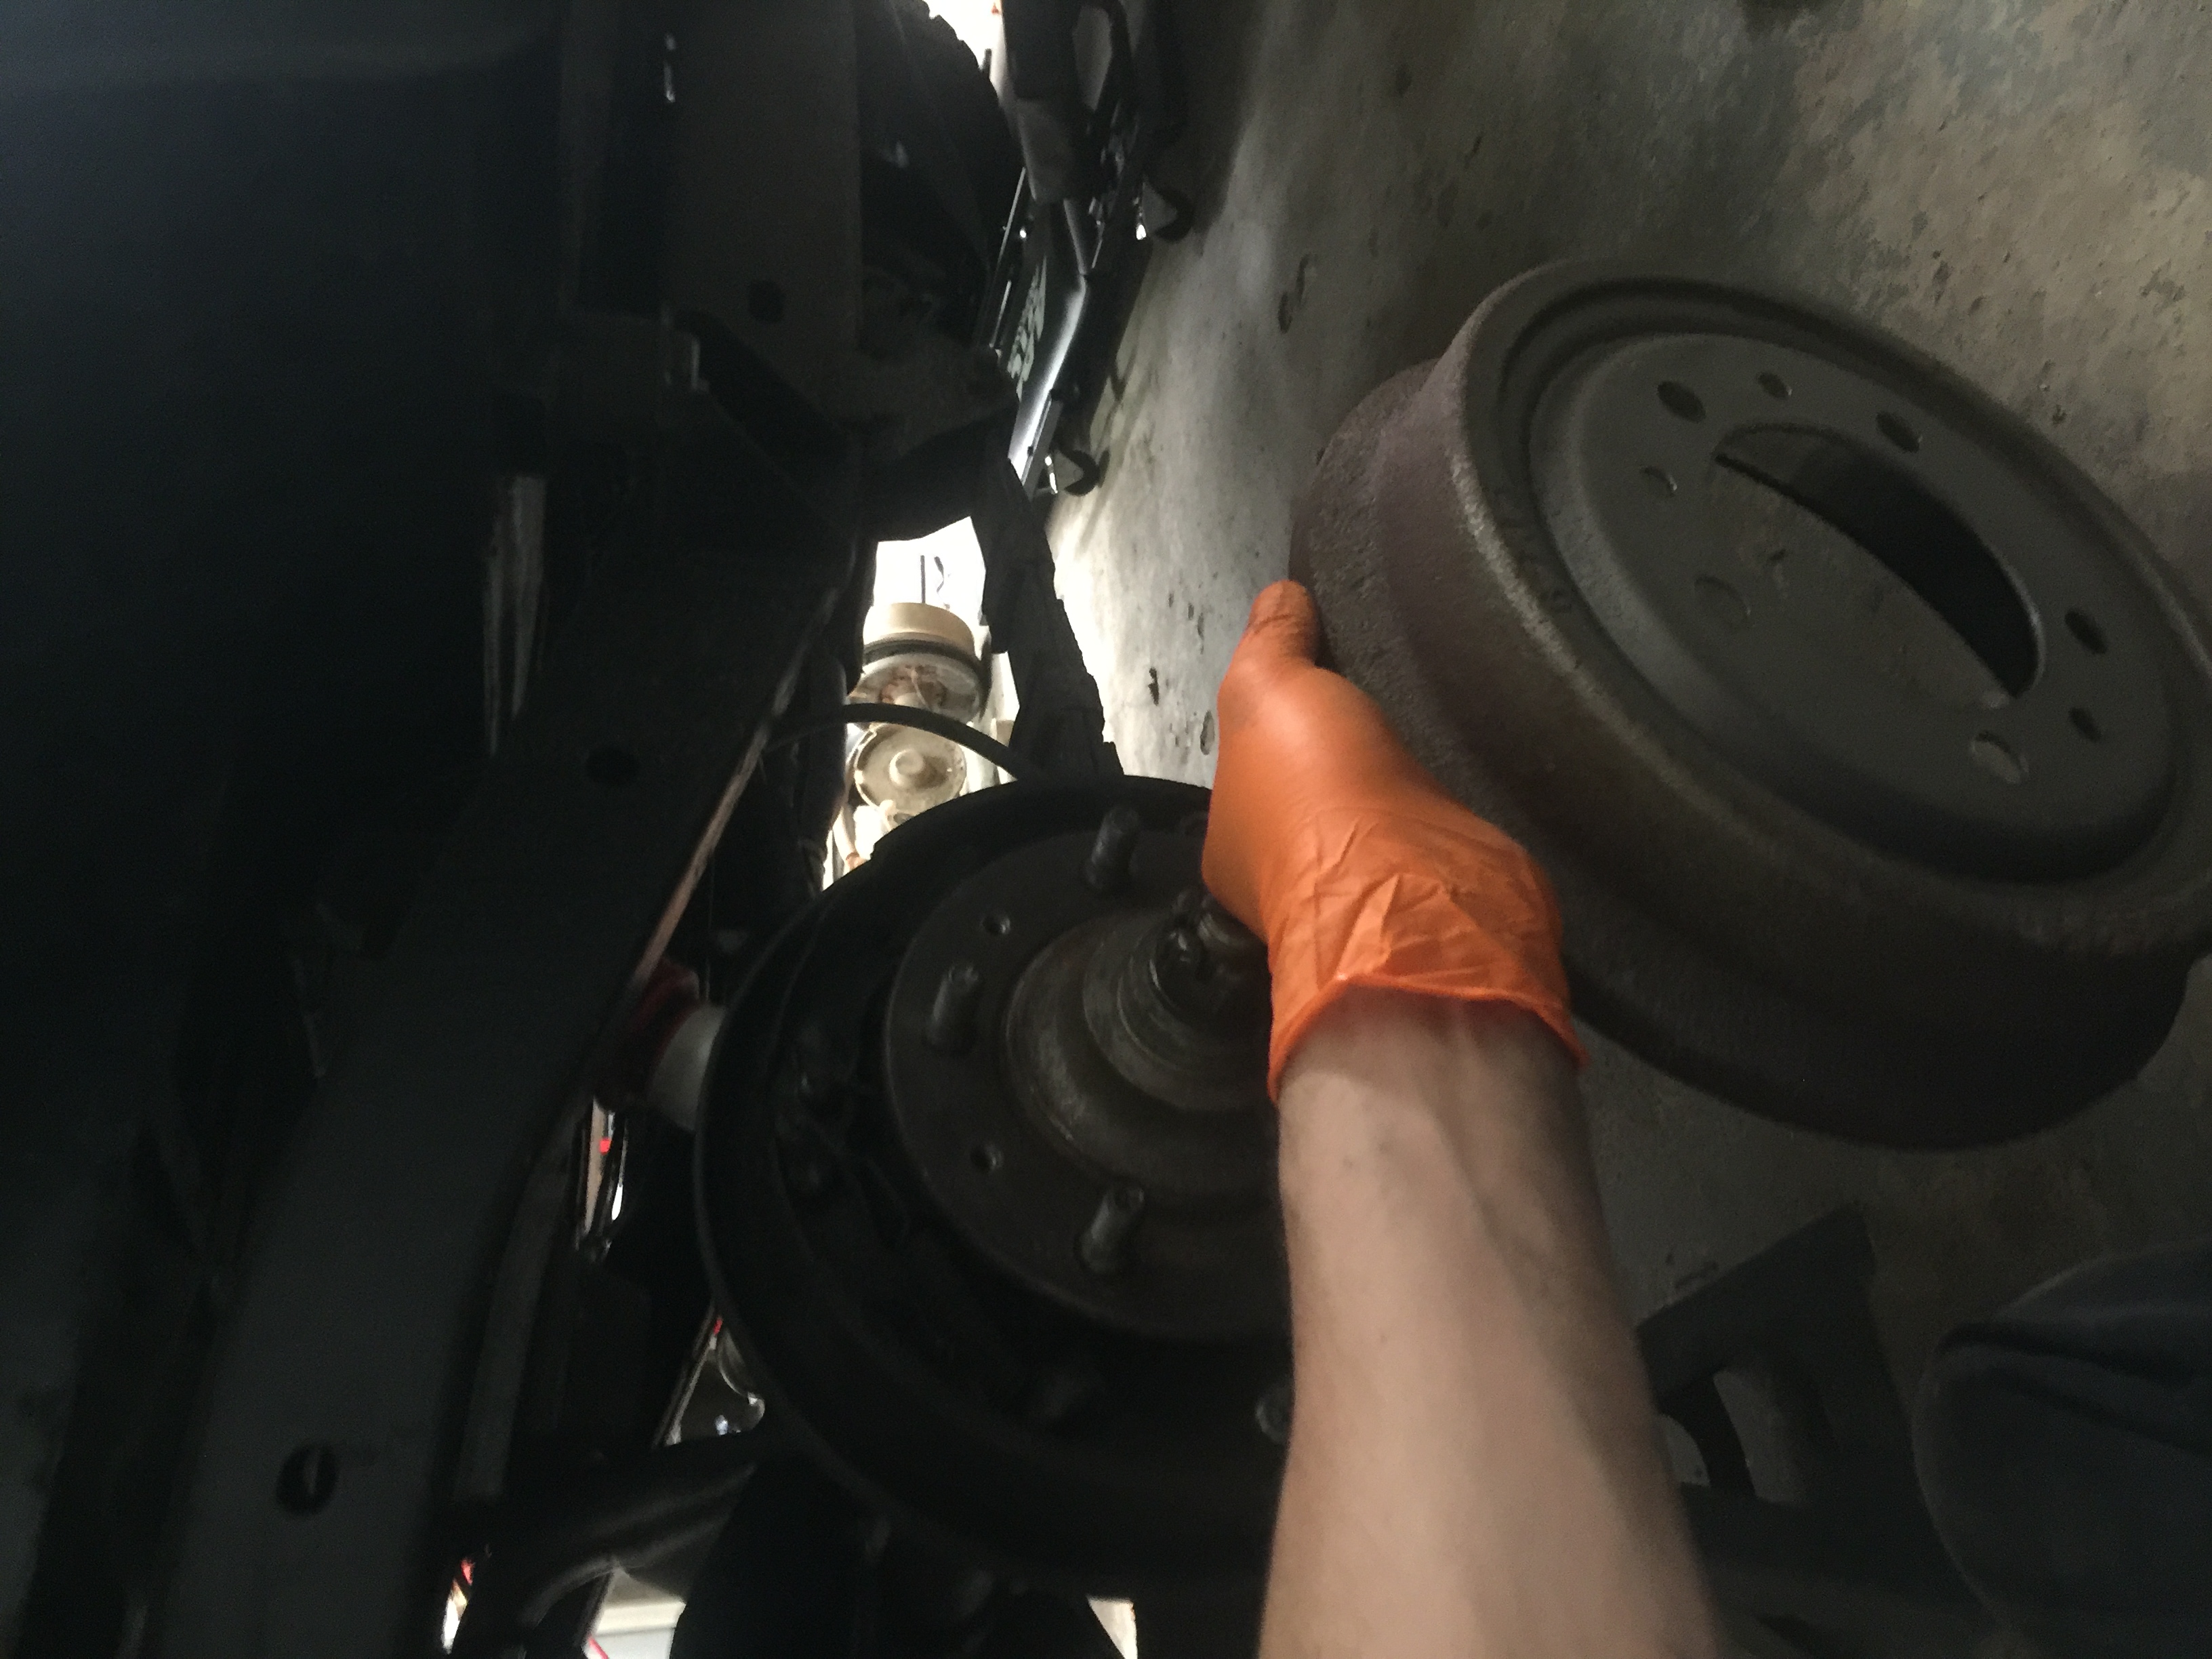
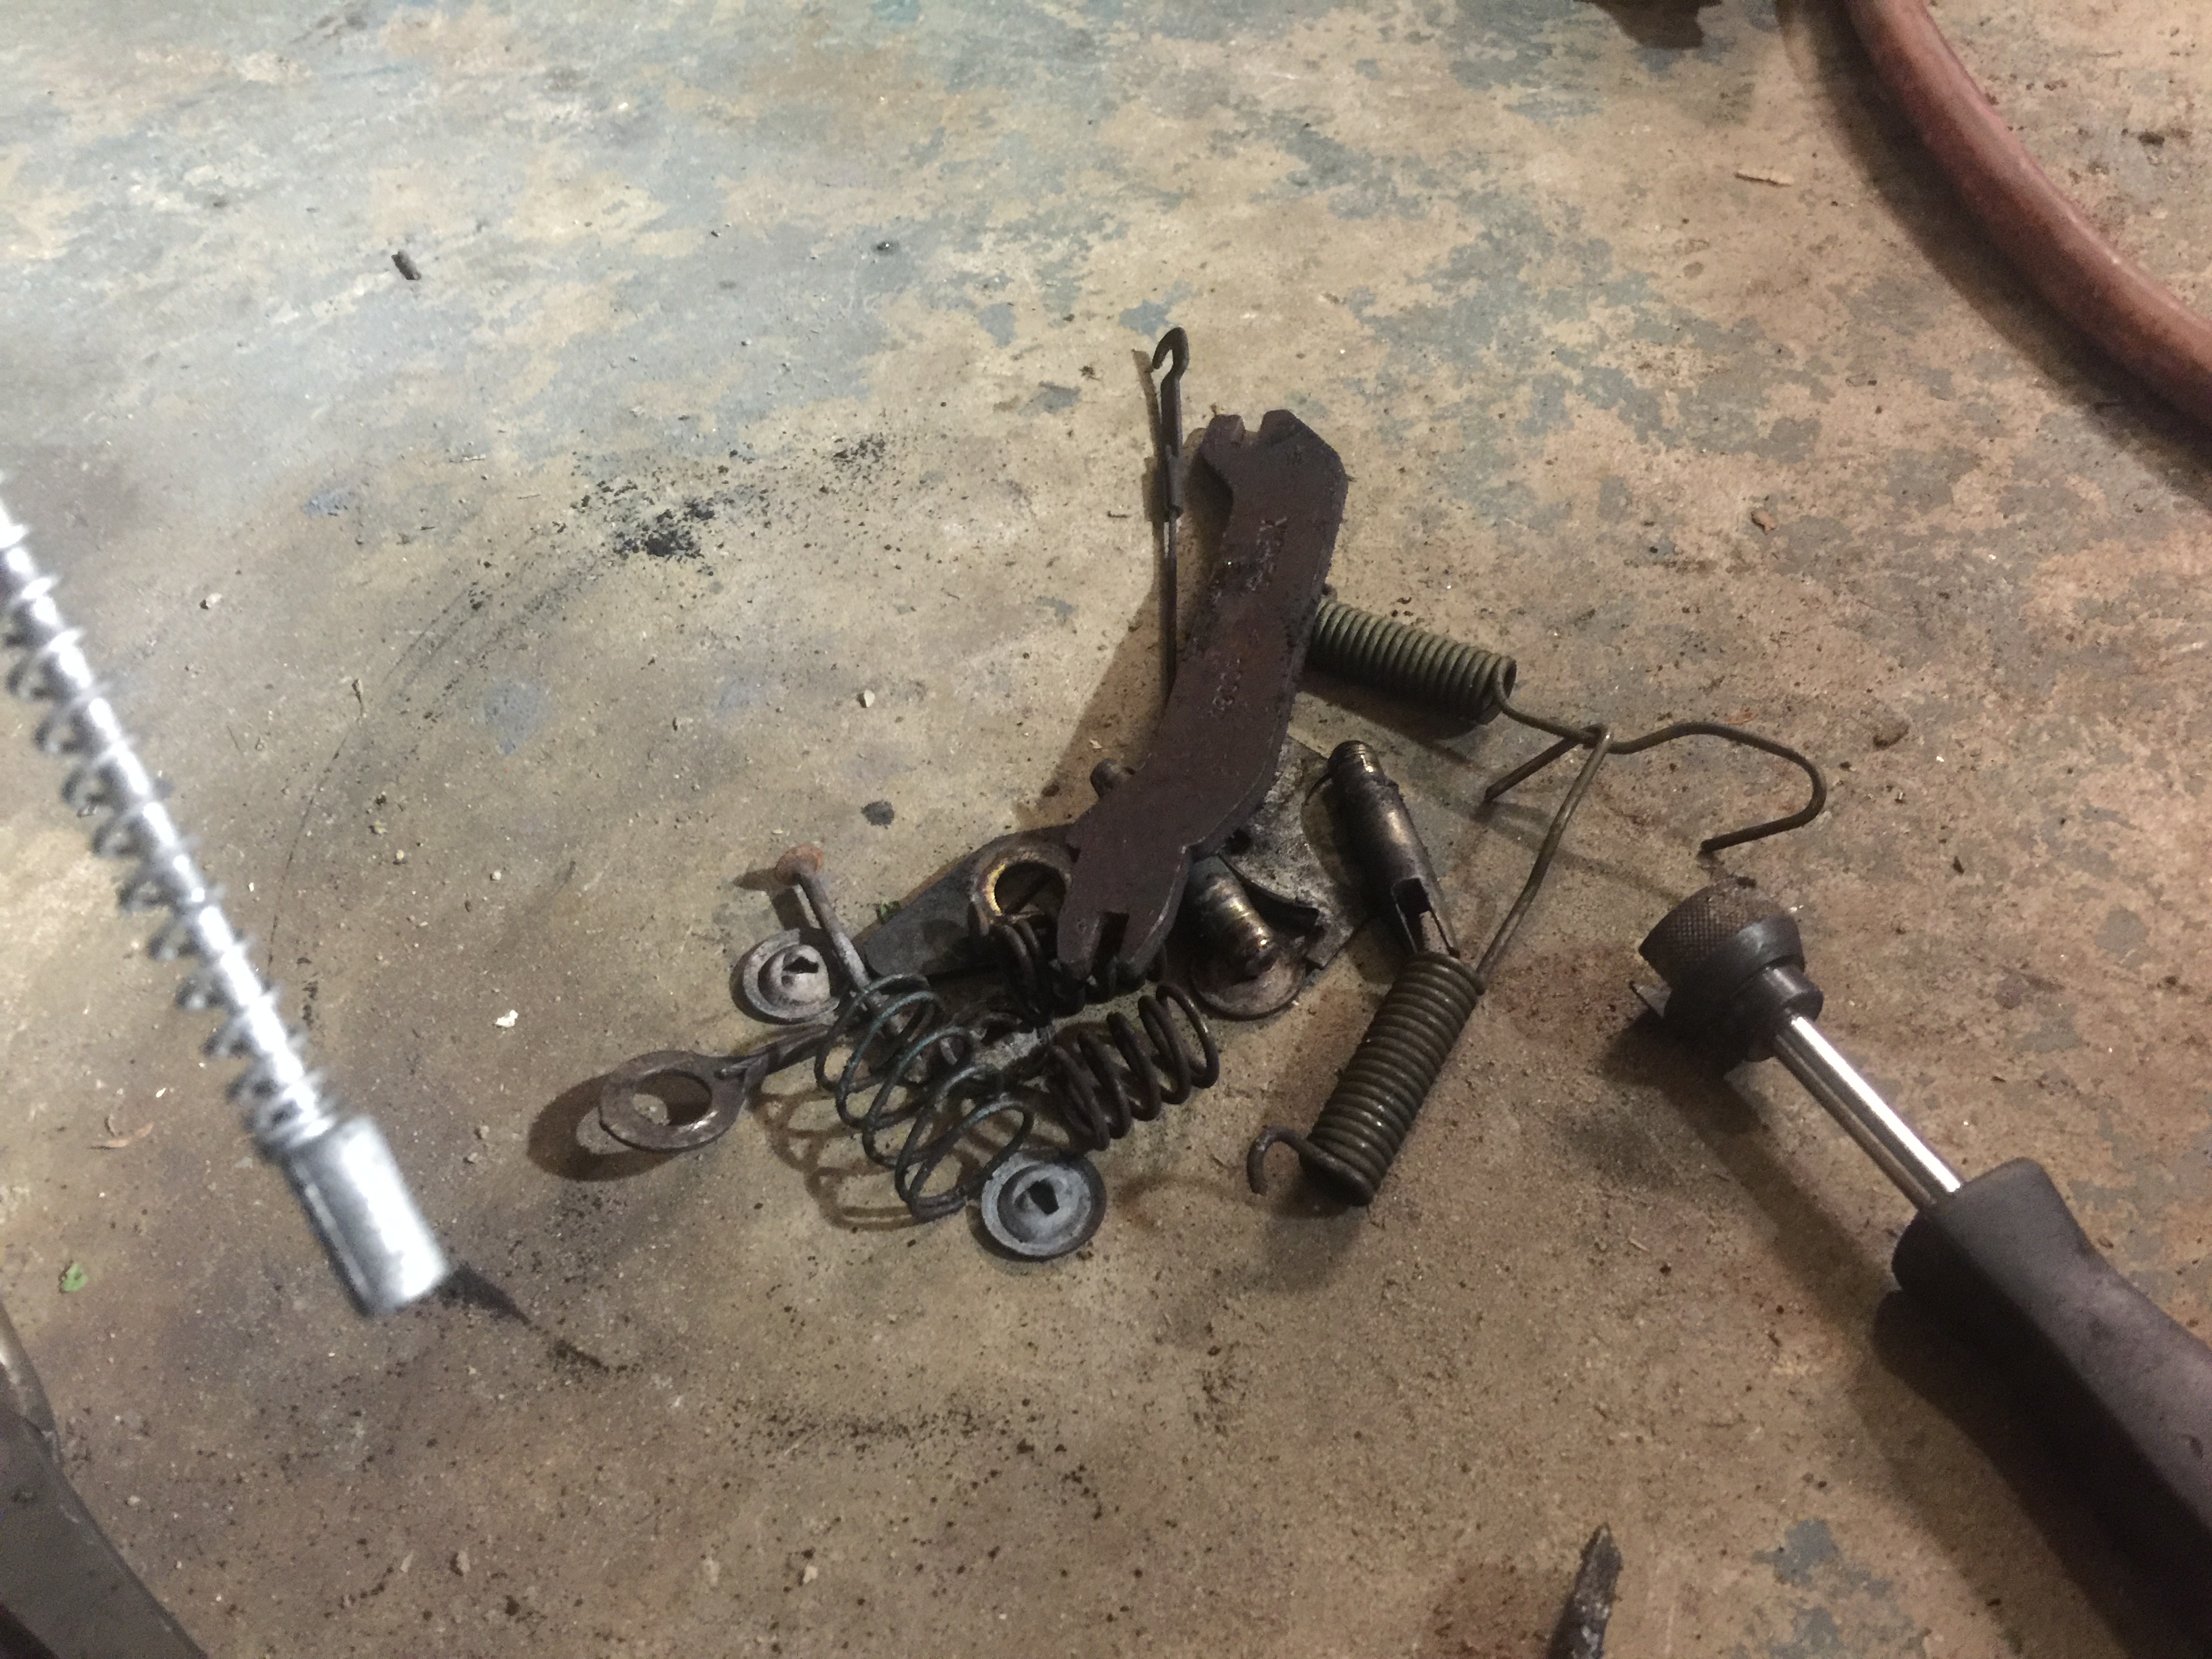
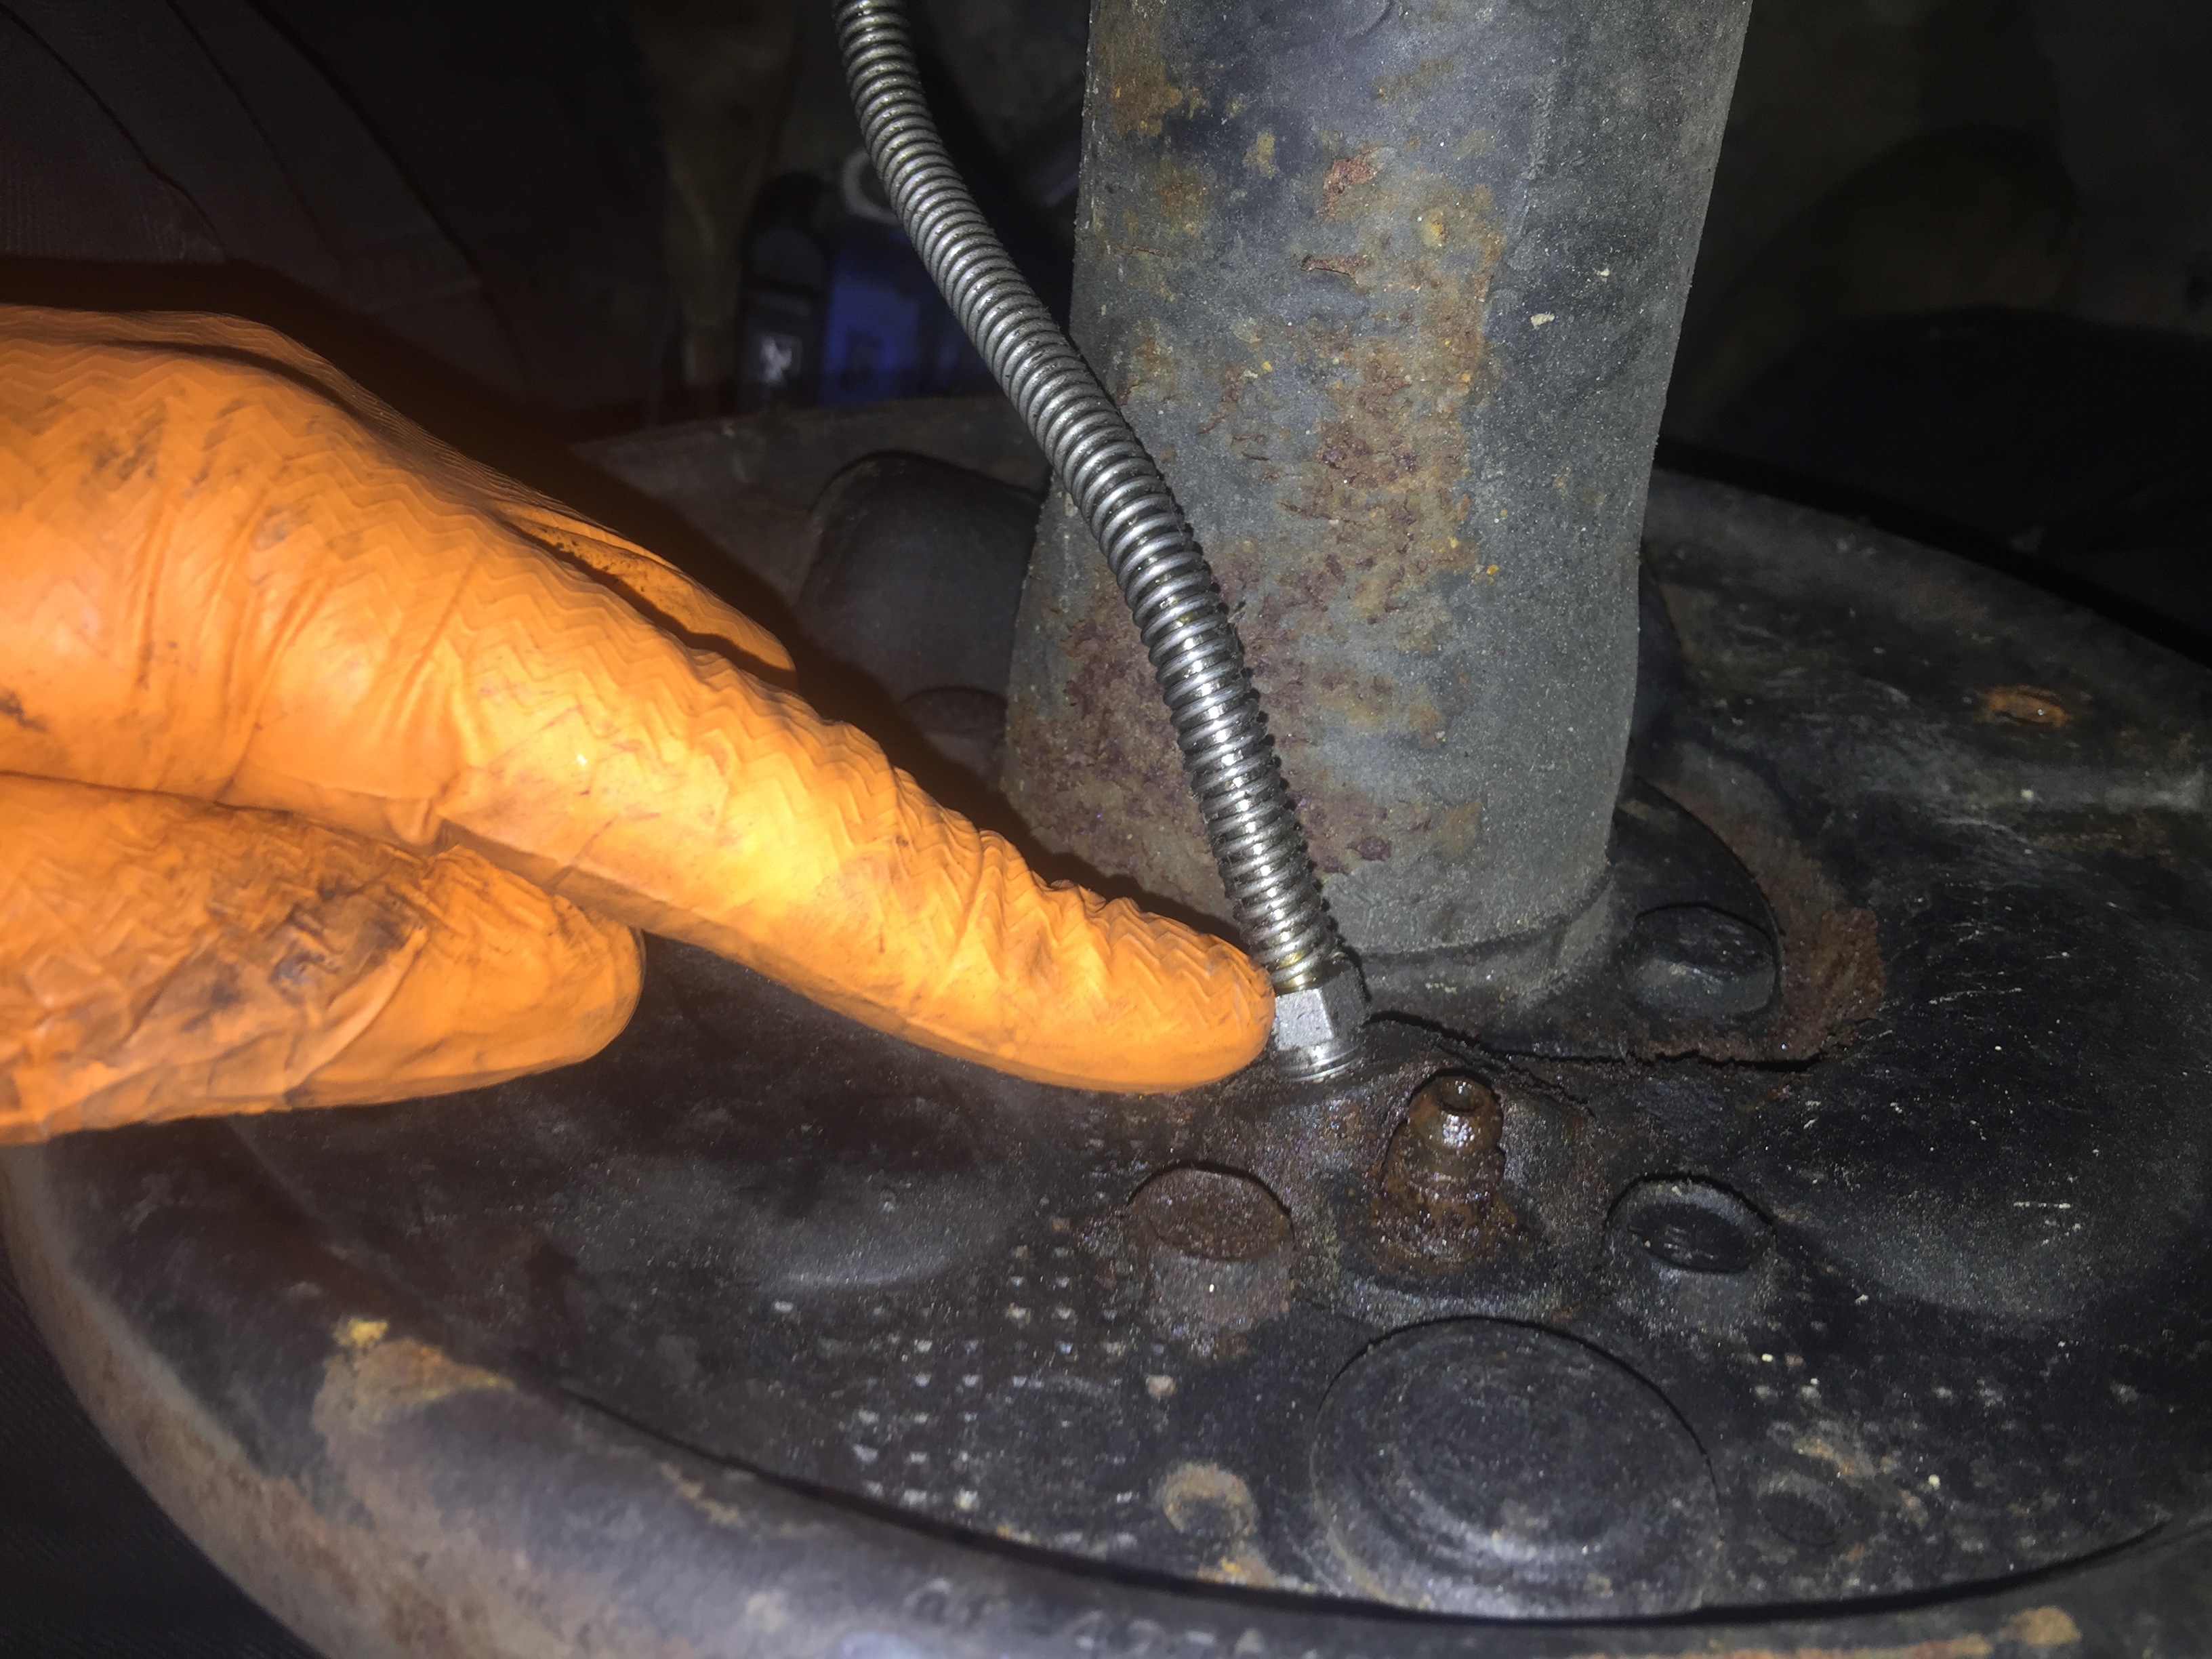
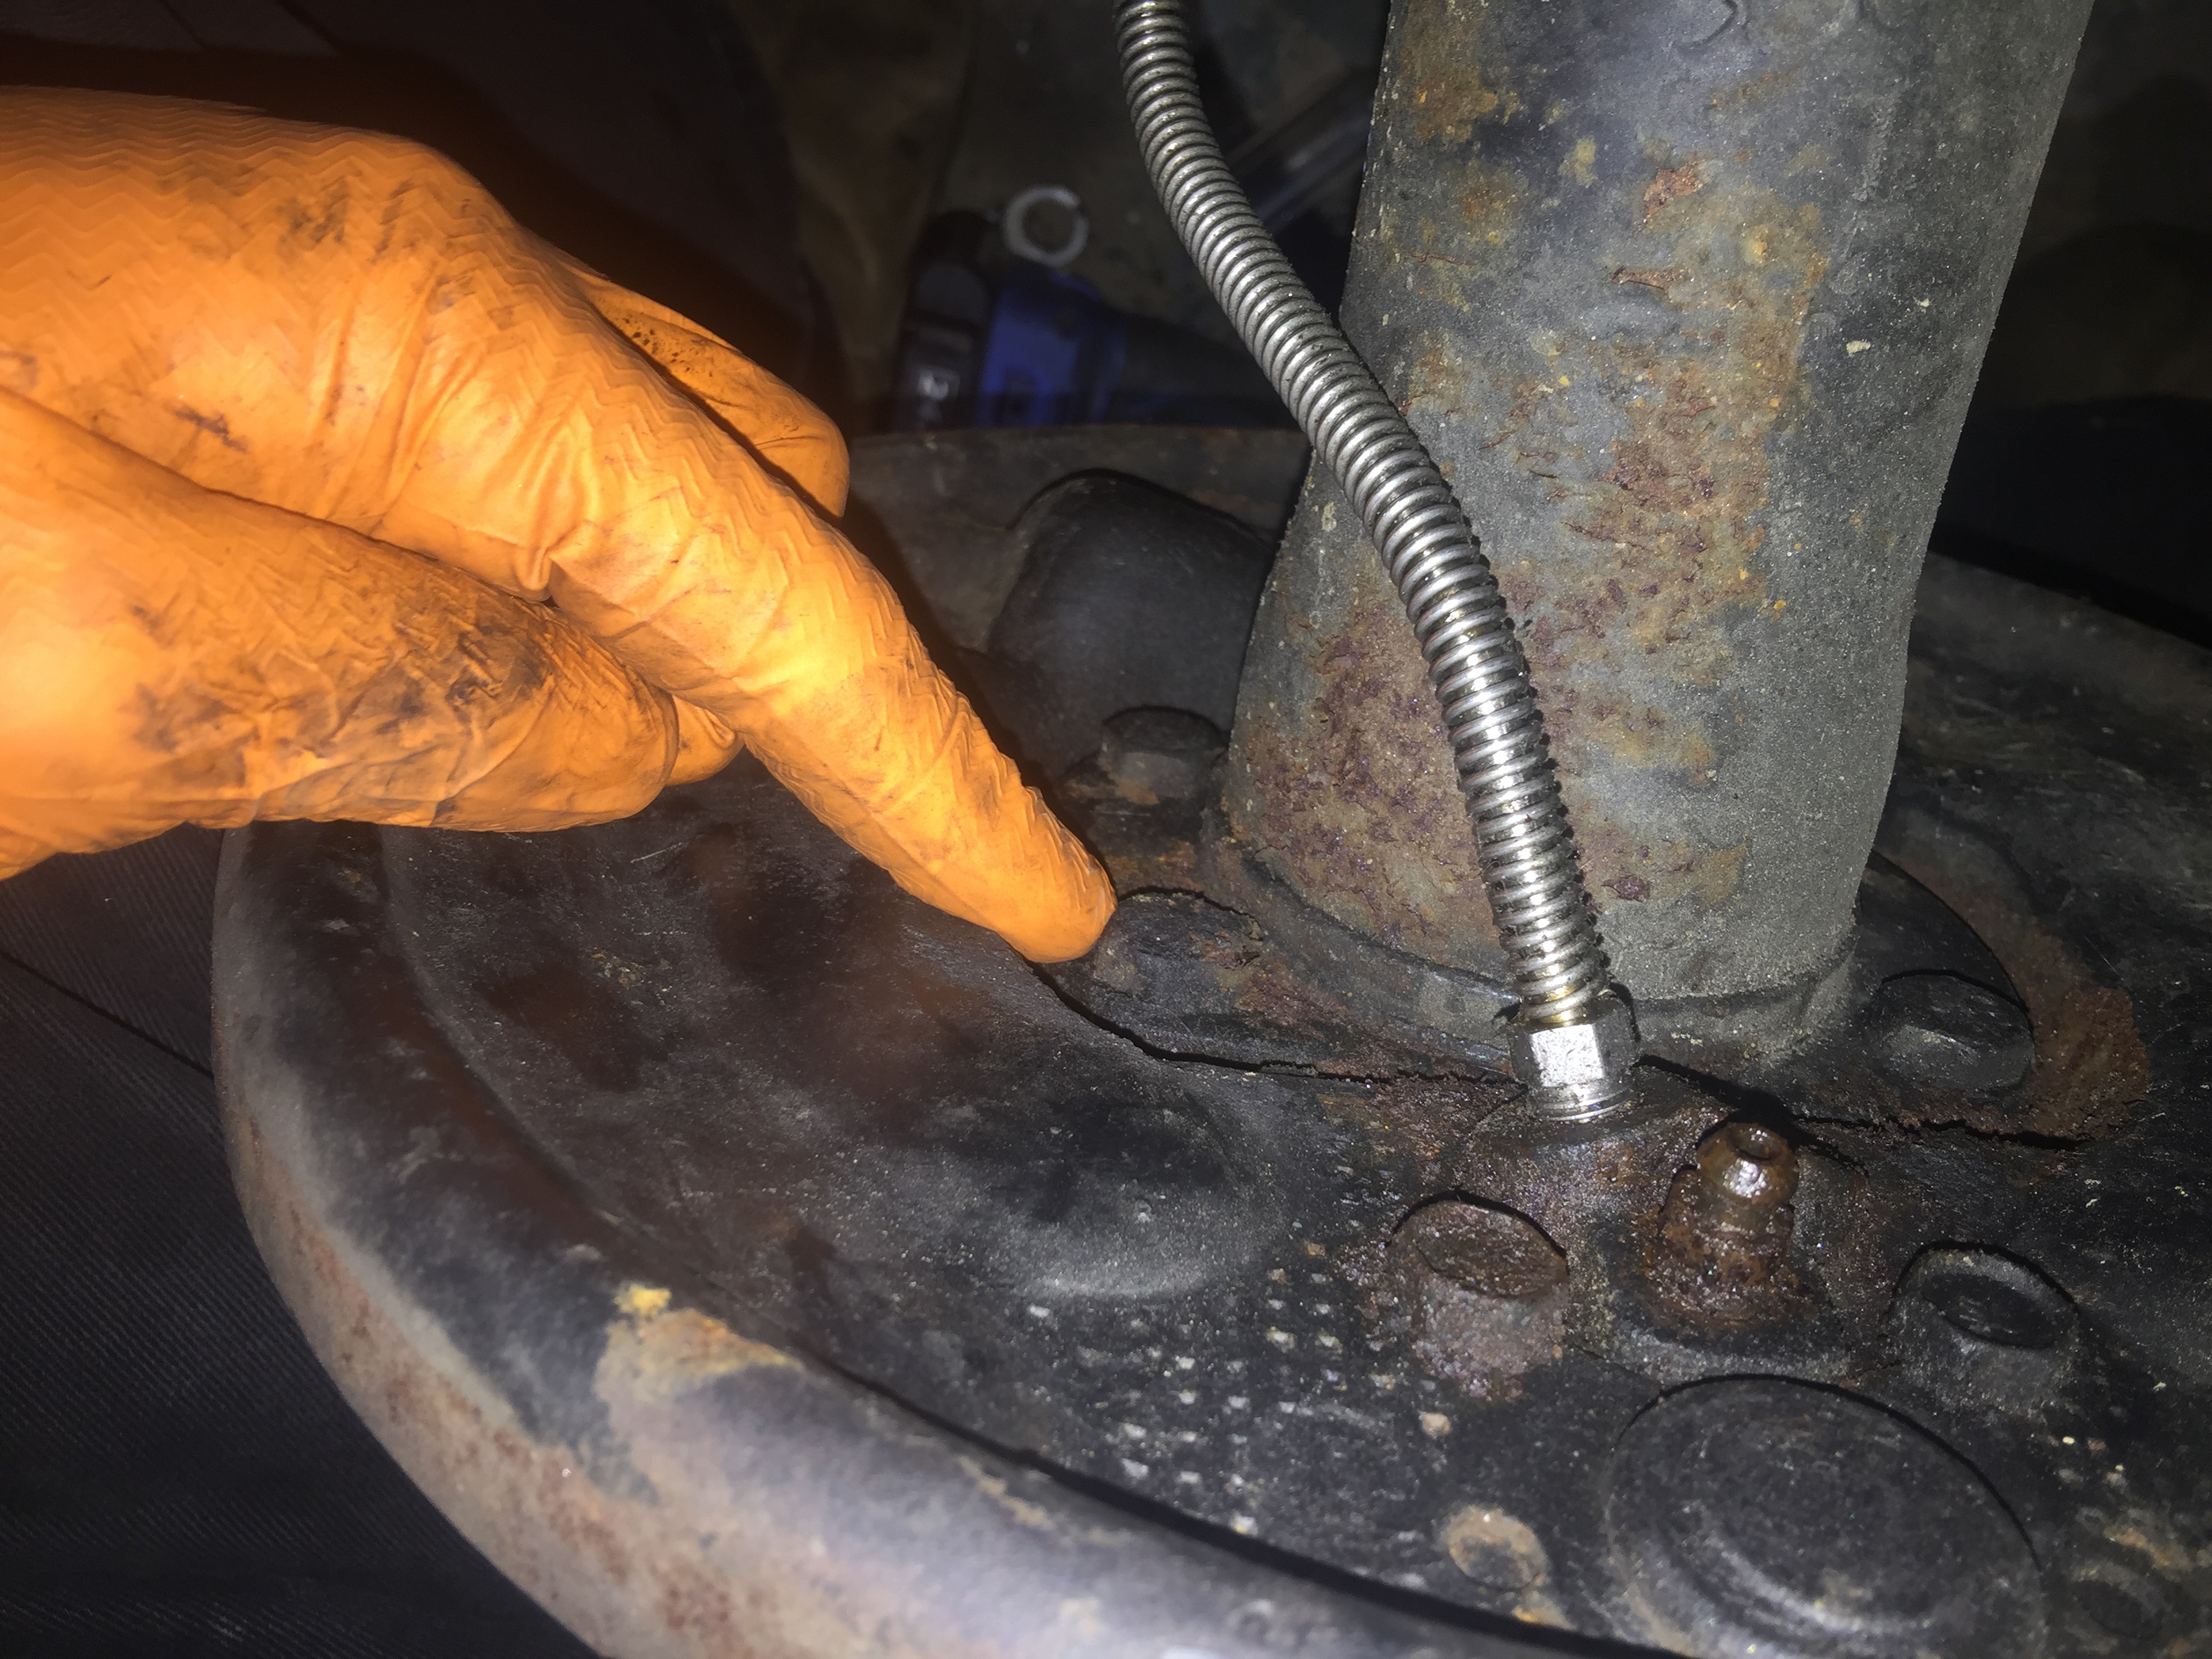
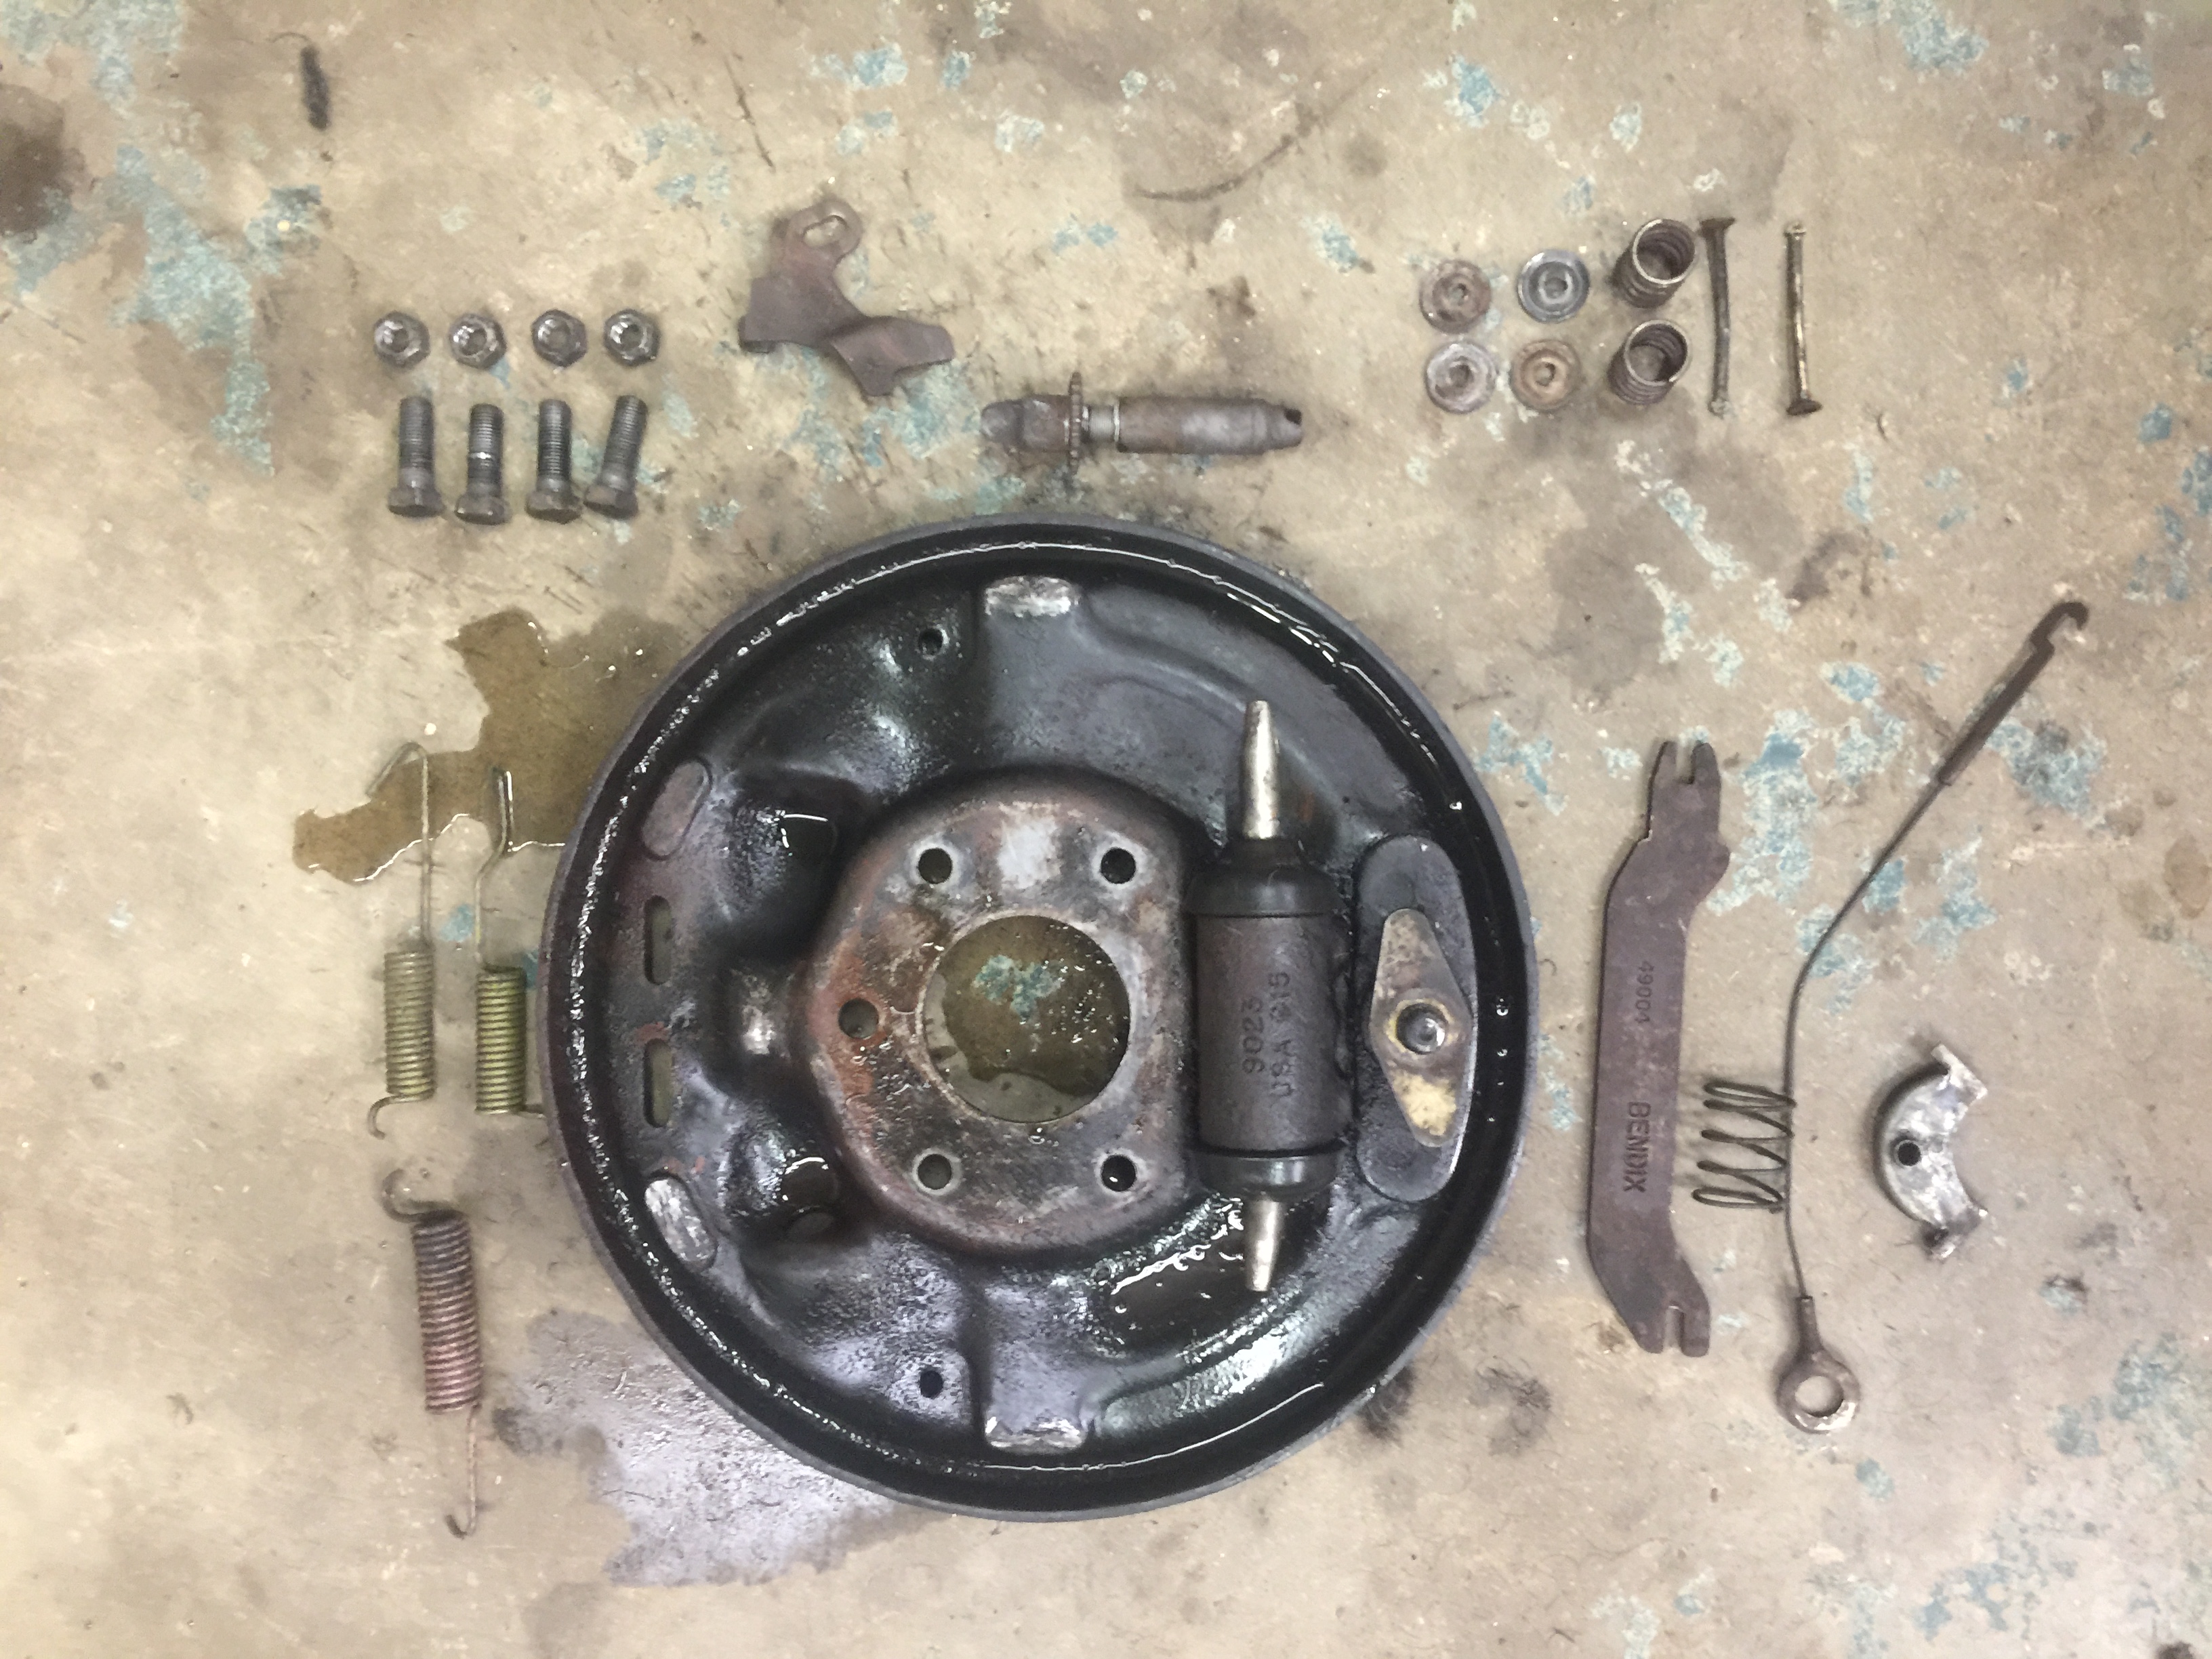
2.) Remove all of the brake hardware, brake lines, emergency brake cables etc. (tip. its a good idea to snap a photo before disassembly so you can remember where everything goes back to) Then remove the 4 nuts on the back side of the axle that retain the backing plate.
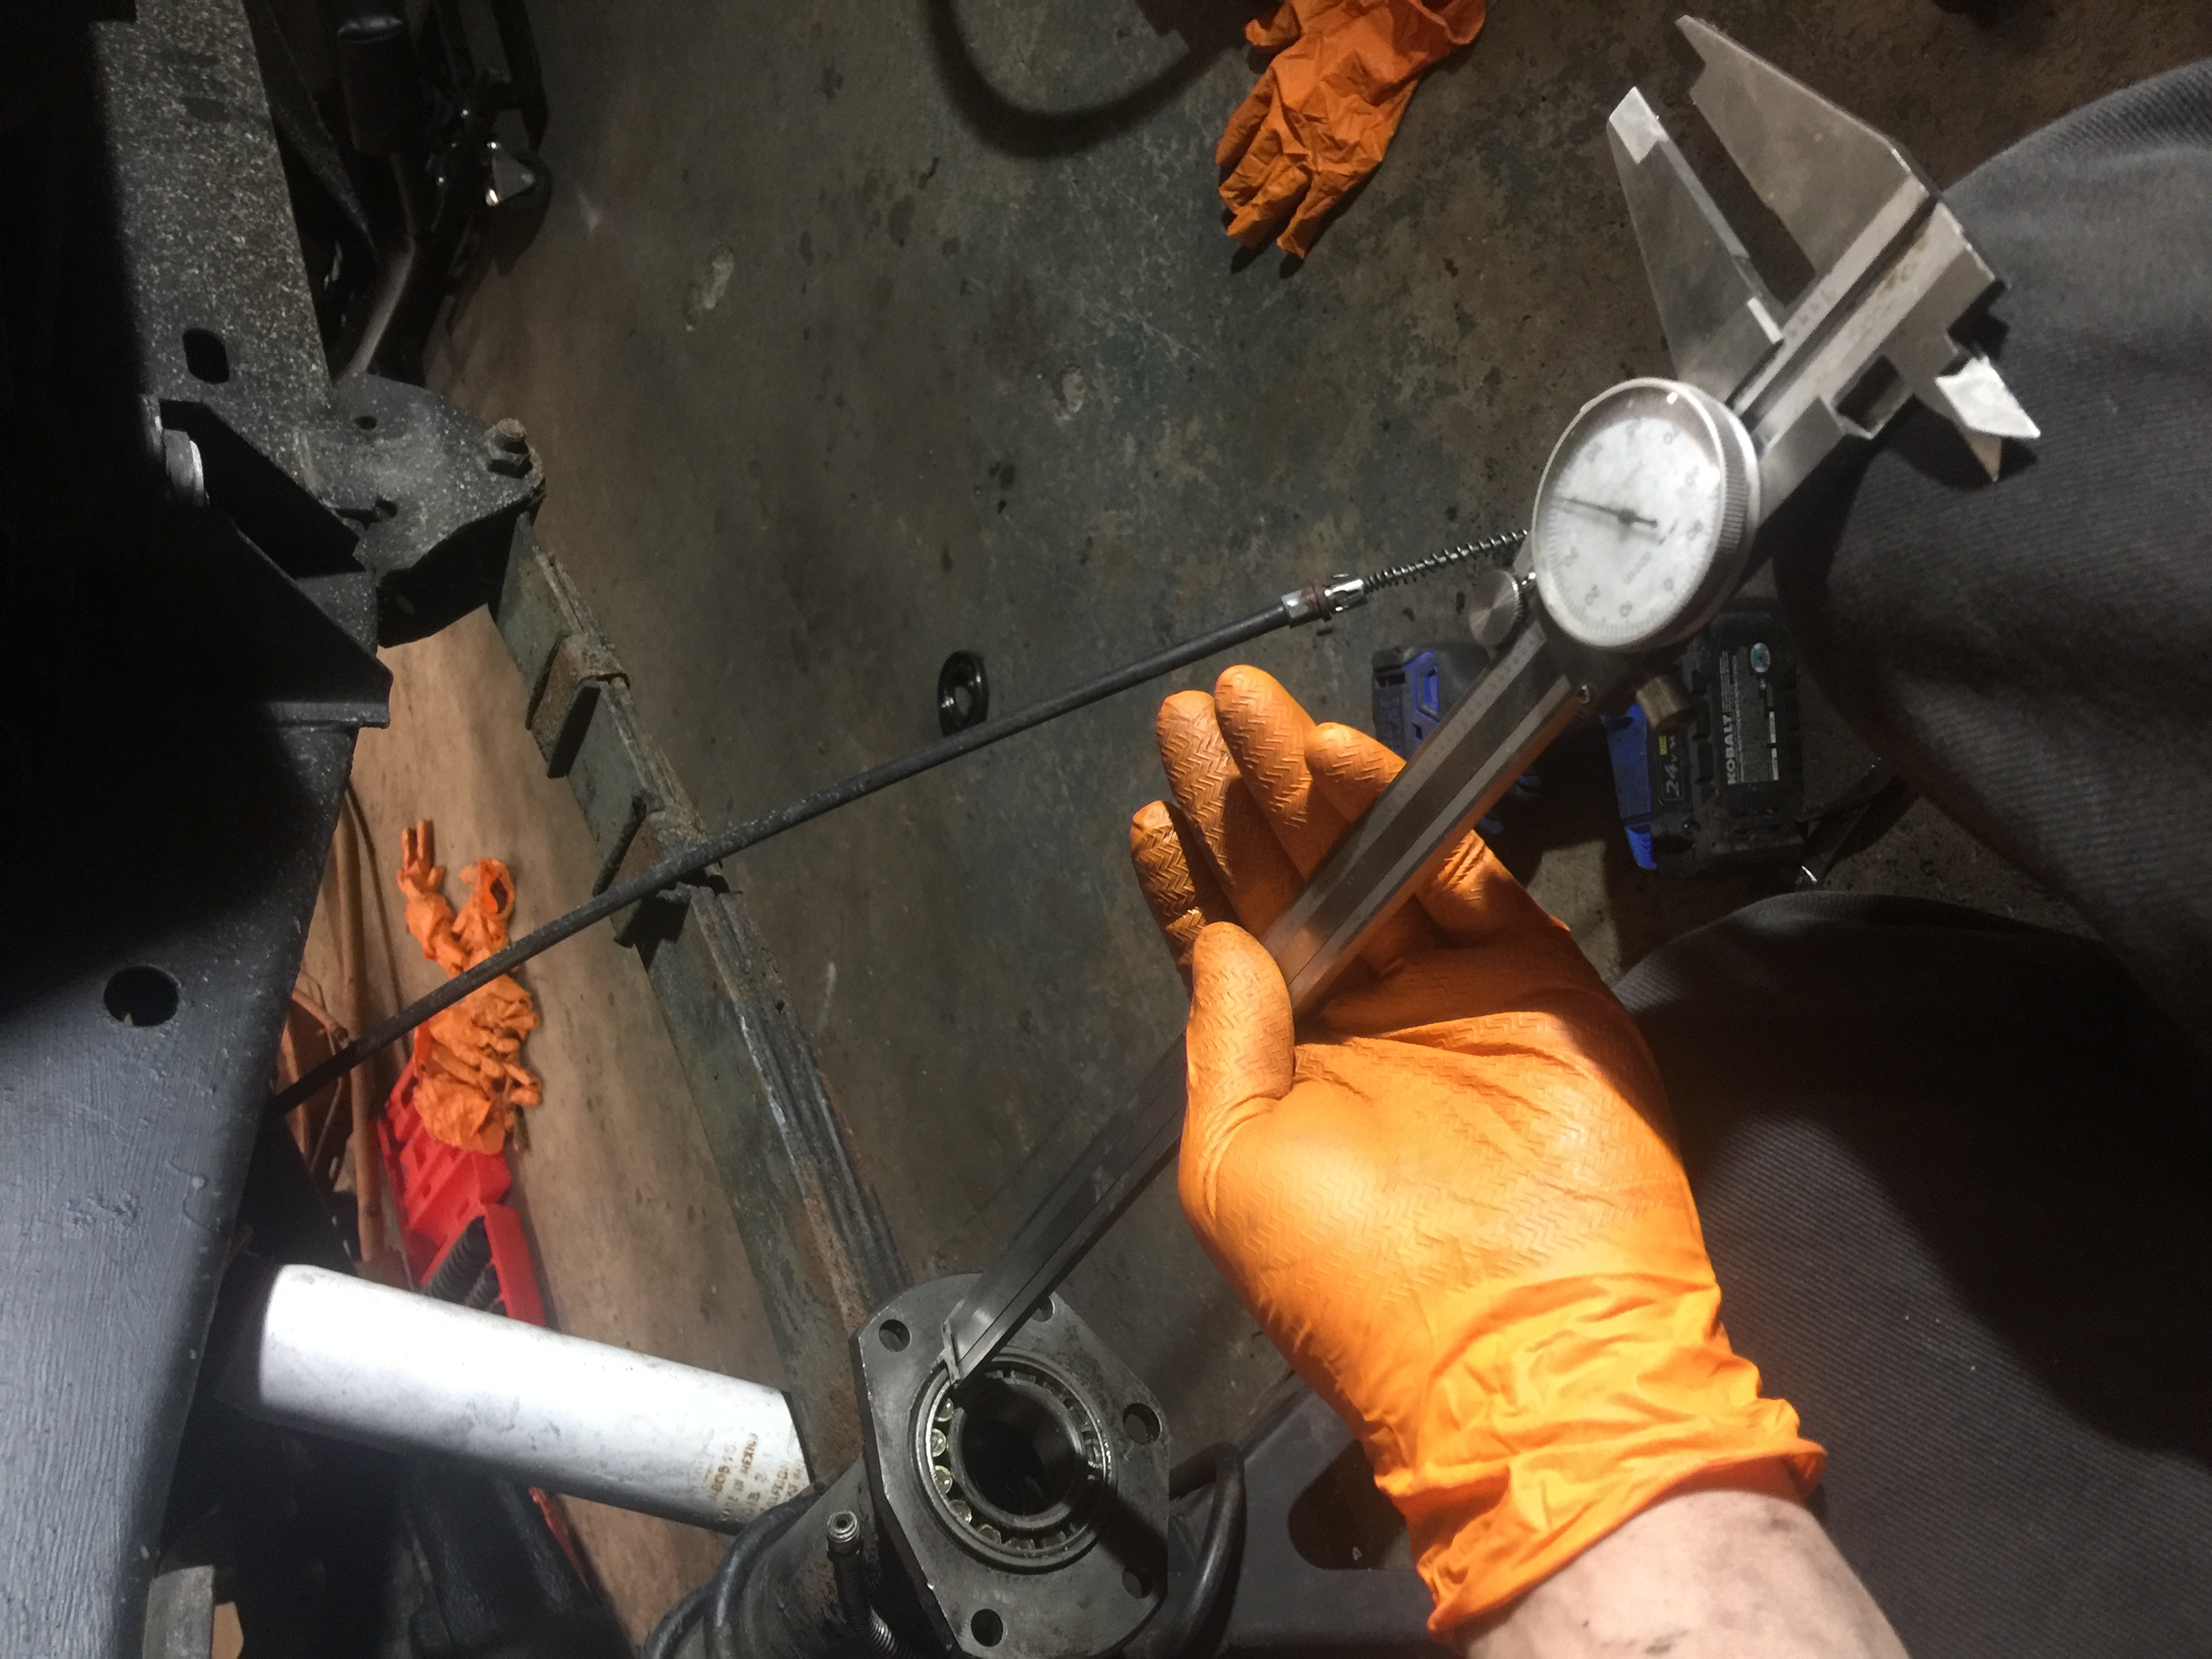
3.) Use a side hammer to pull the shaft from the axle housing.

ASSEMBLY:
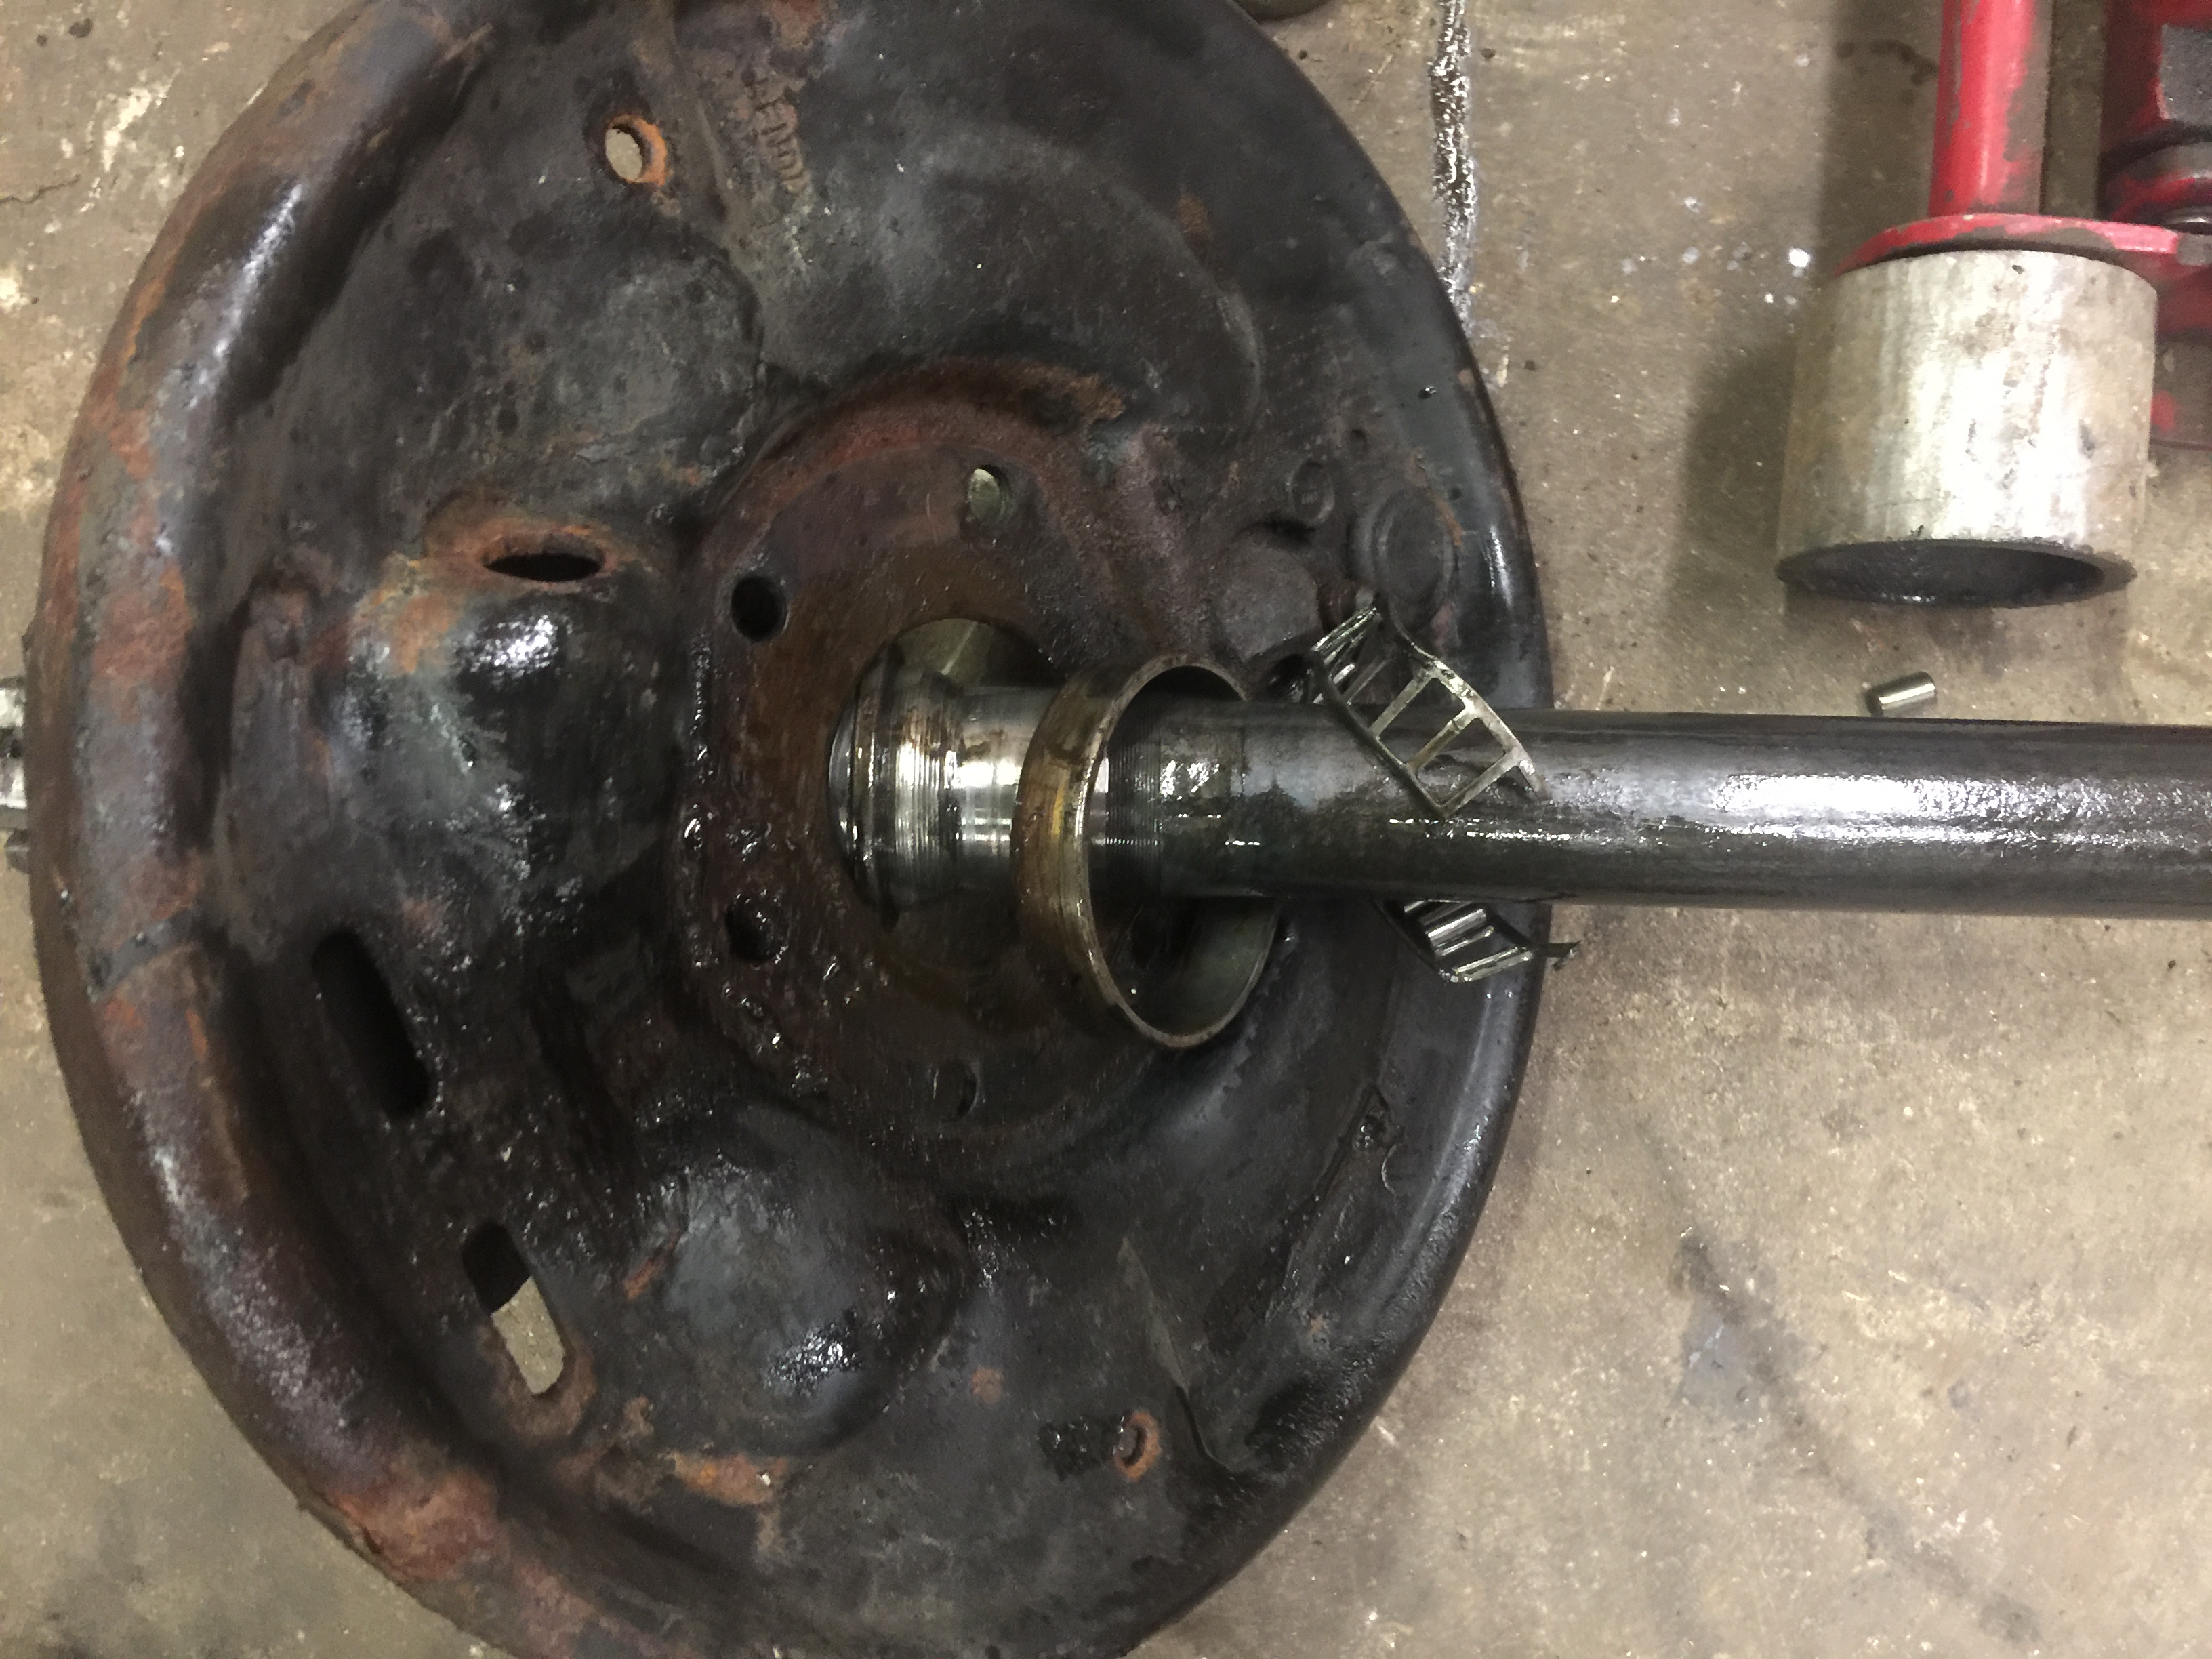
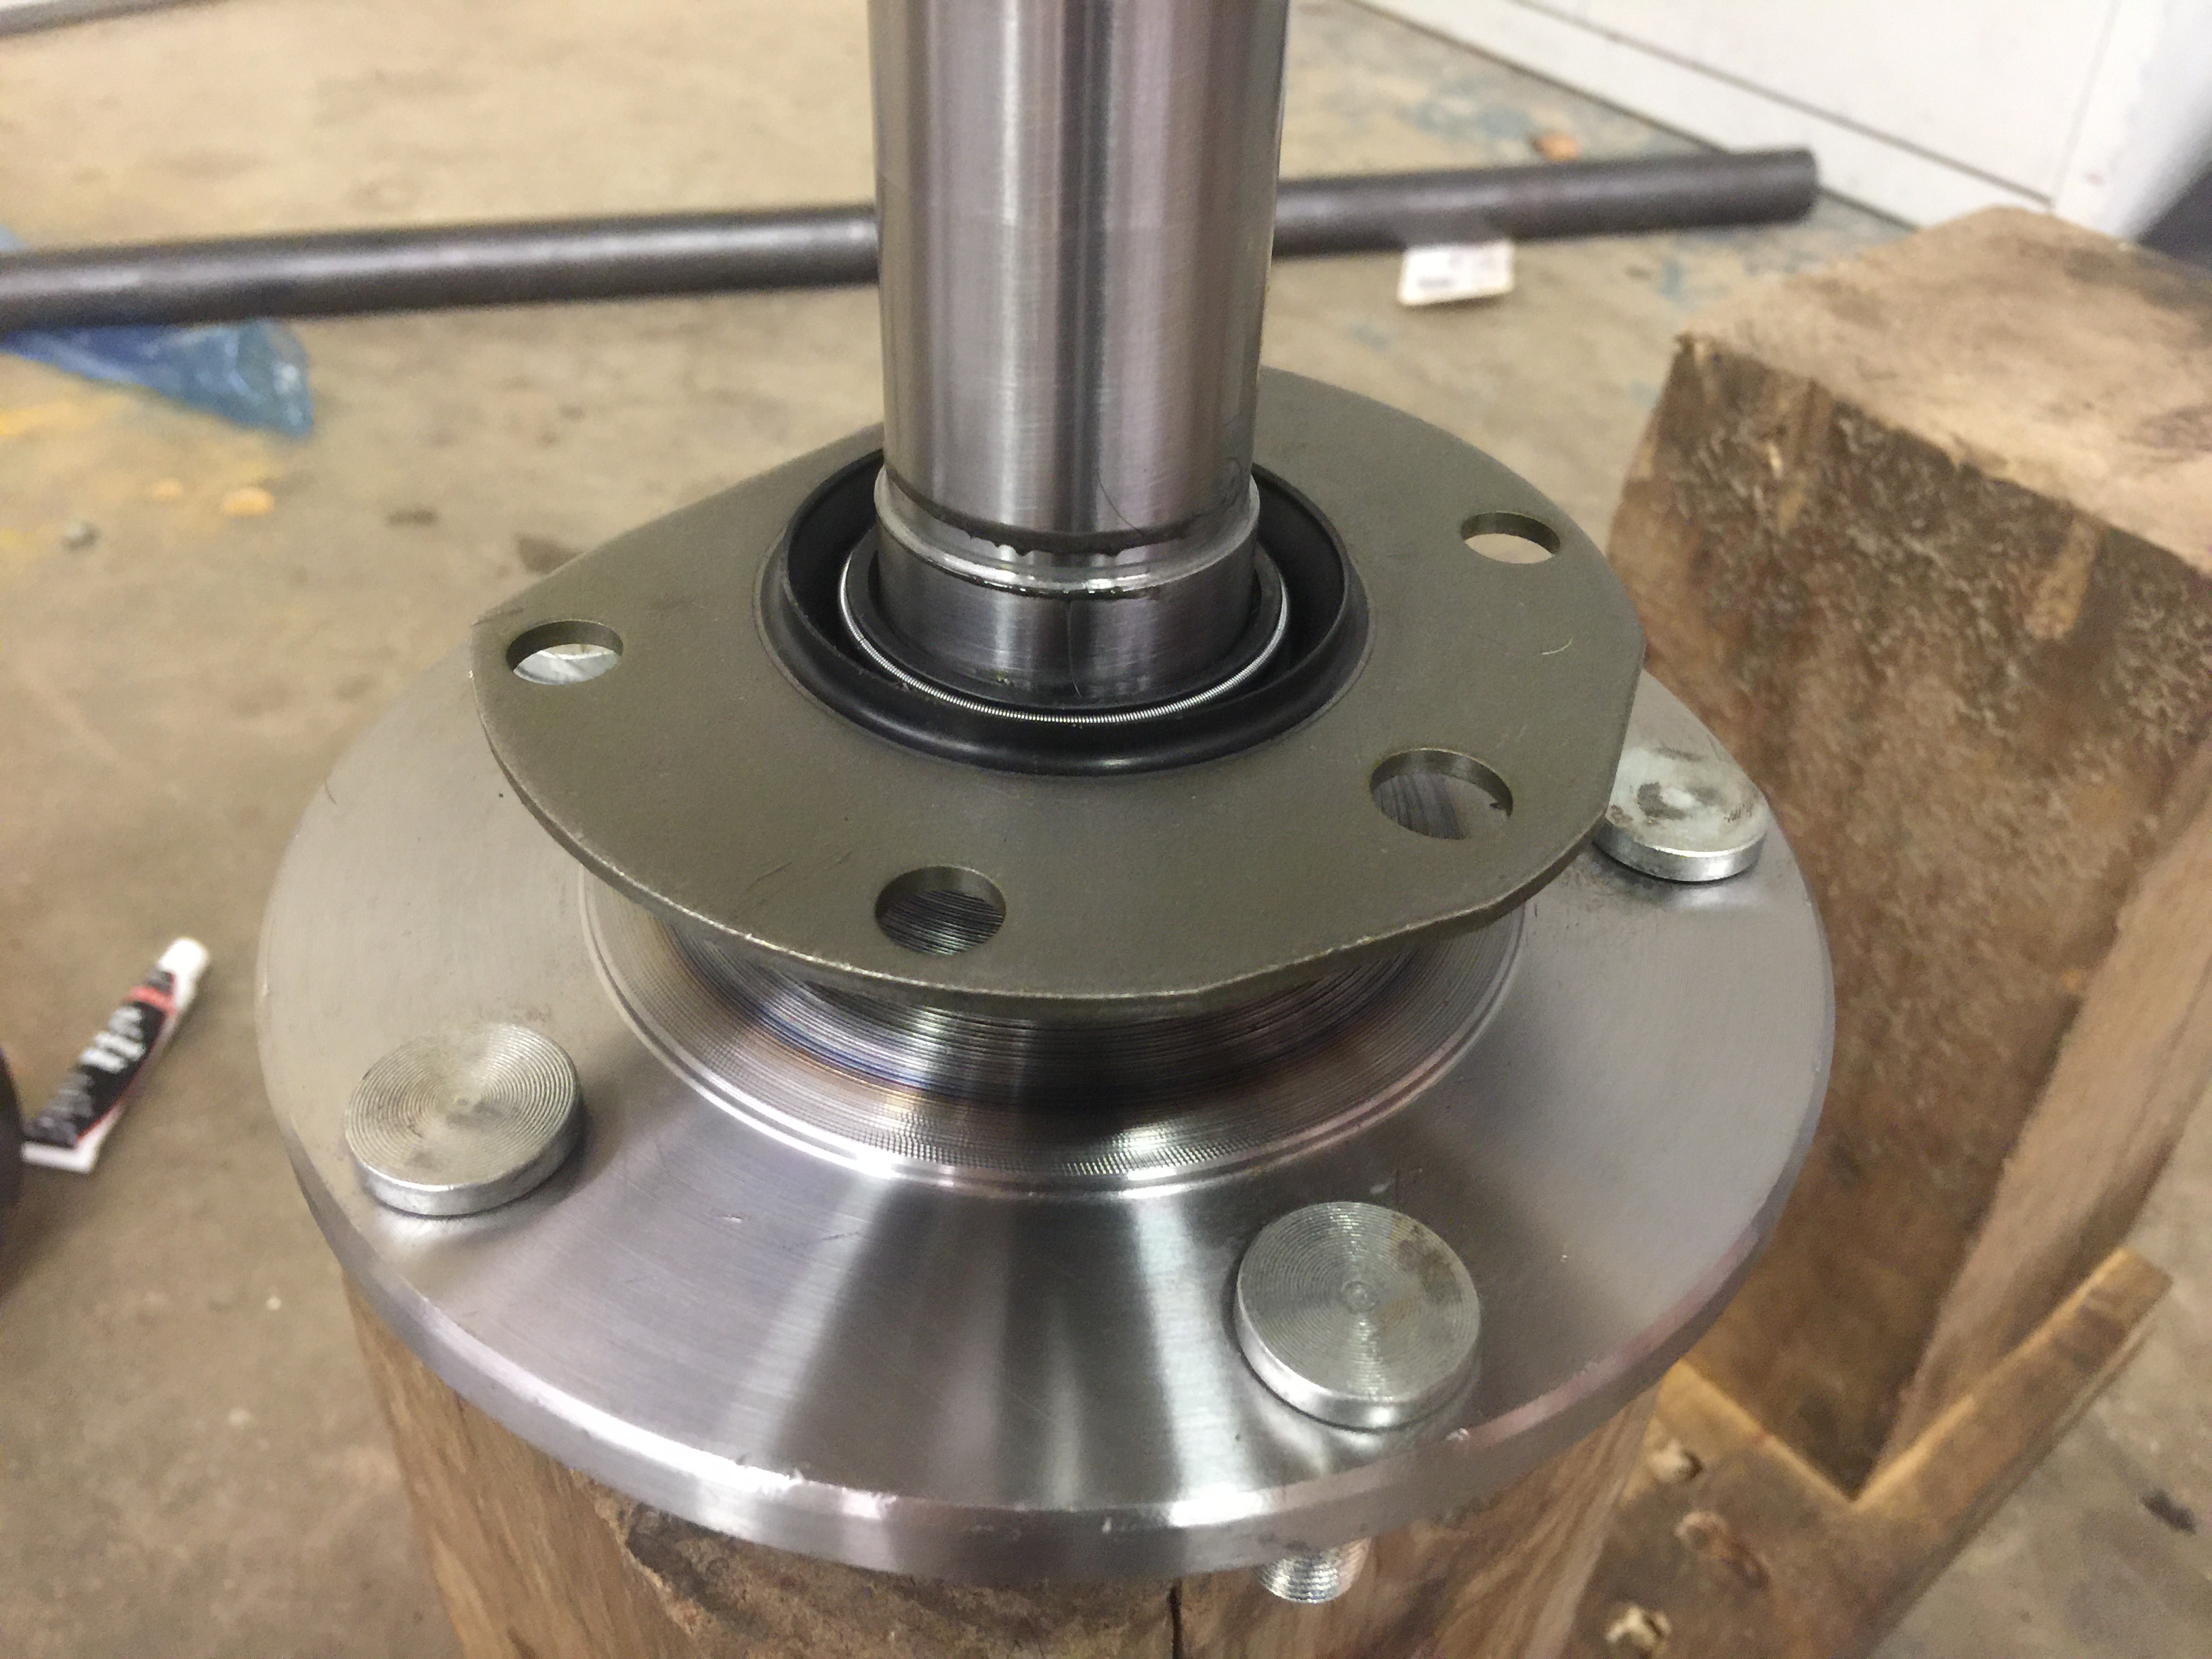
1.) Apply a light coat of grease and Install the inner axle seal into the housing until it stops against the inner most step.
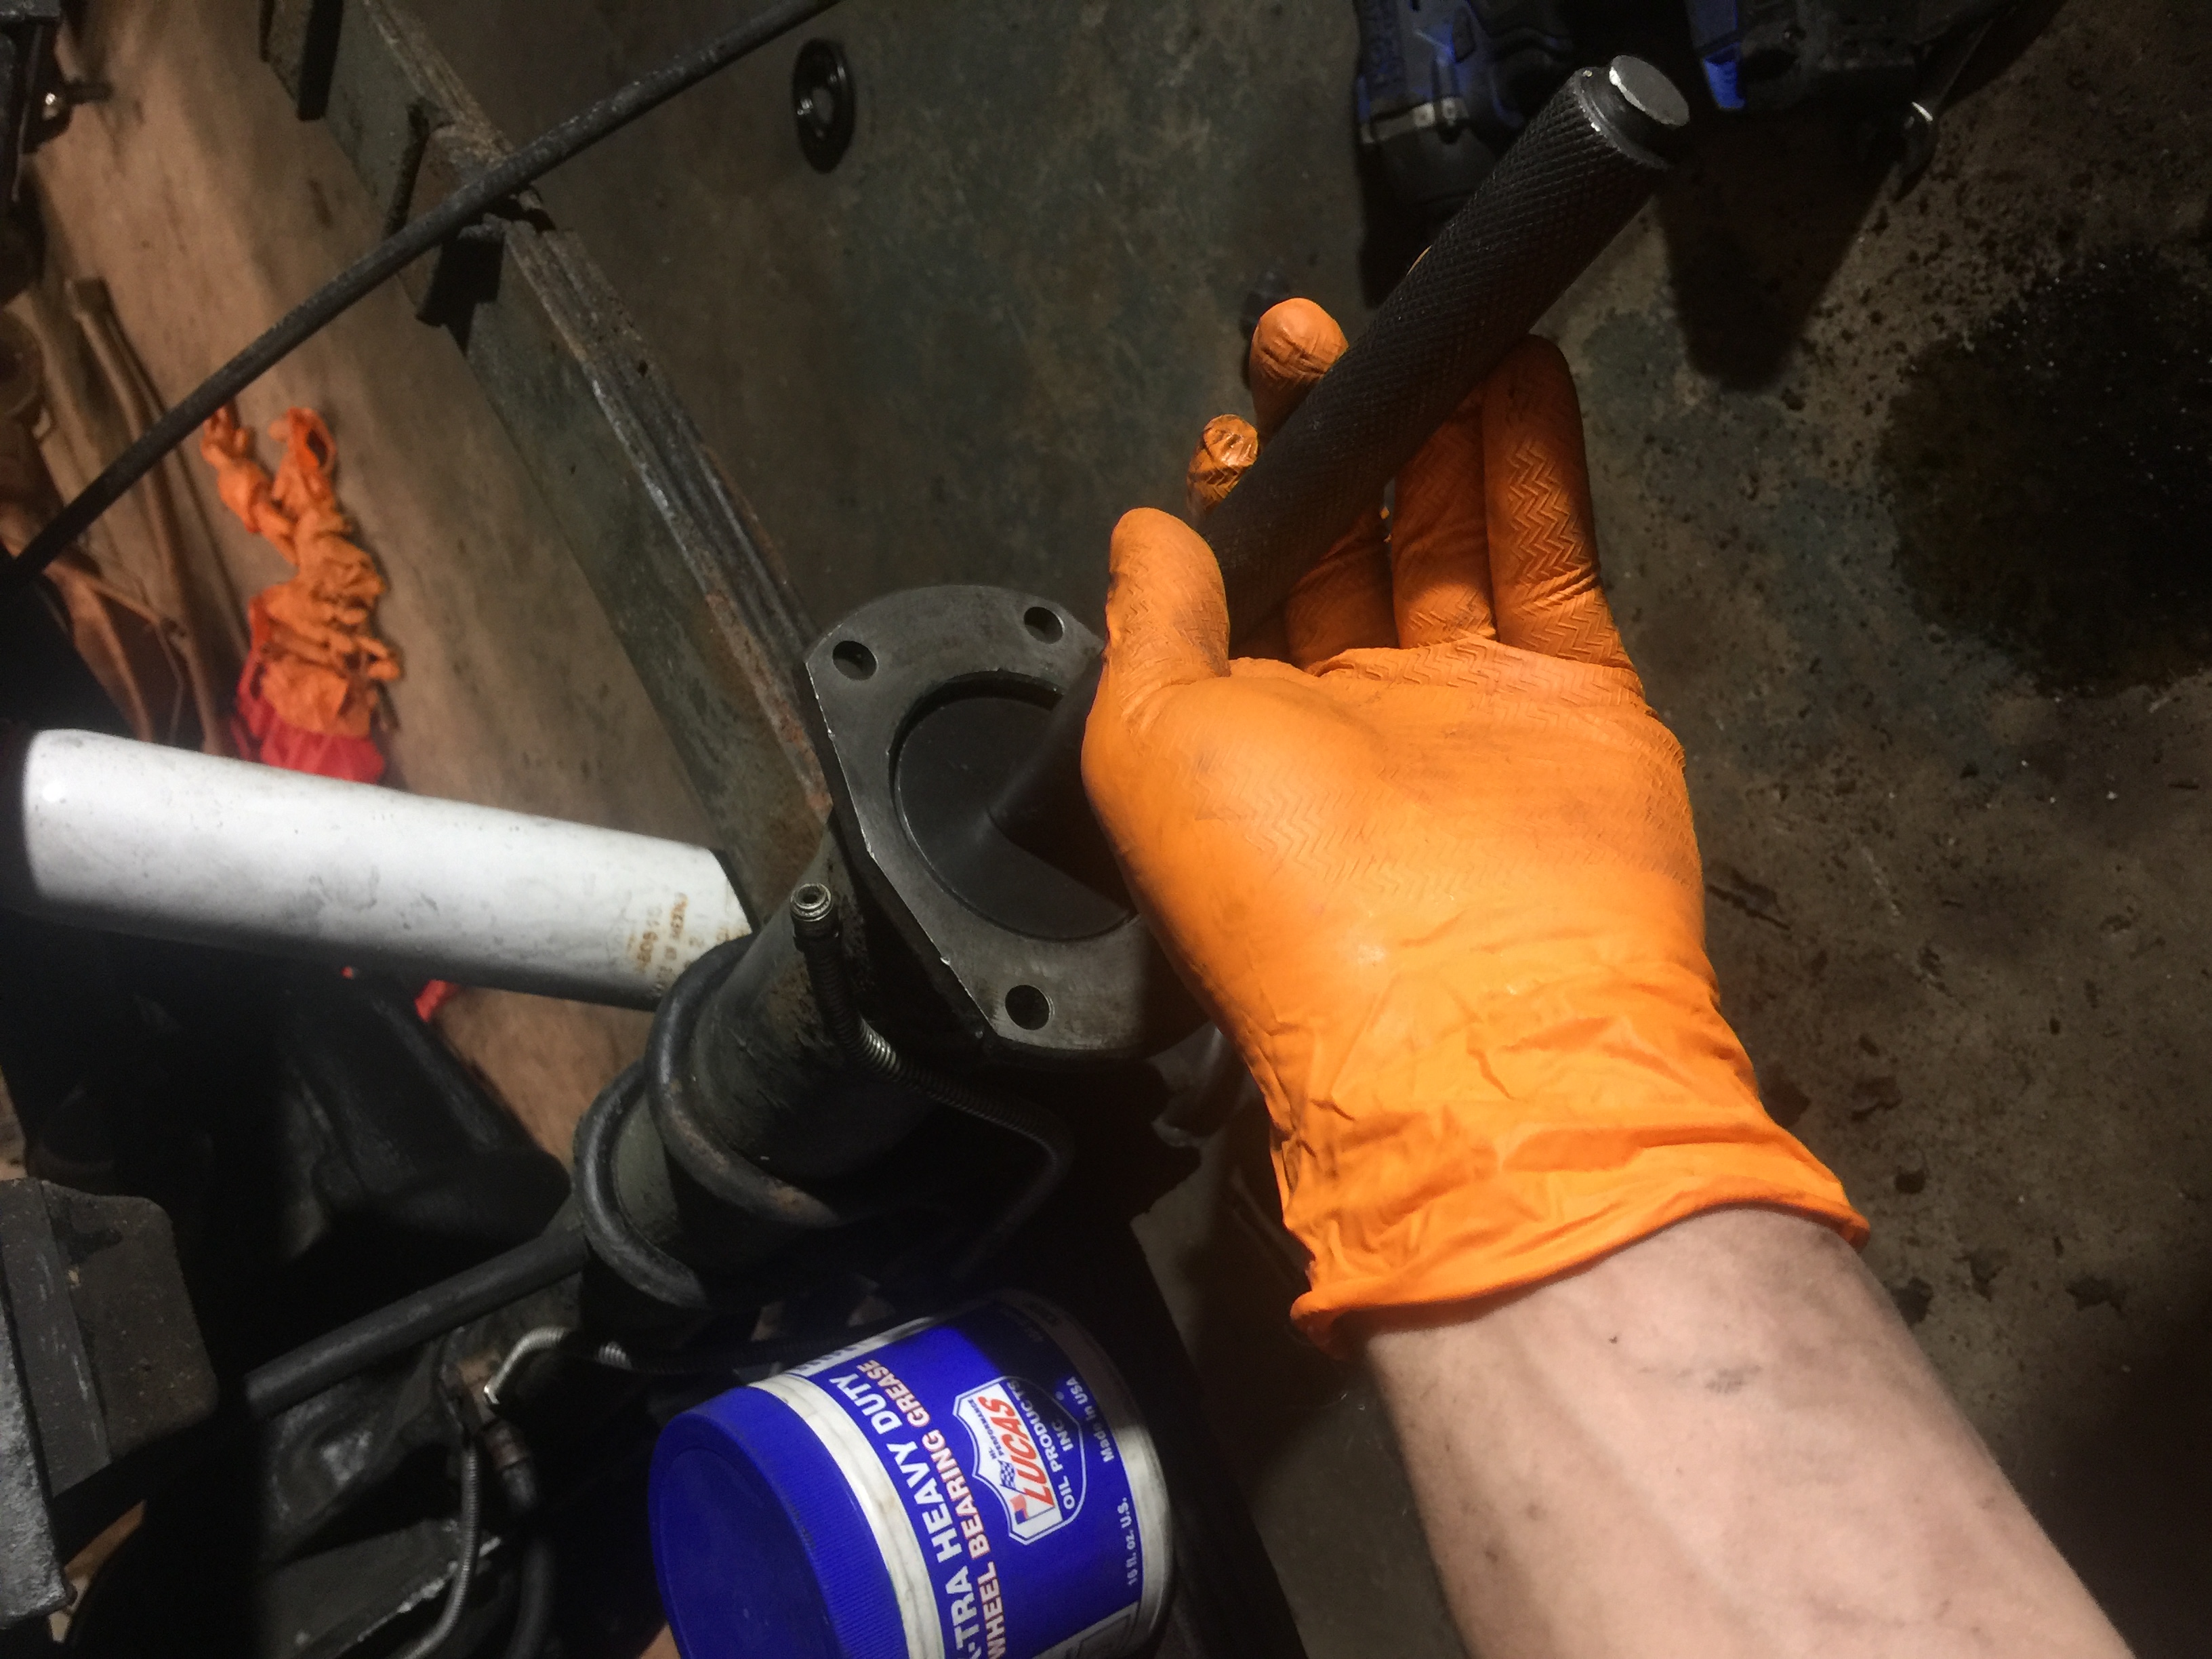
2.) Install the bearing spacer into the housing making sure it does not press against the inner seal. (tip. the bearing spacer has two sides, the narrower part will go towards the inside of the axle. It’s a good idea to have a slide hammer attachment for pulling pilot bearings, as this will greatly ease the many times you have to insert and remove the spacer to get the end stick out correct in step 3)
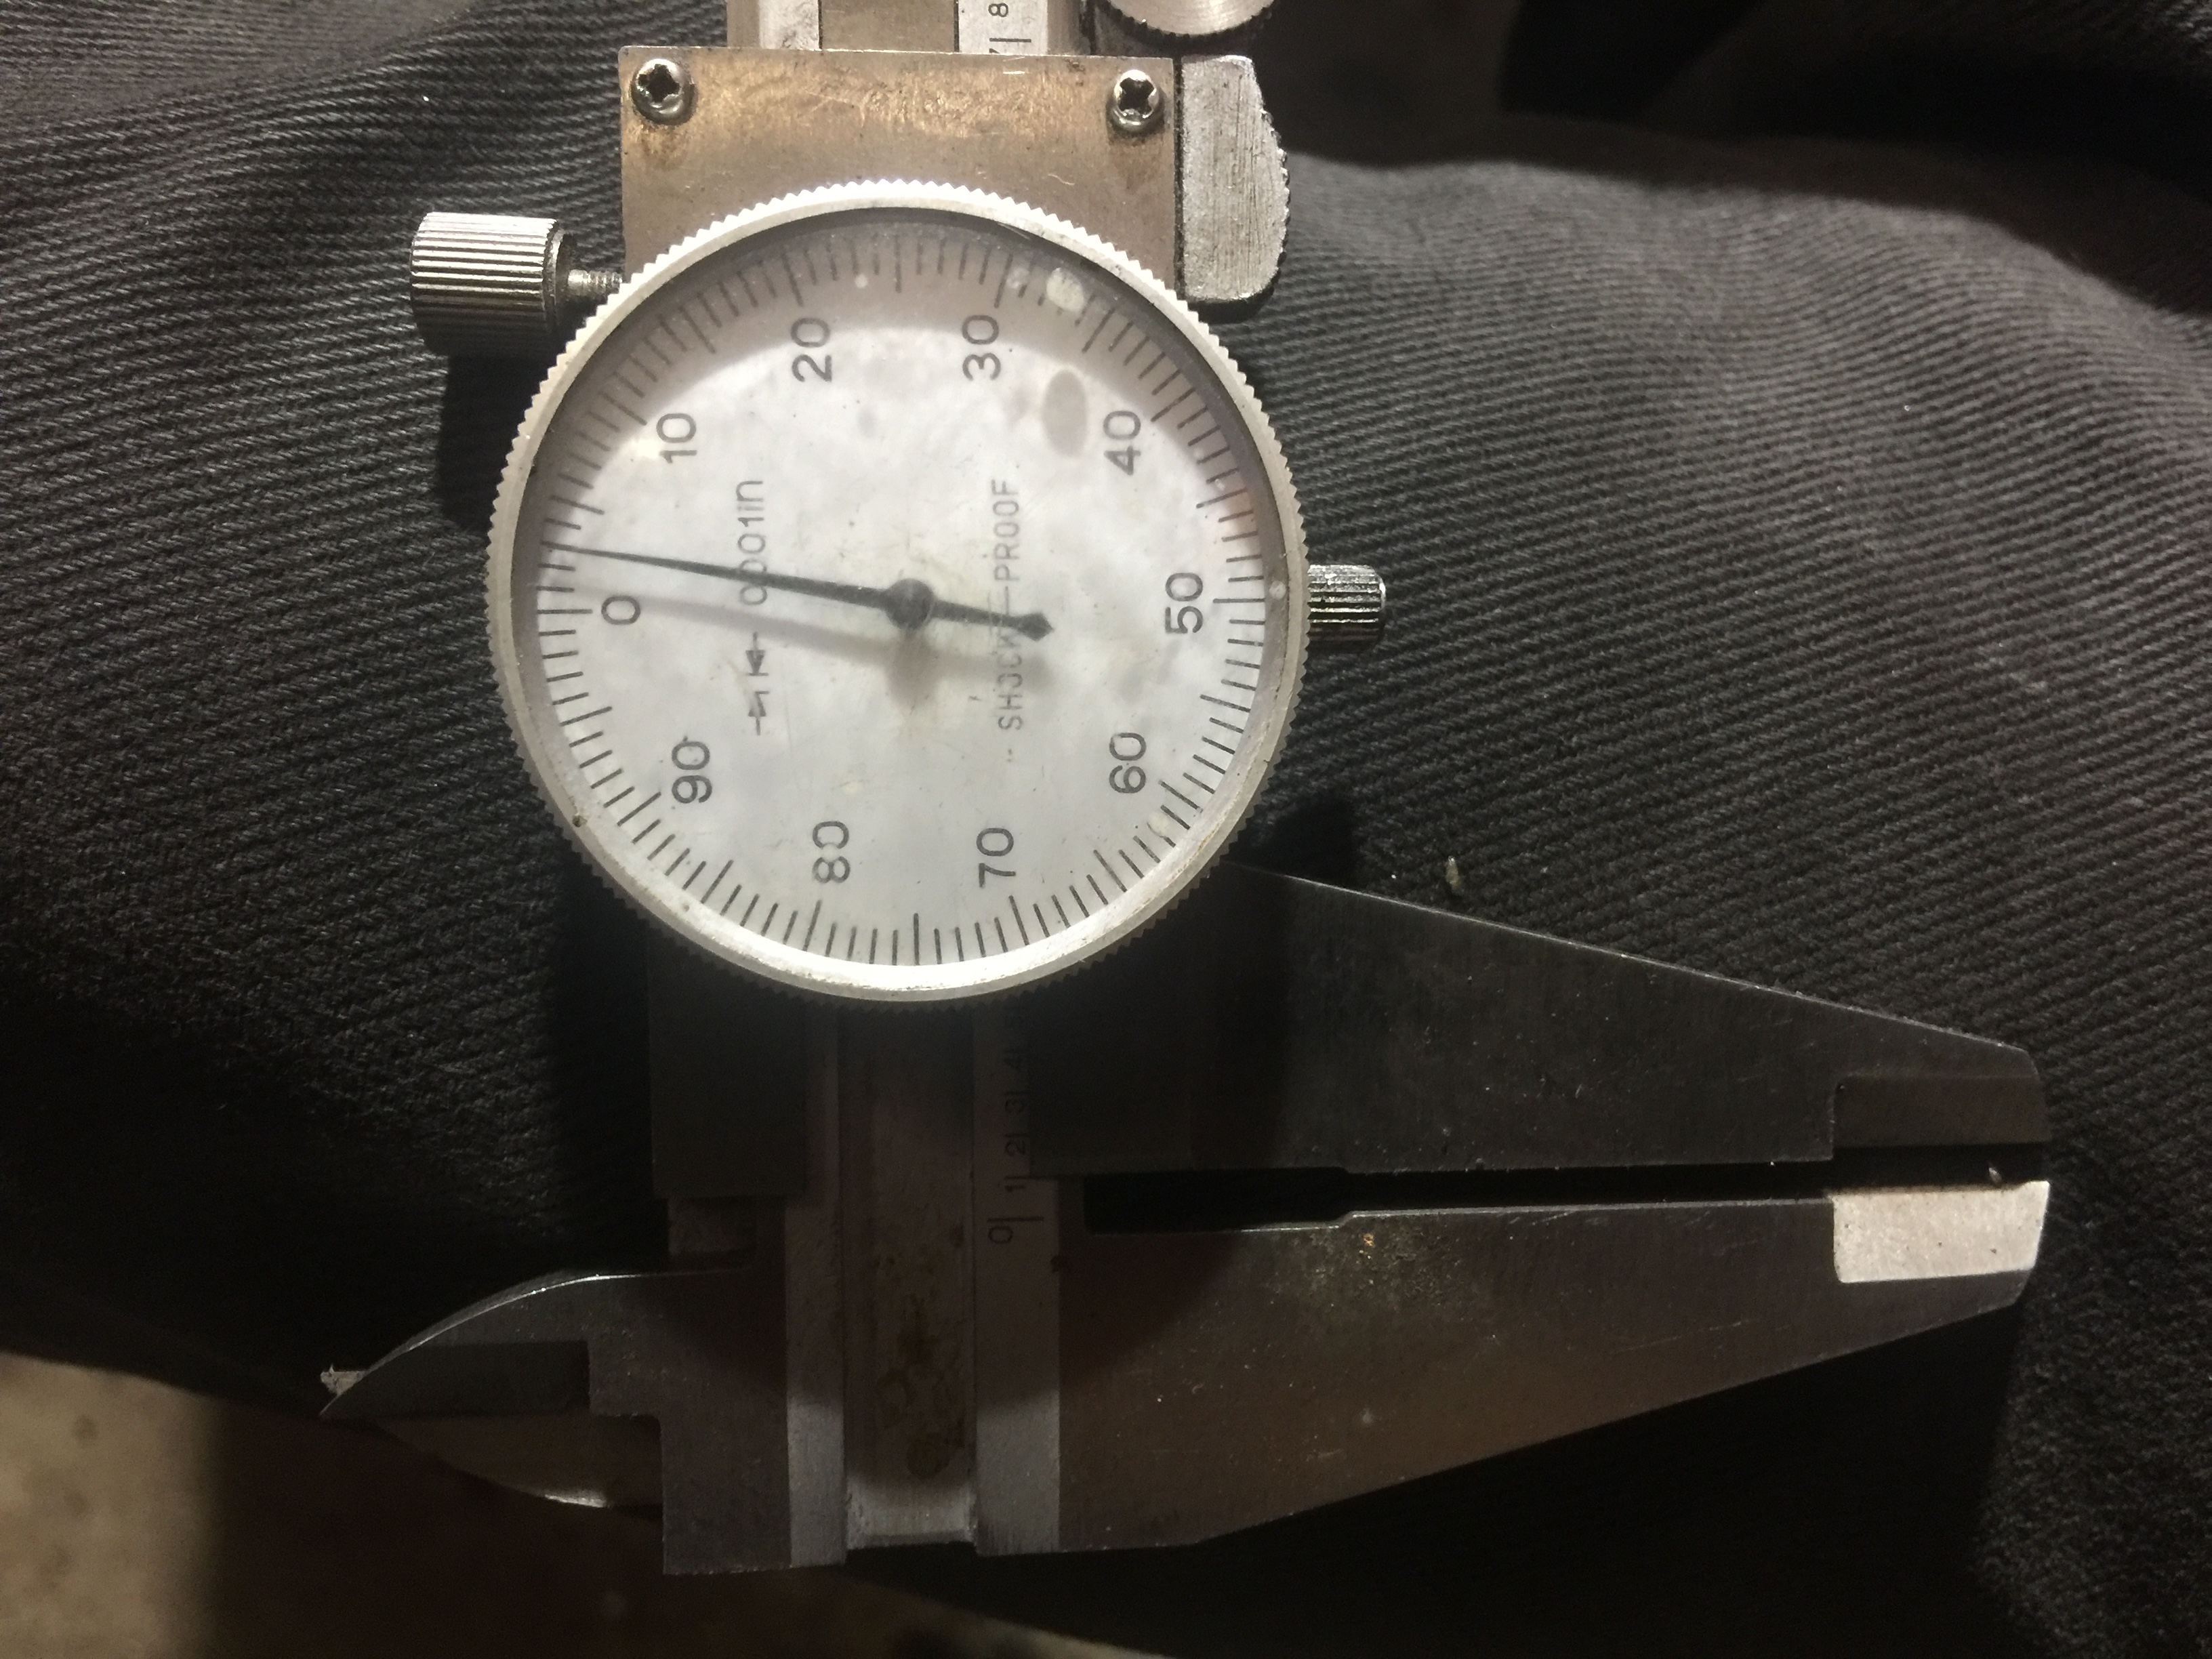
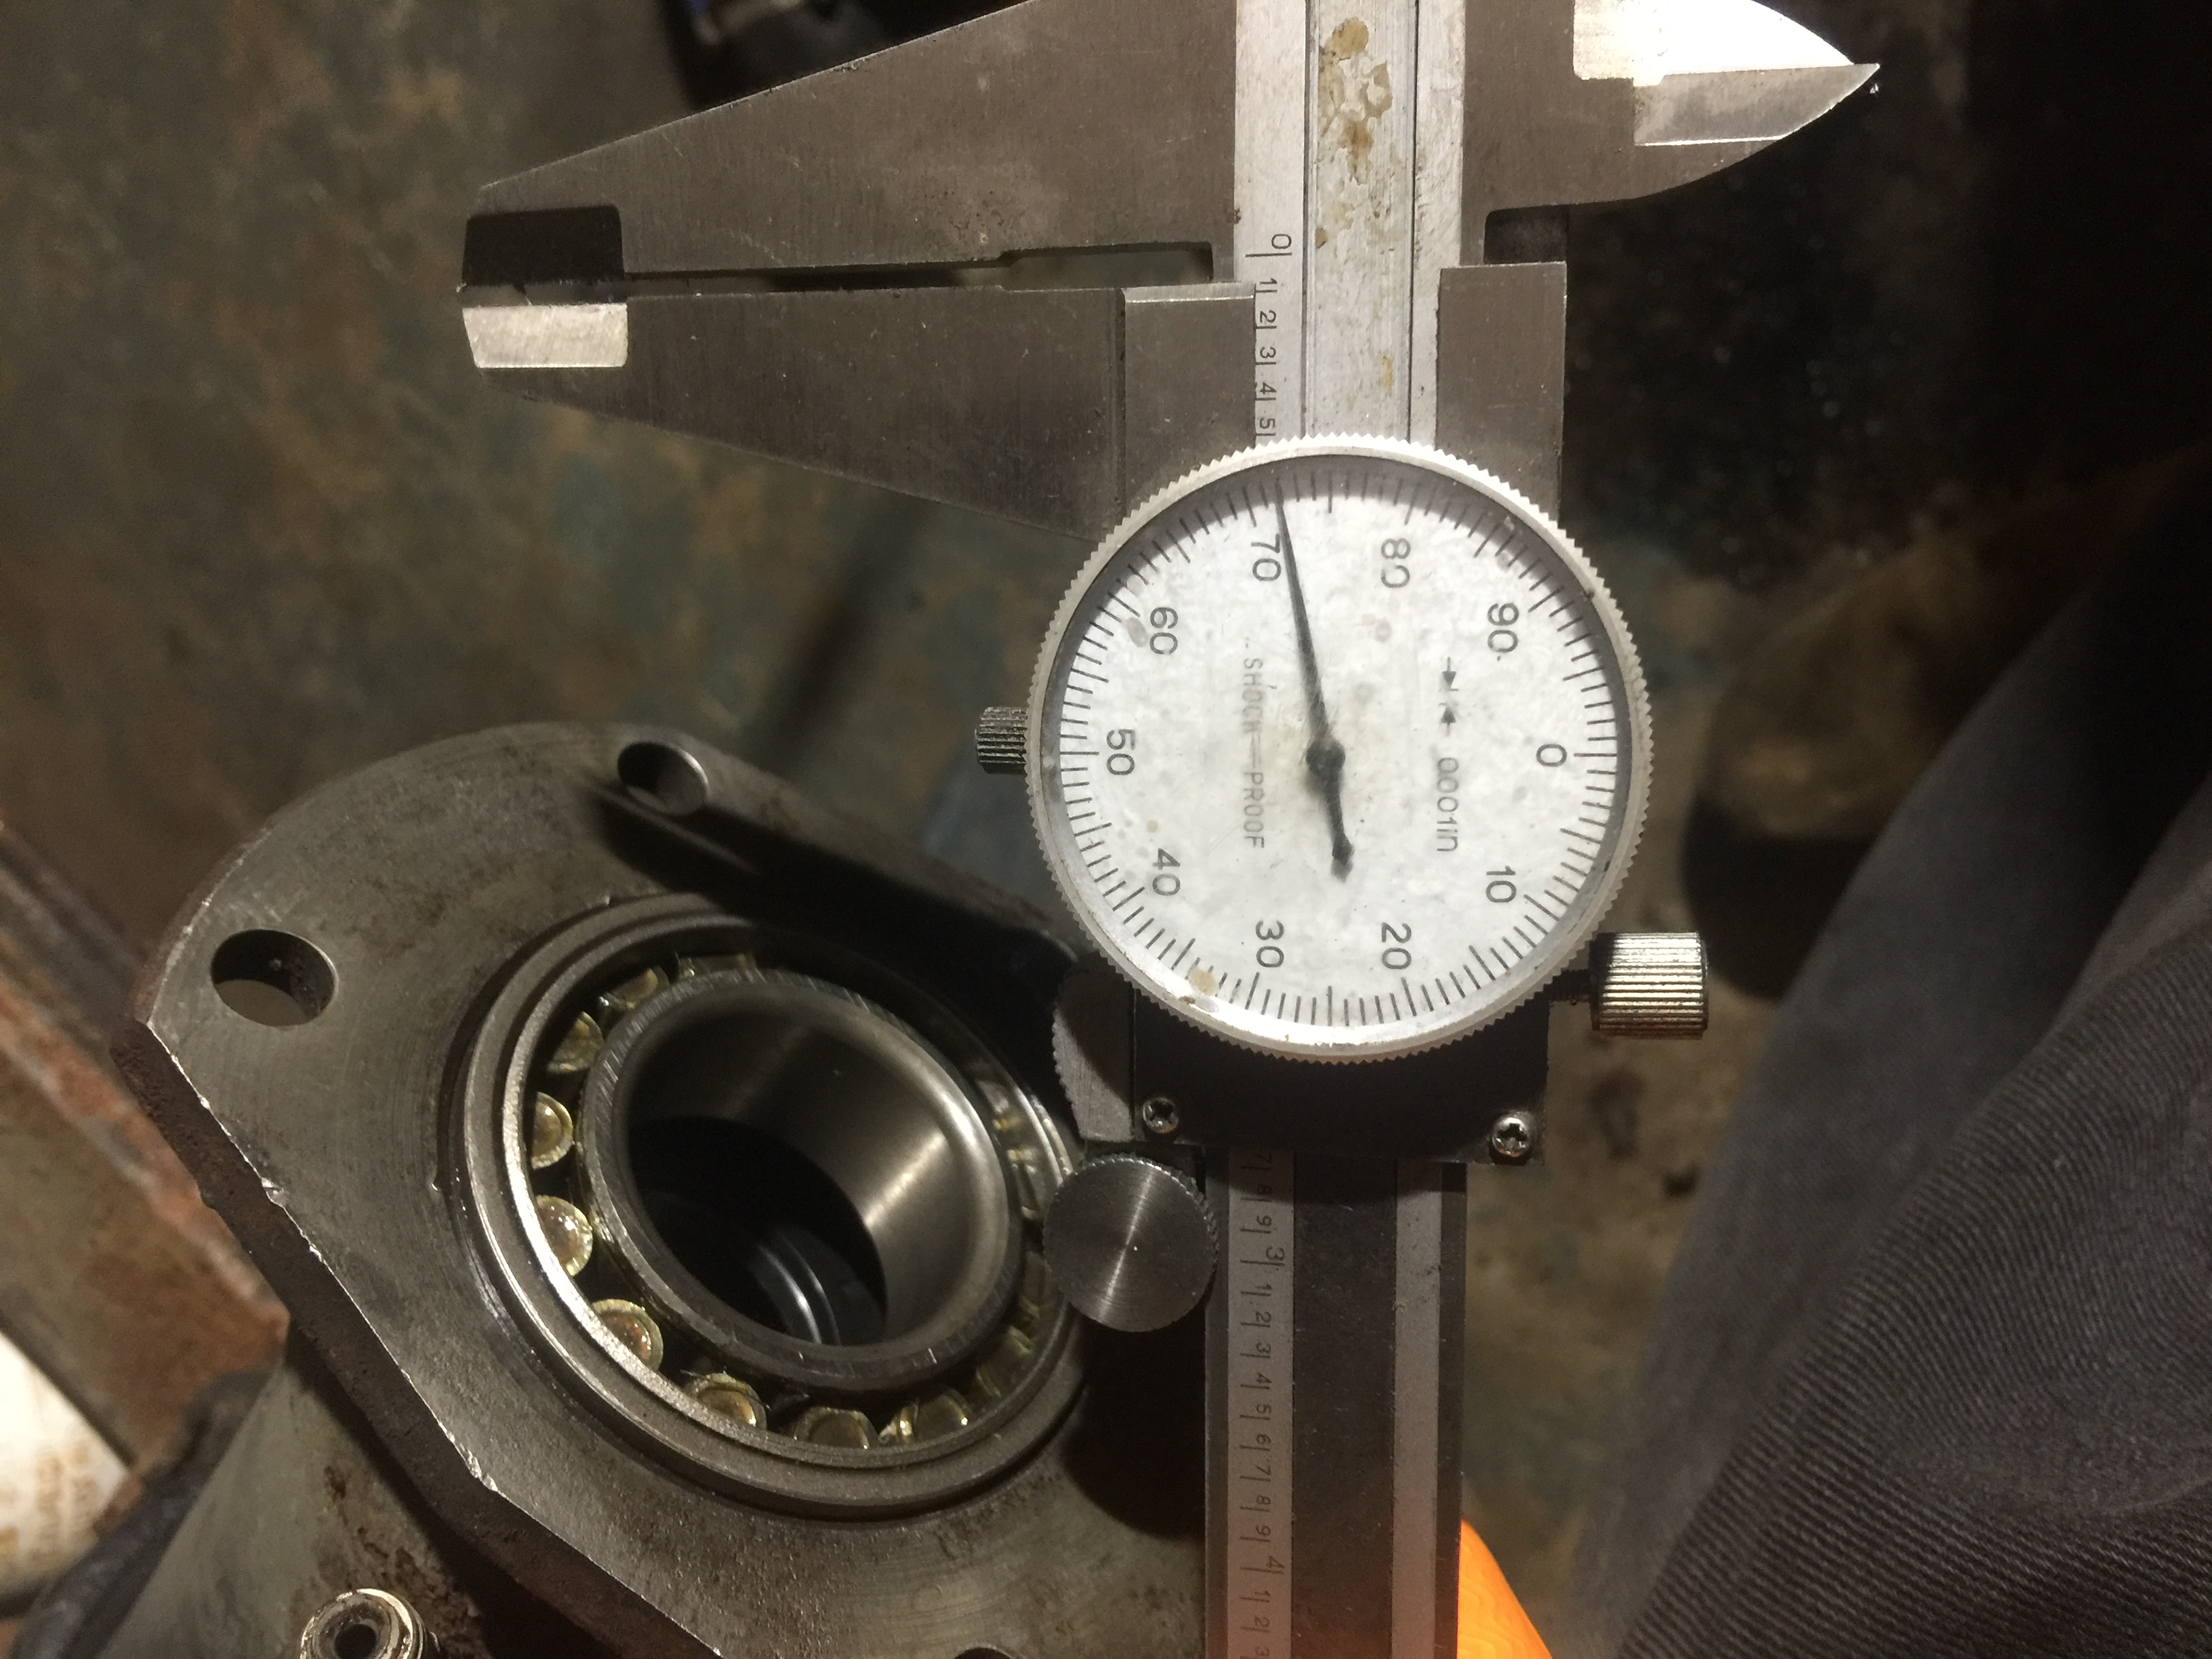
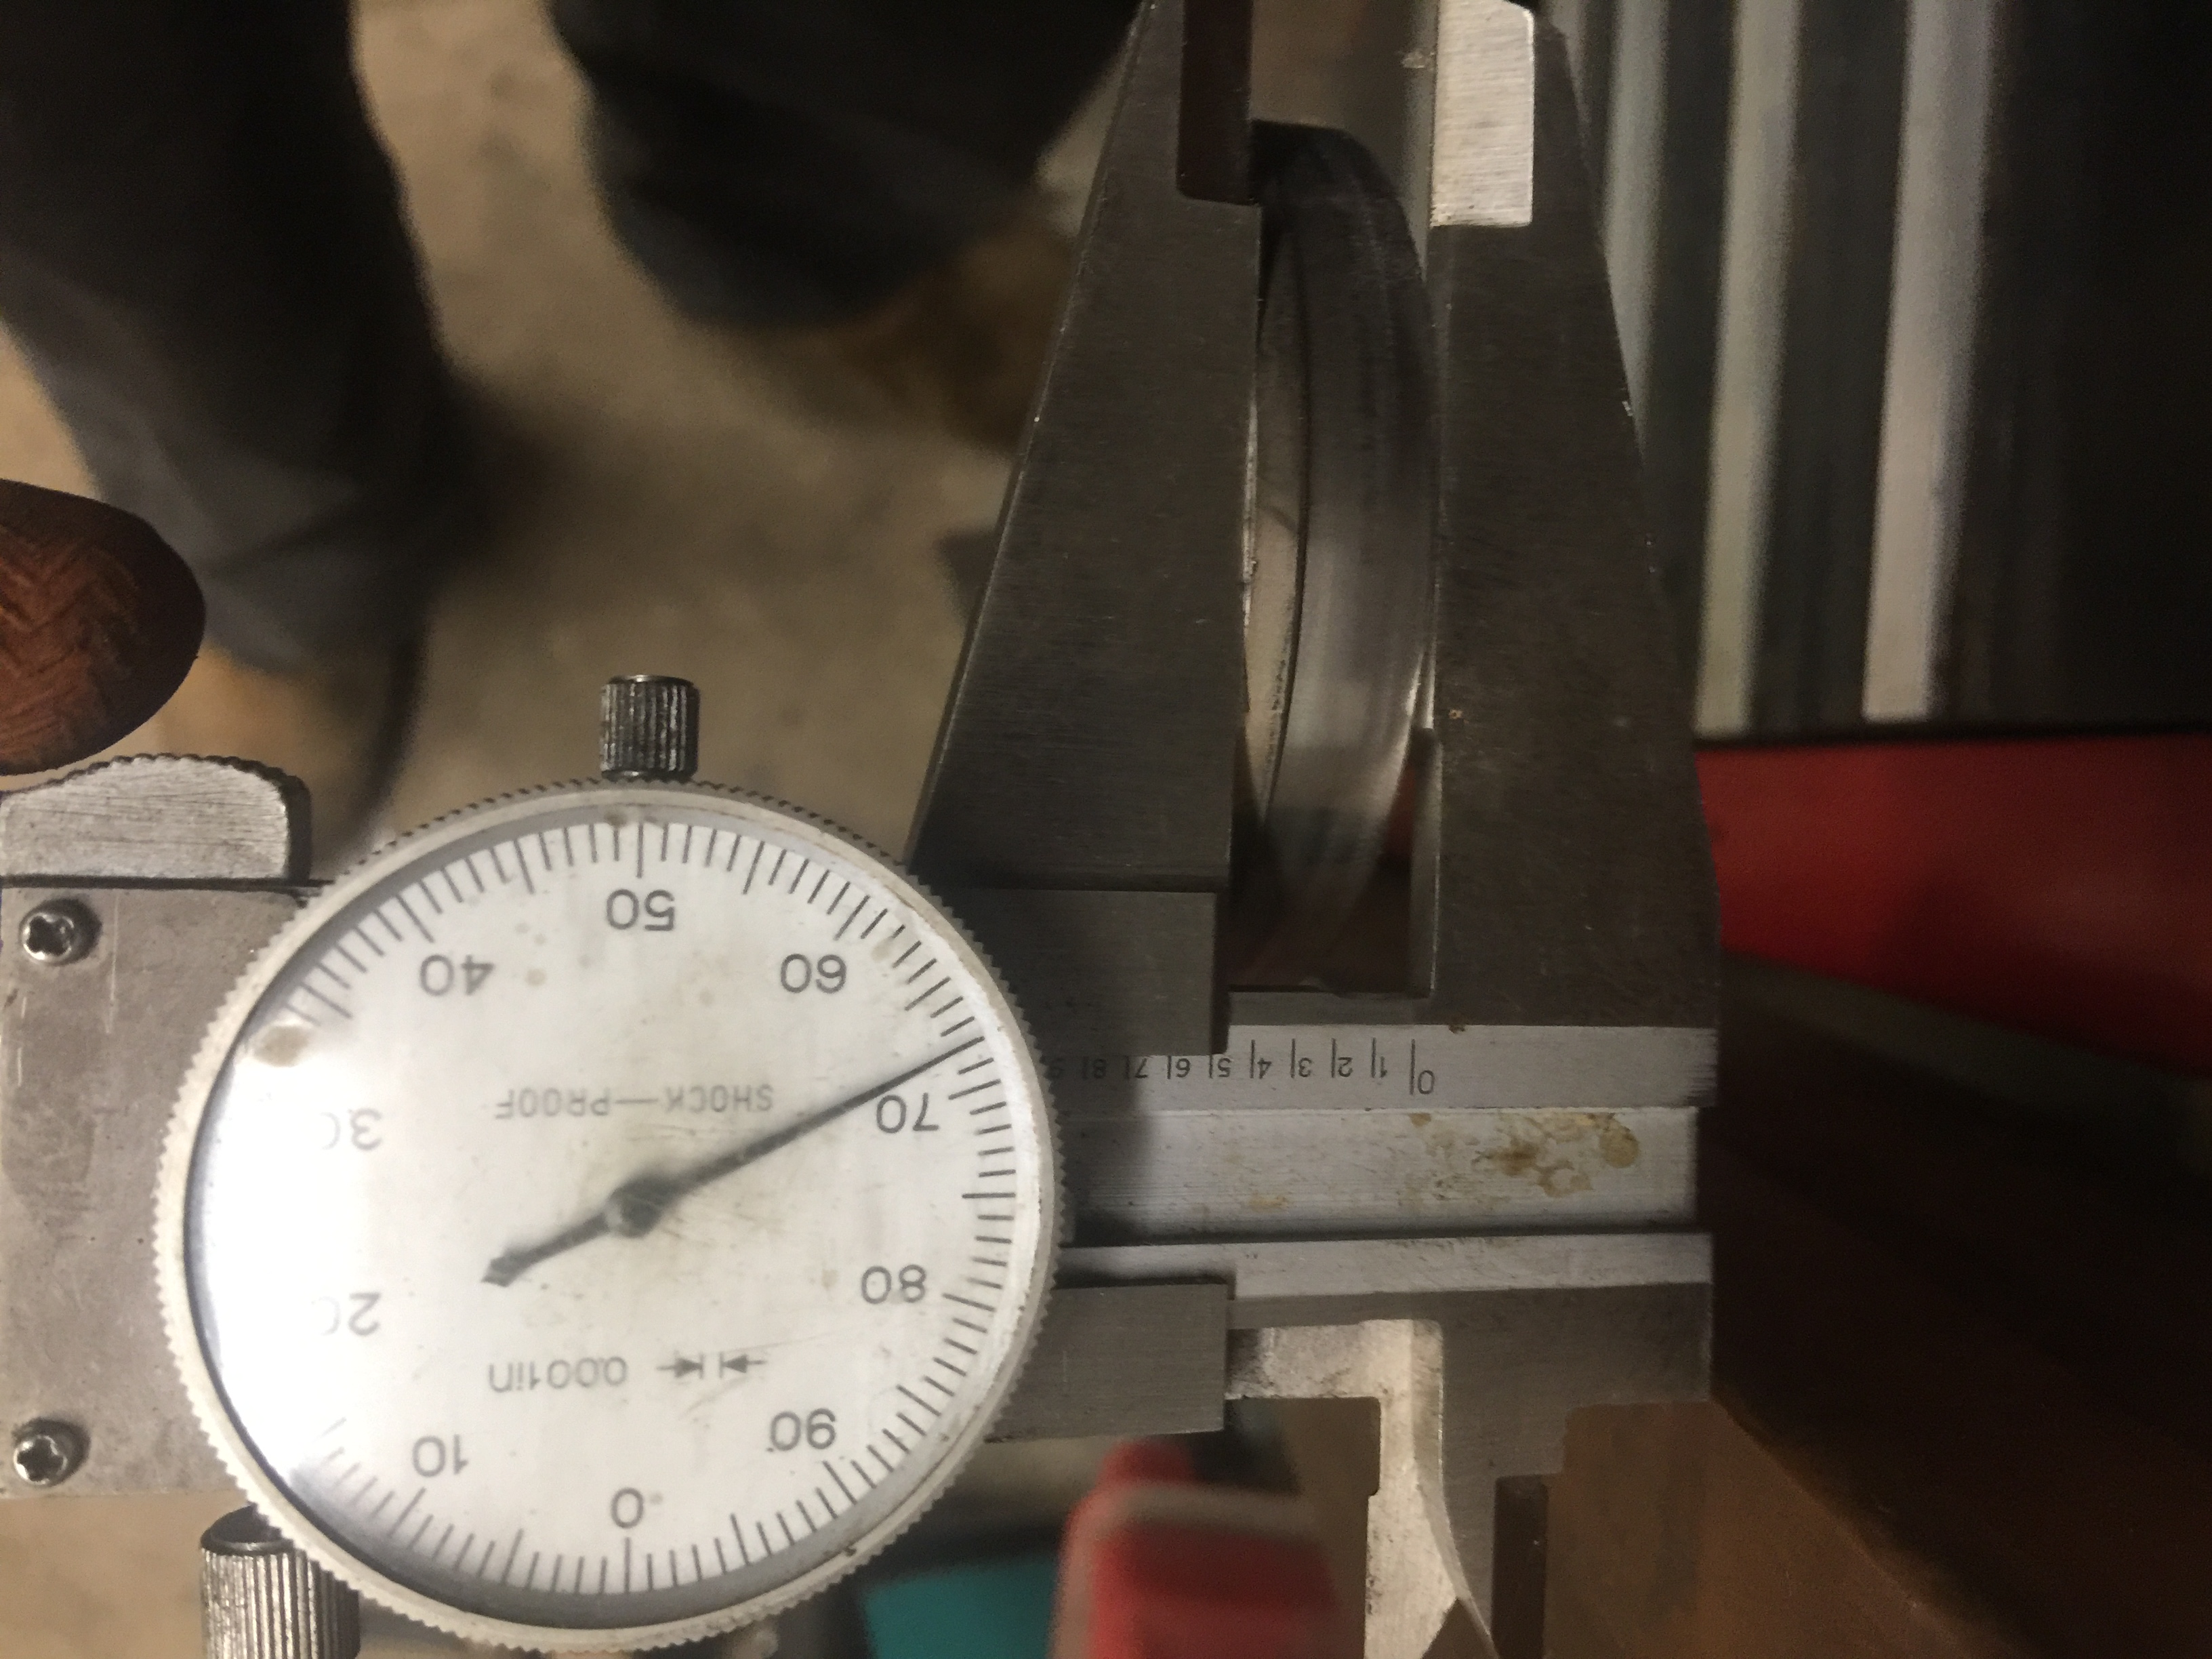
3.) Using the bearing assembly, check the fit of the bearing against the spacer. With the bearing all of the way in, the outer edge of the bearing needs to stick out 0.030.’ to 0.080″ from the end of the housing. The bearing spacer may need to be ground in order to reach this dimension. (tip. the part that needs to be ground to adjust the depth is the wider section that faces out, precision grinding is highly difficult without a lathe or similar equipment. )
*** how to adjust the spacer
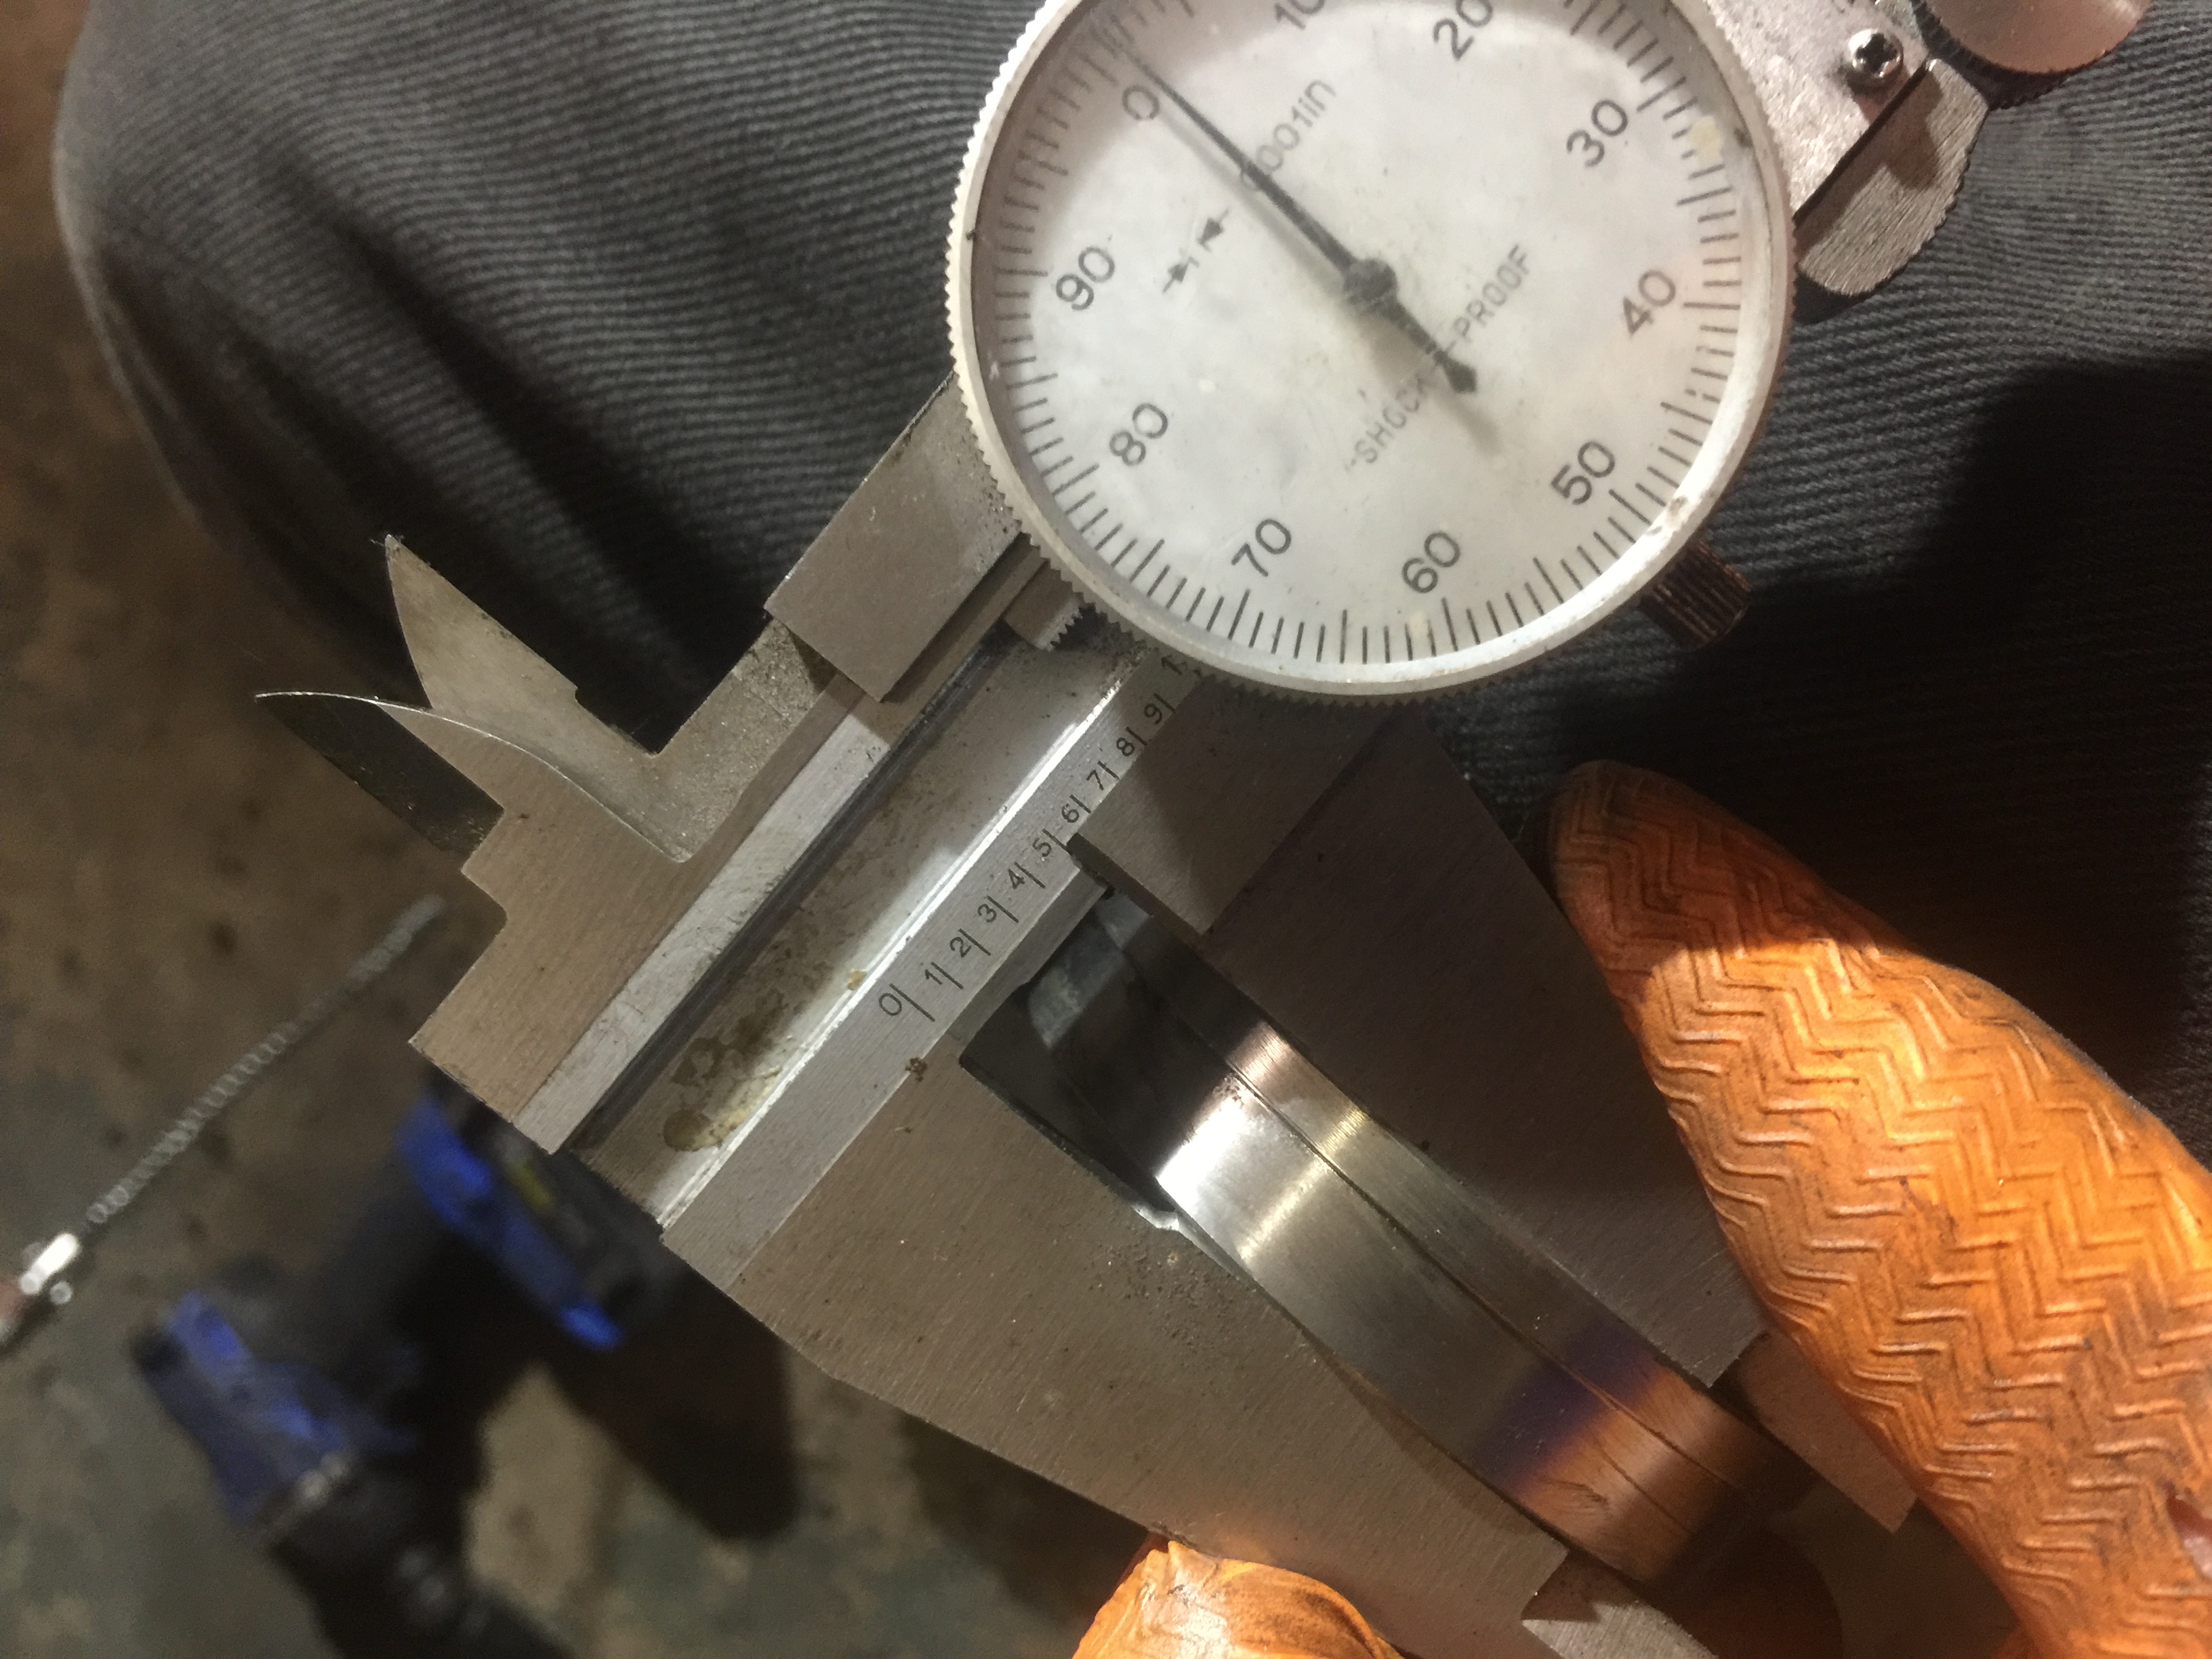
3a.) Assemble the spacer into the axle housing and take an initial reading. If it is not in spec, determine by how much. For example if it sticks out .105 you will need to grind .040 to land nicely into the 0.030.’ to 0.080 range) Remember you need to grind the wider section that sticks out of the axle in order to adjust.
3b.) Measure the overall width of the spacer and remove the necessary amount of material.
3c.) Reassemble the spacer into the housing and verify that measurements are now in tolerance.
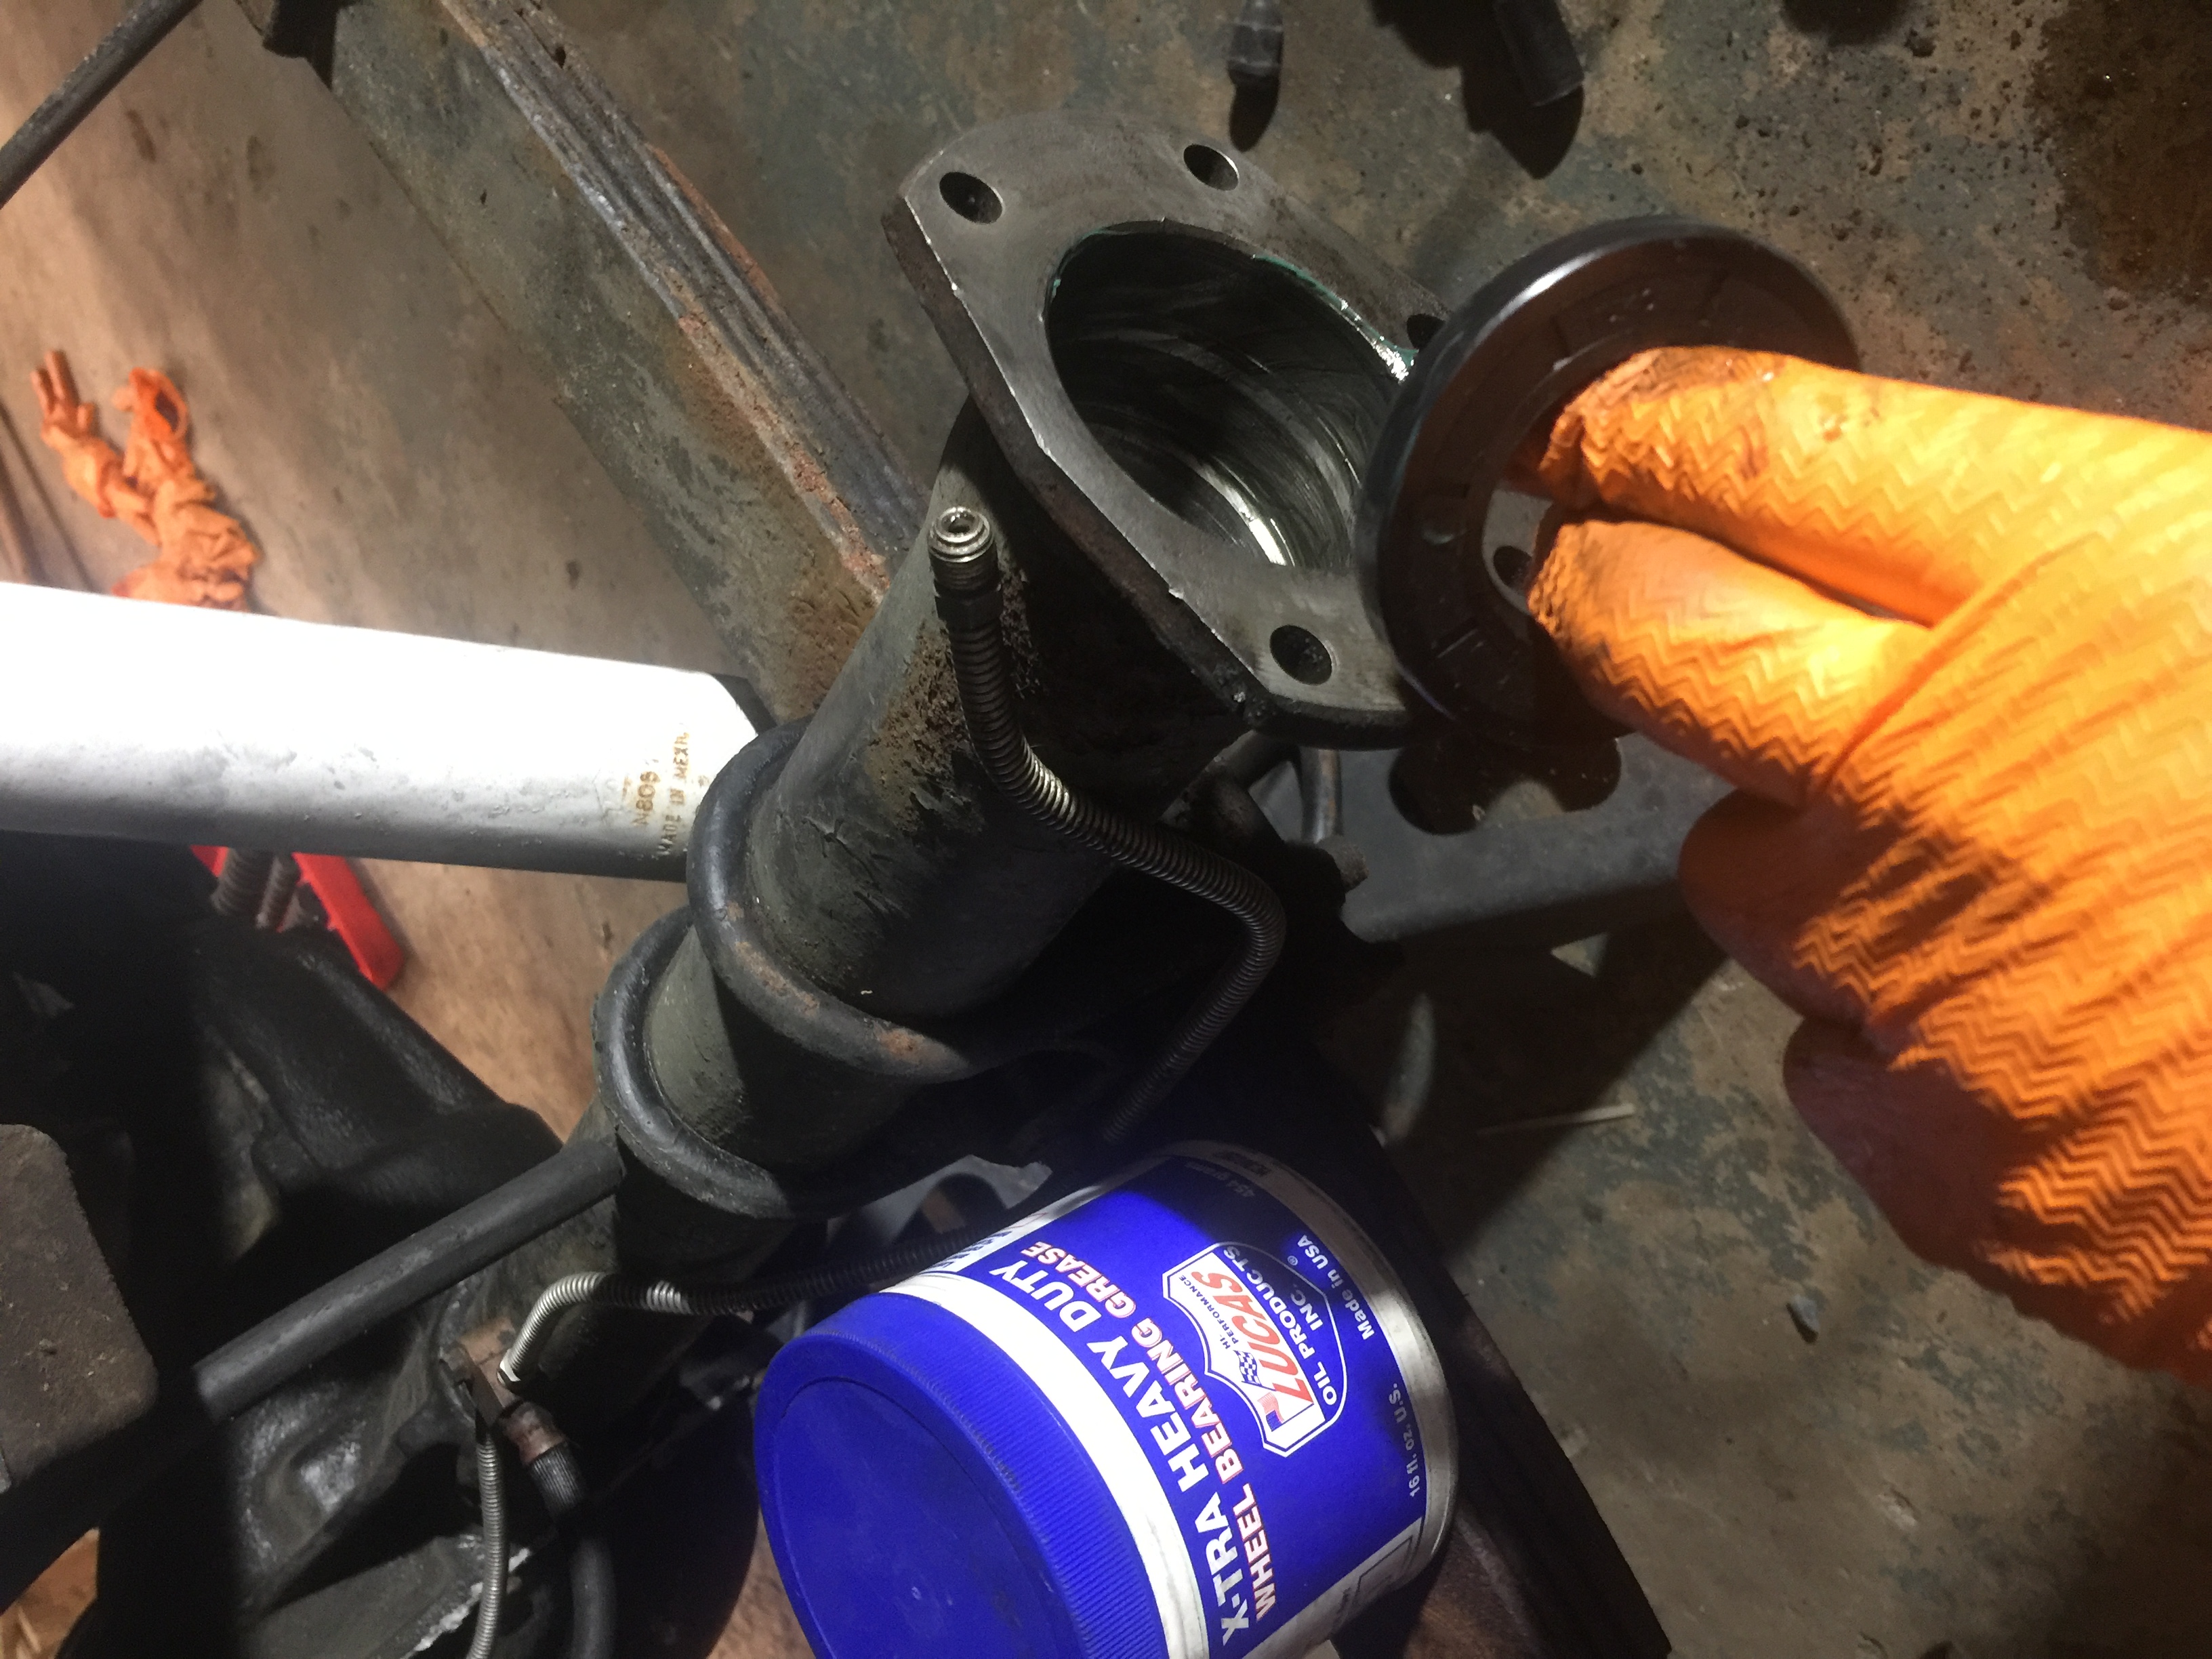
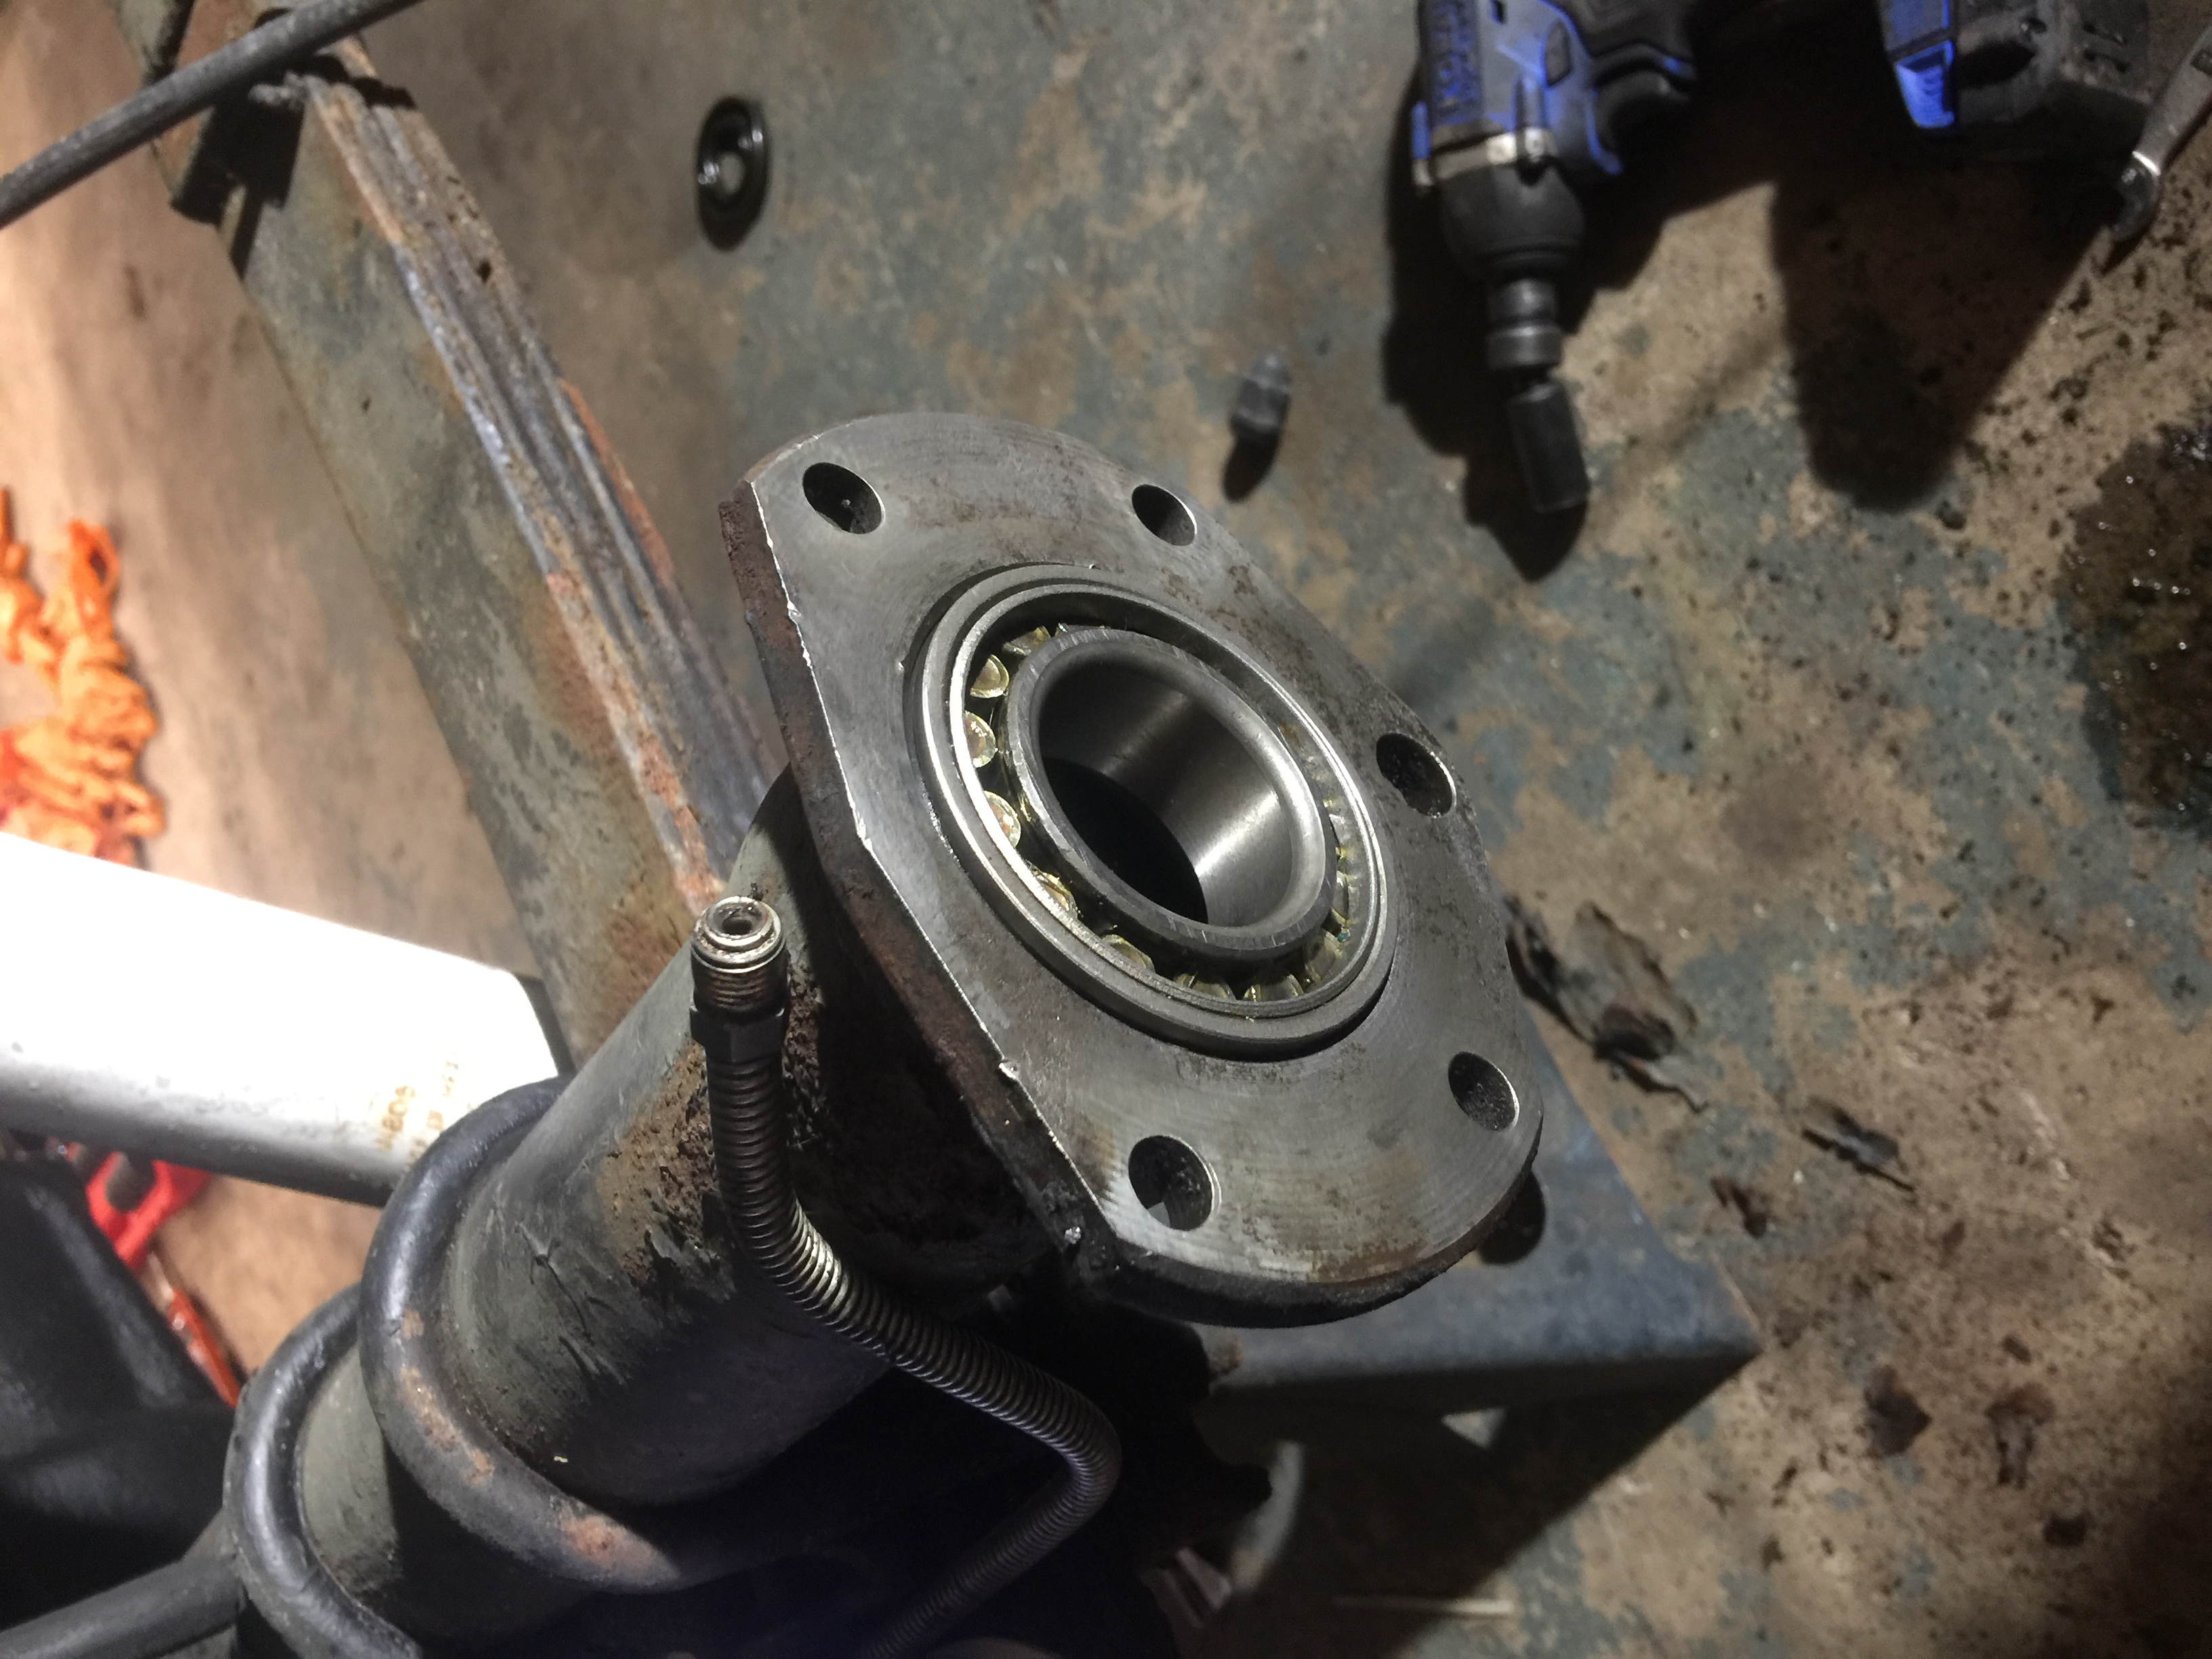
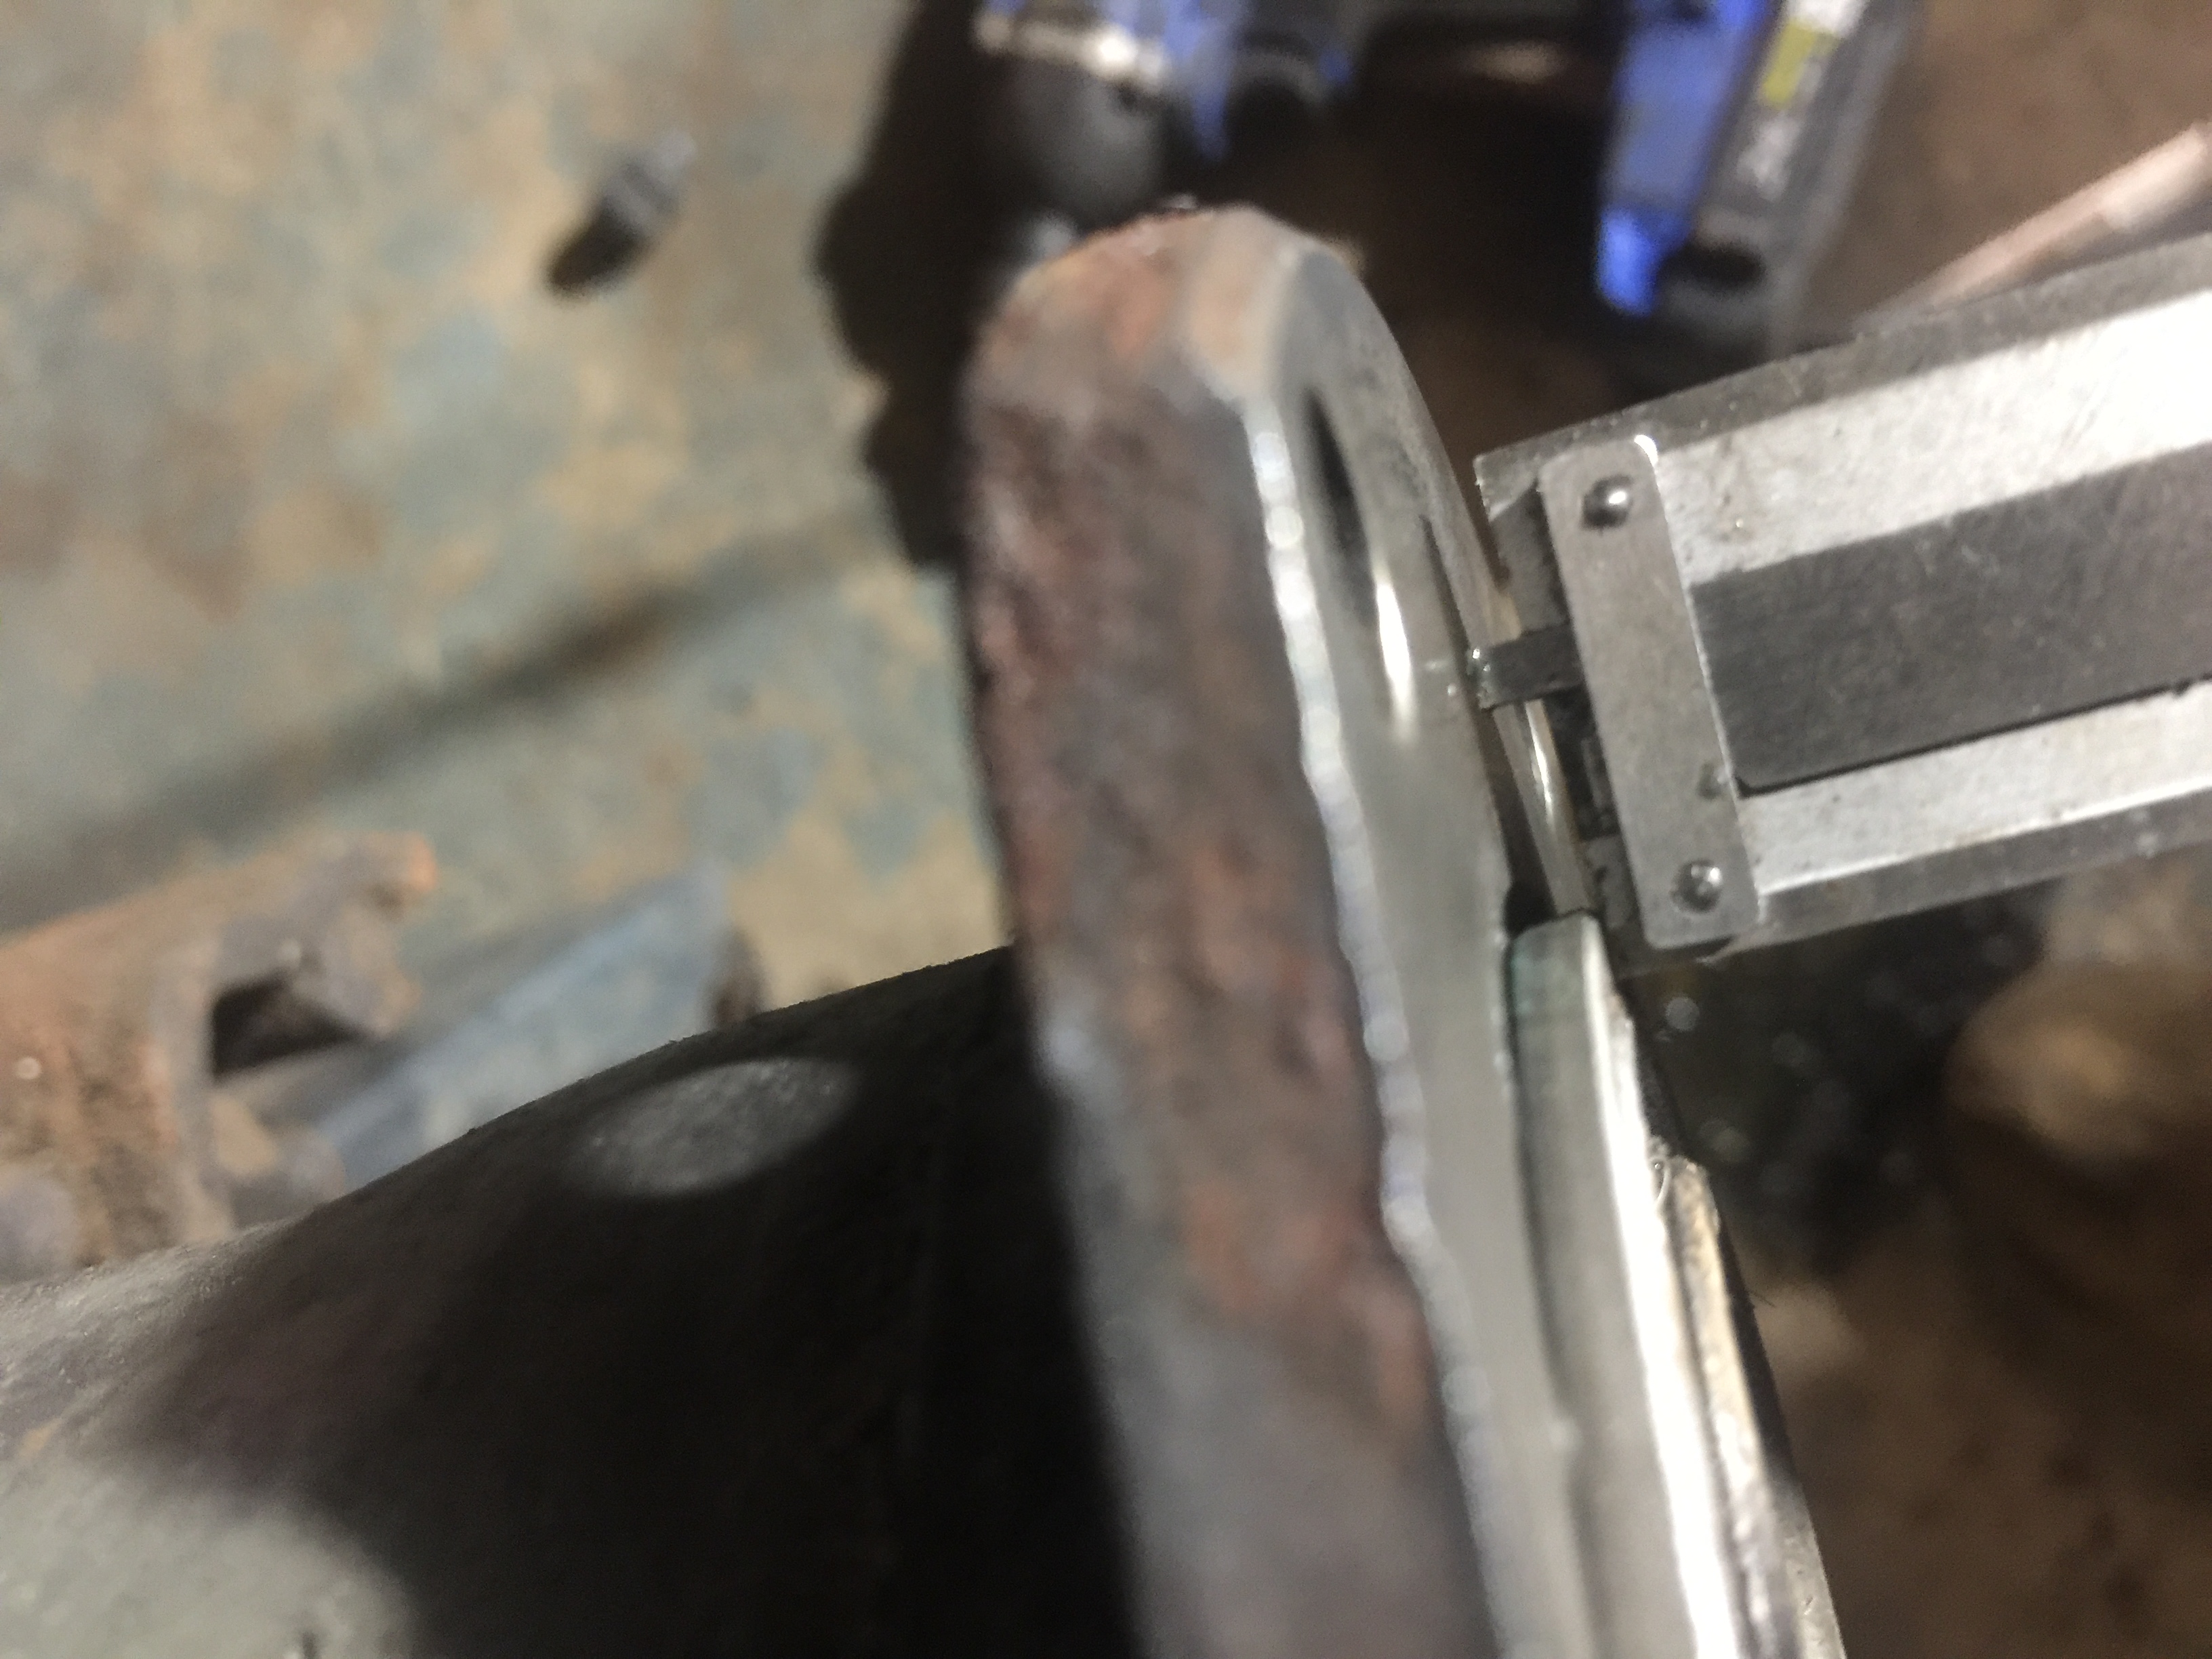
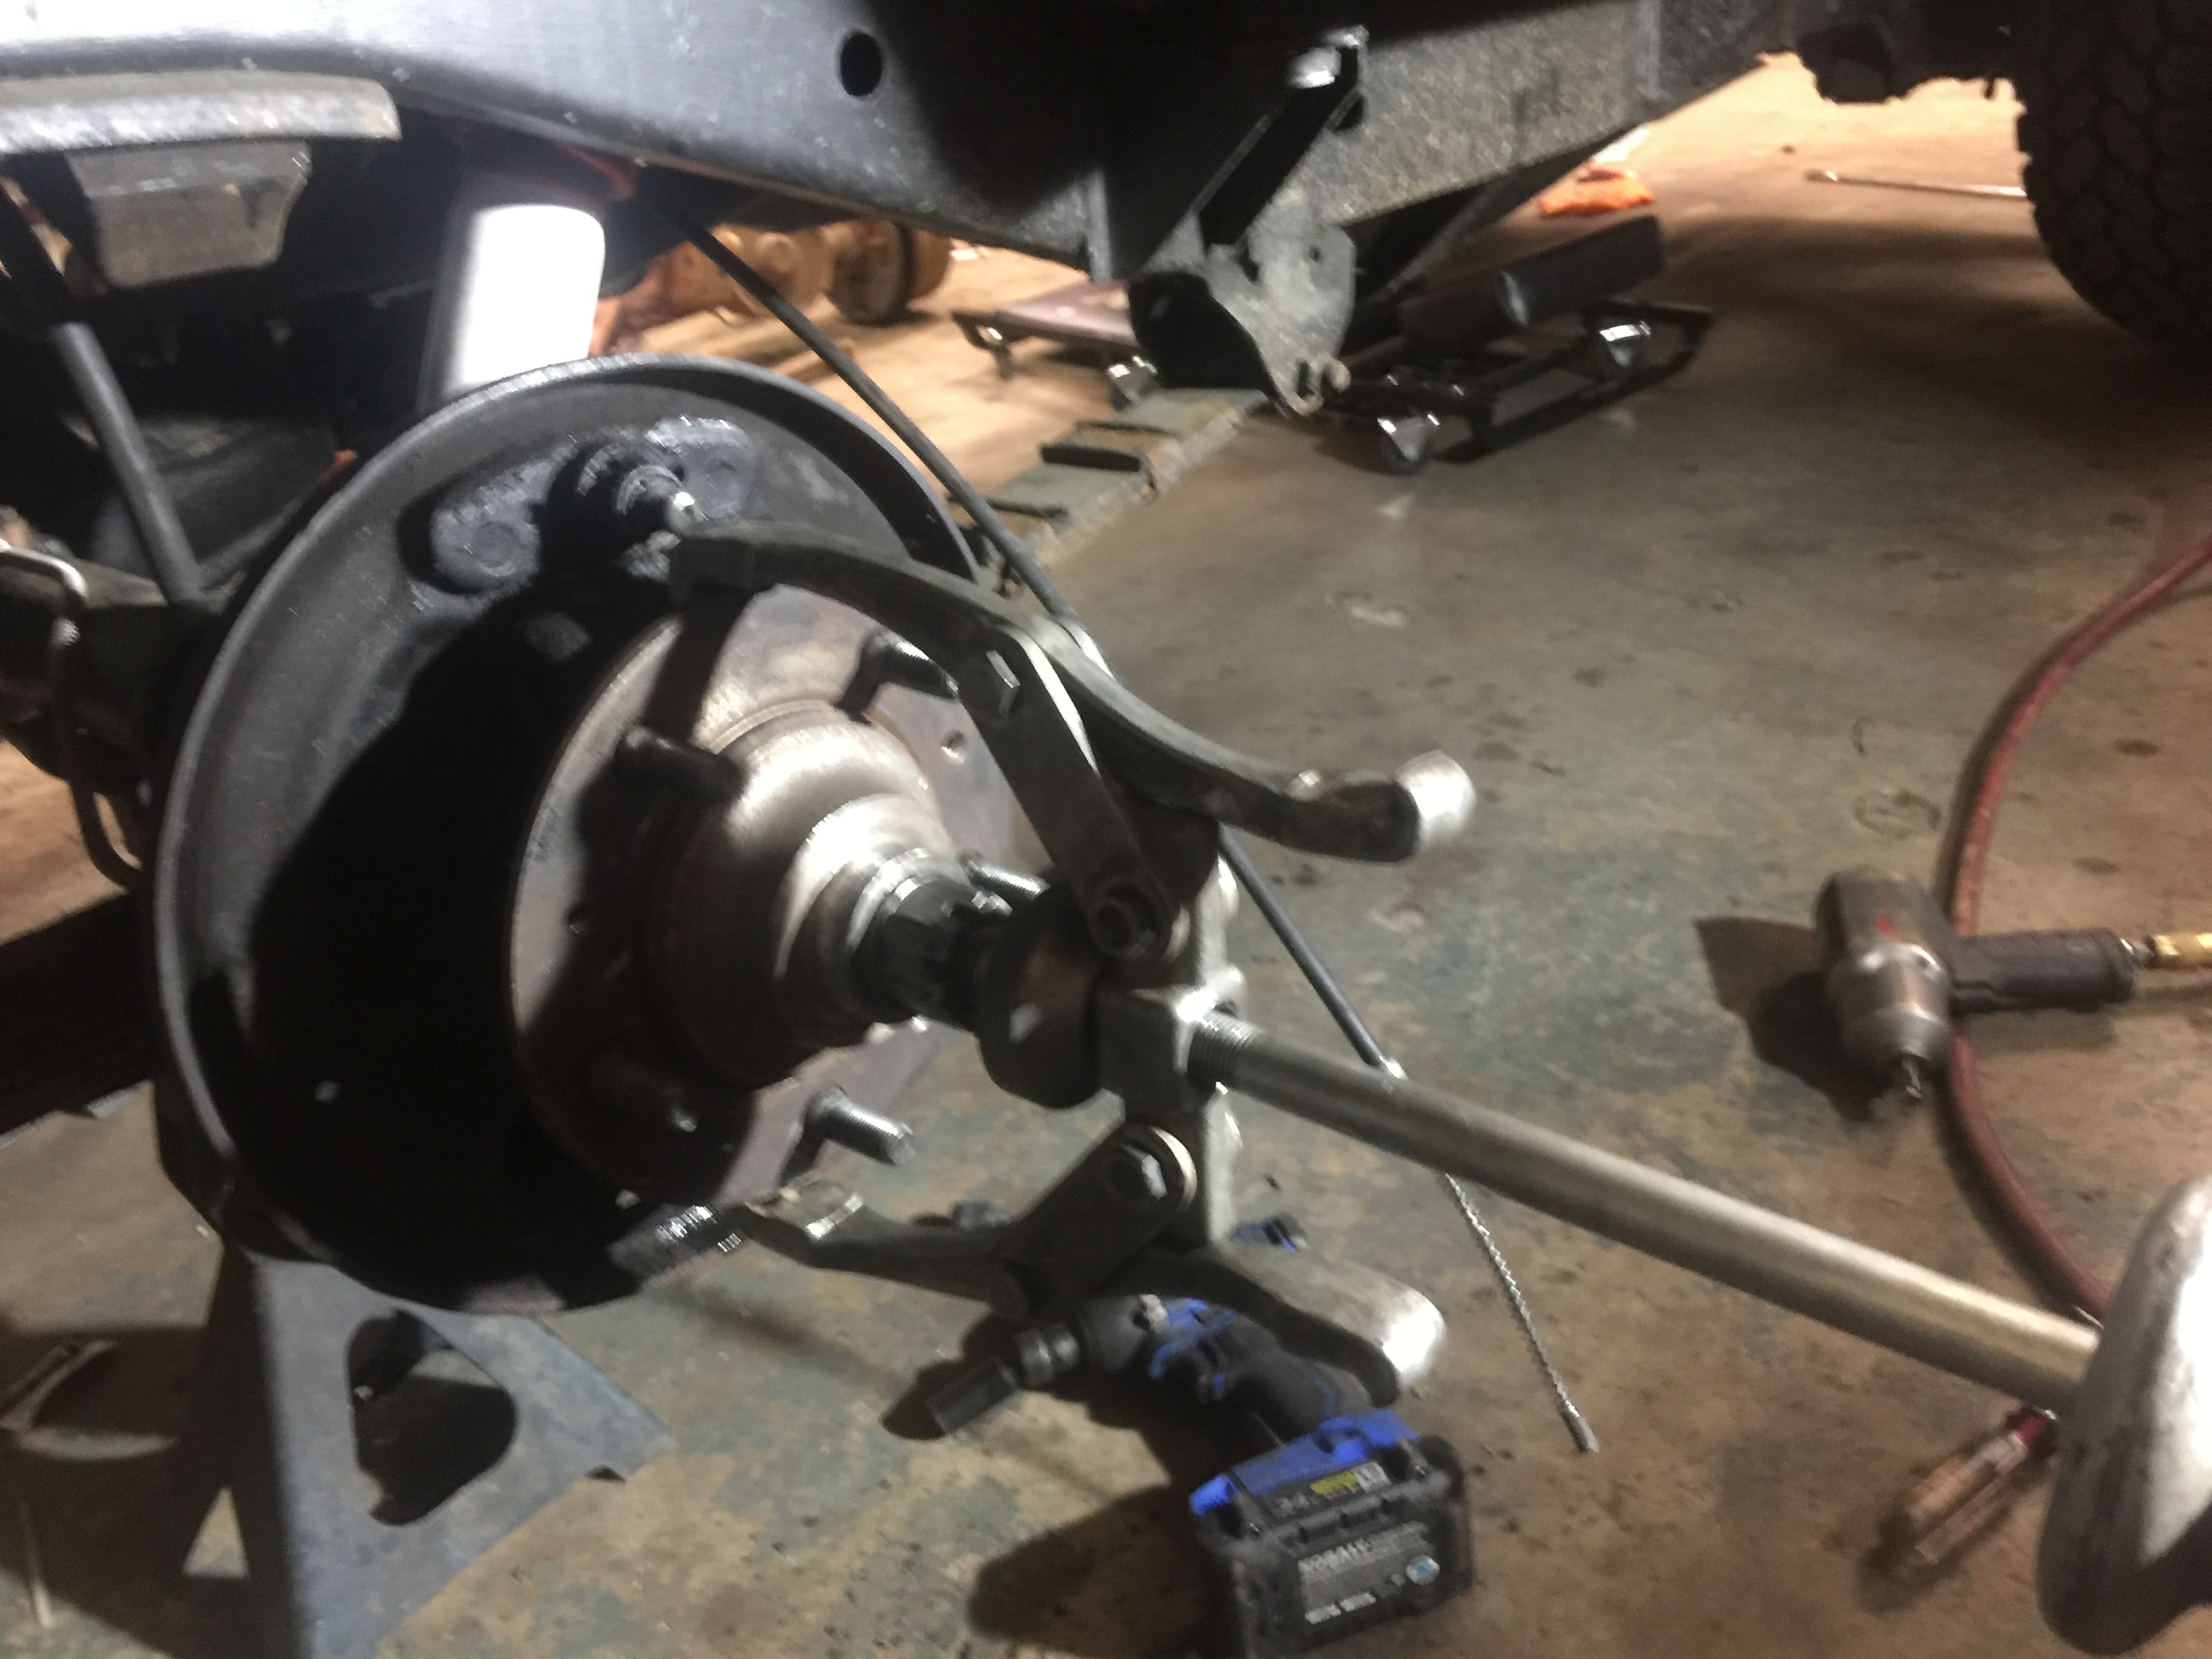
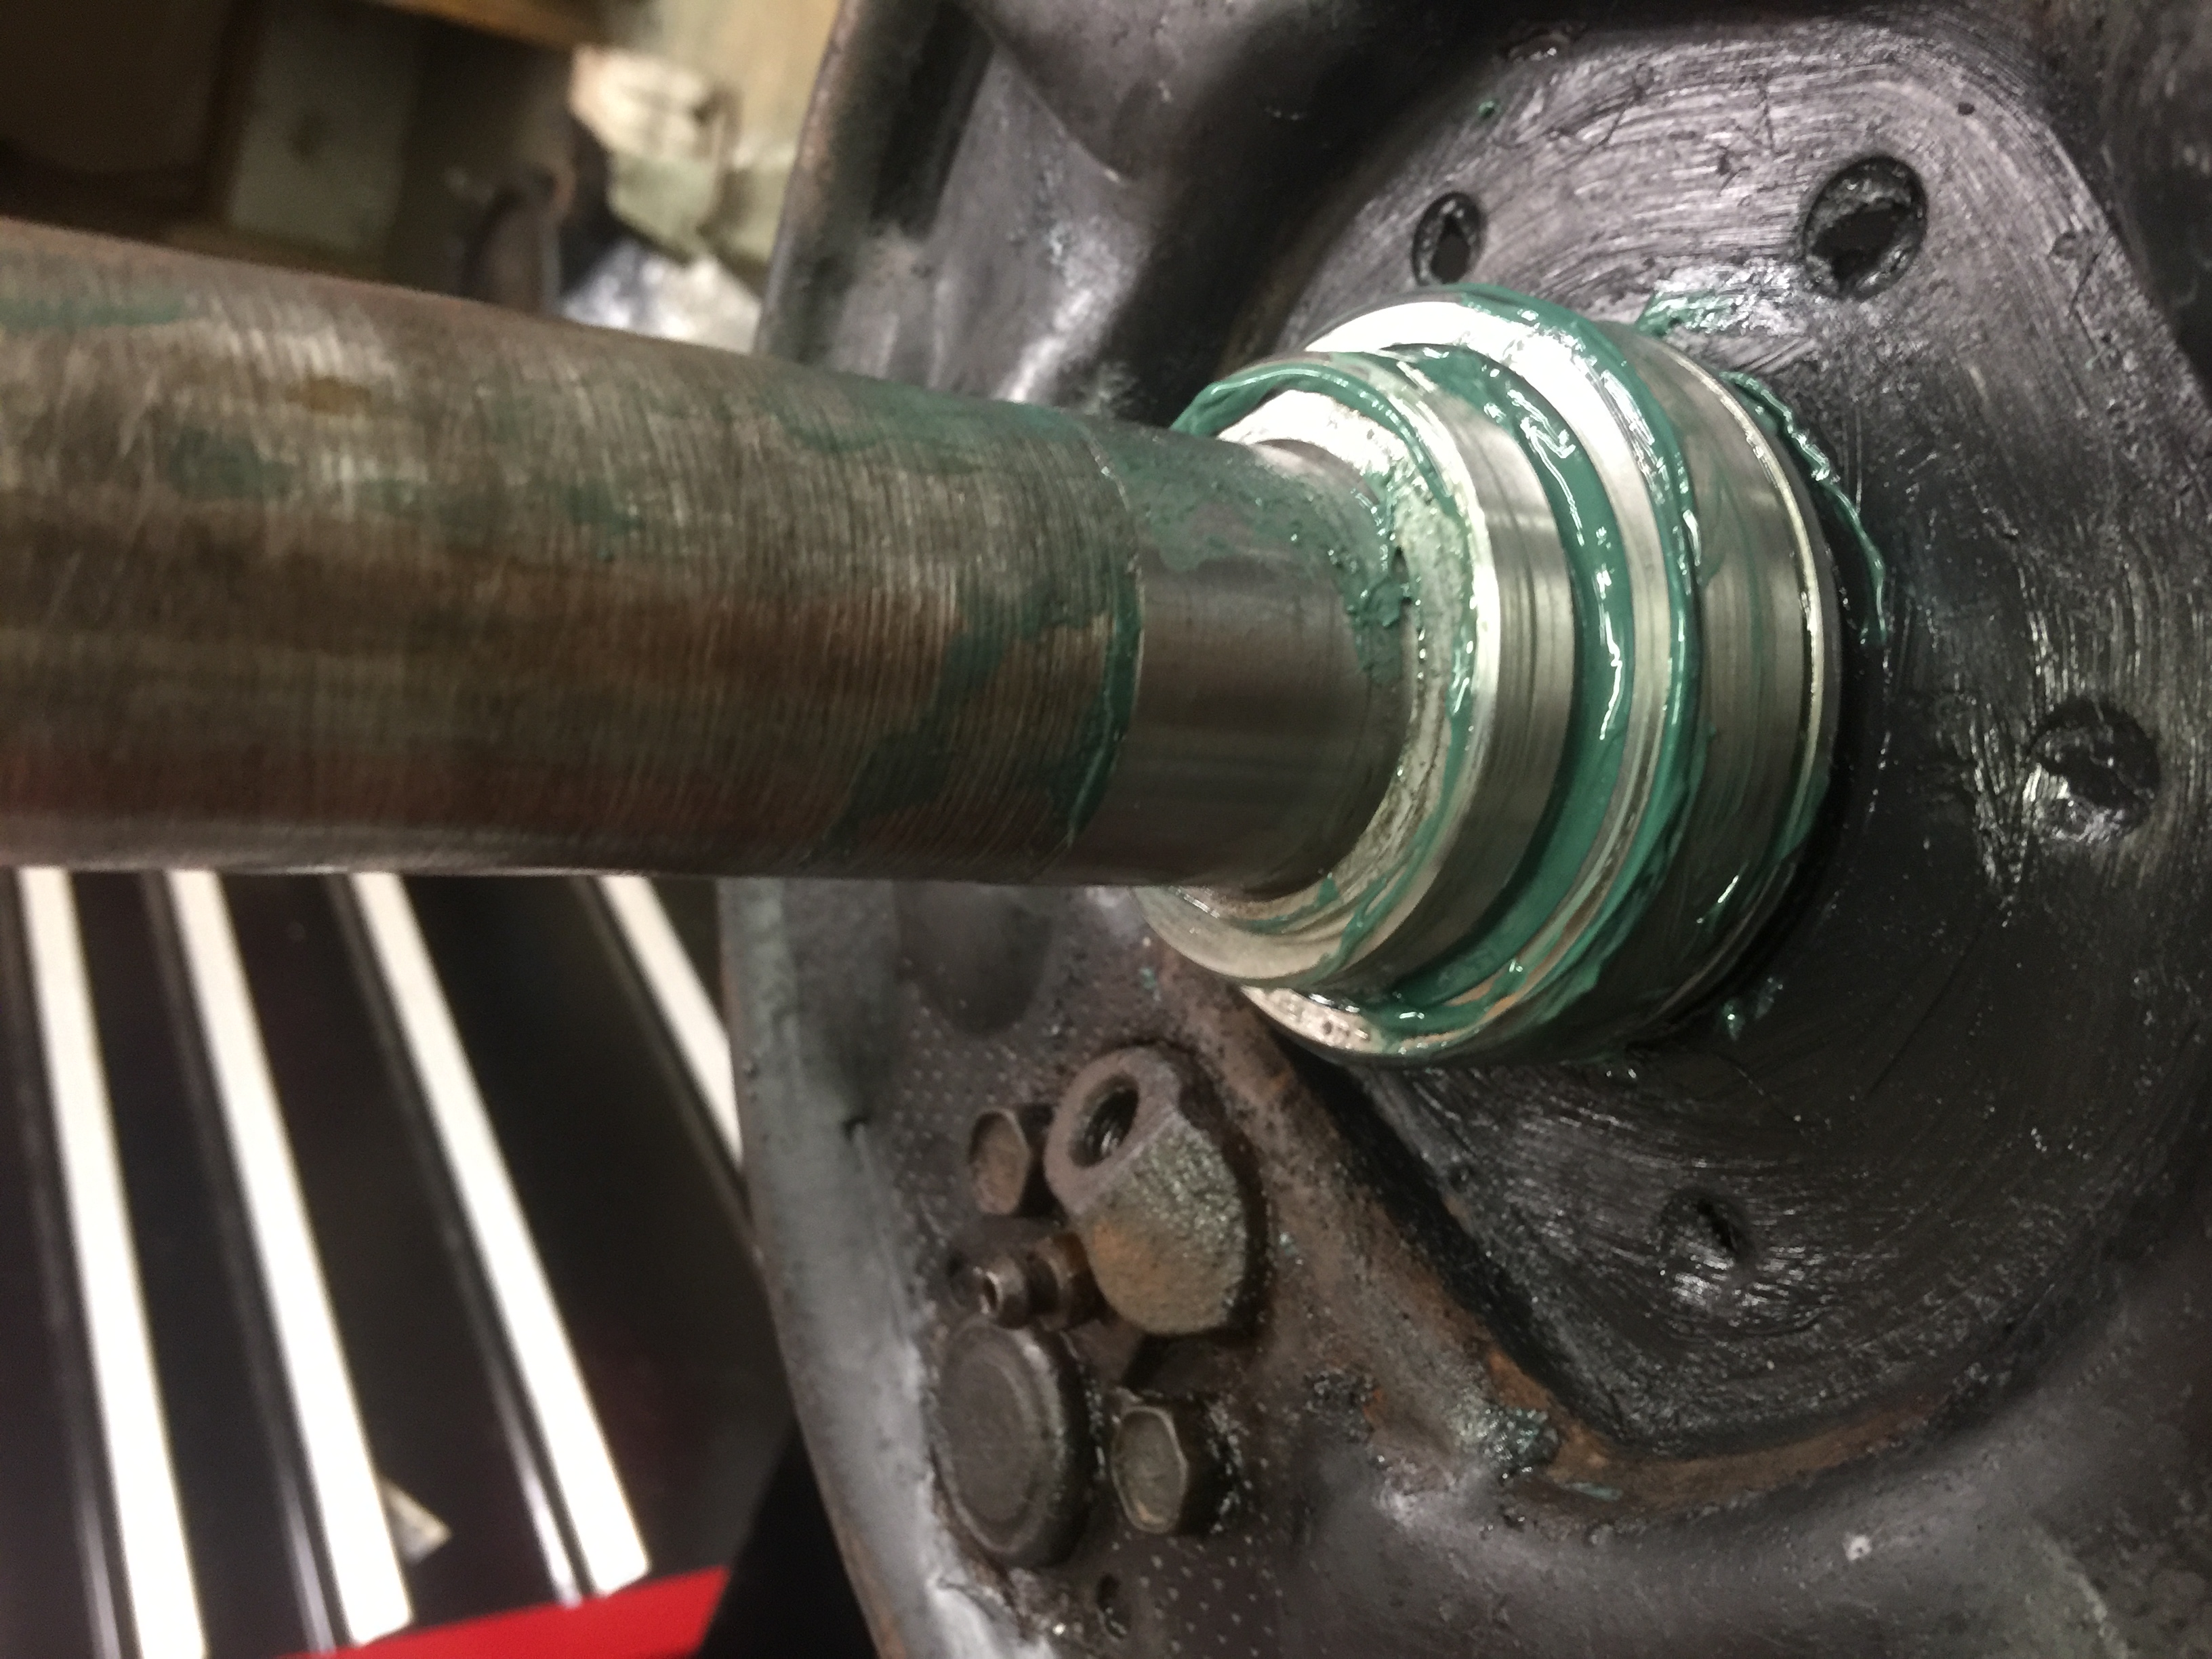
5.) Place the backing plate on the axle shaft after the outer seal. Make CERTAIN the backing plate is on the correct axle the shoe side facing out and the parking brake cable headed in the right direction. Once the bearing is pressed on, the only way to remove the backing plate is to destroy the axle bearing and retainer… so make sure you get it right.
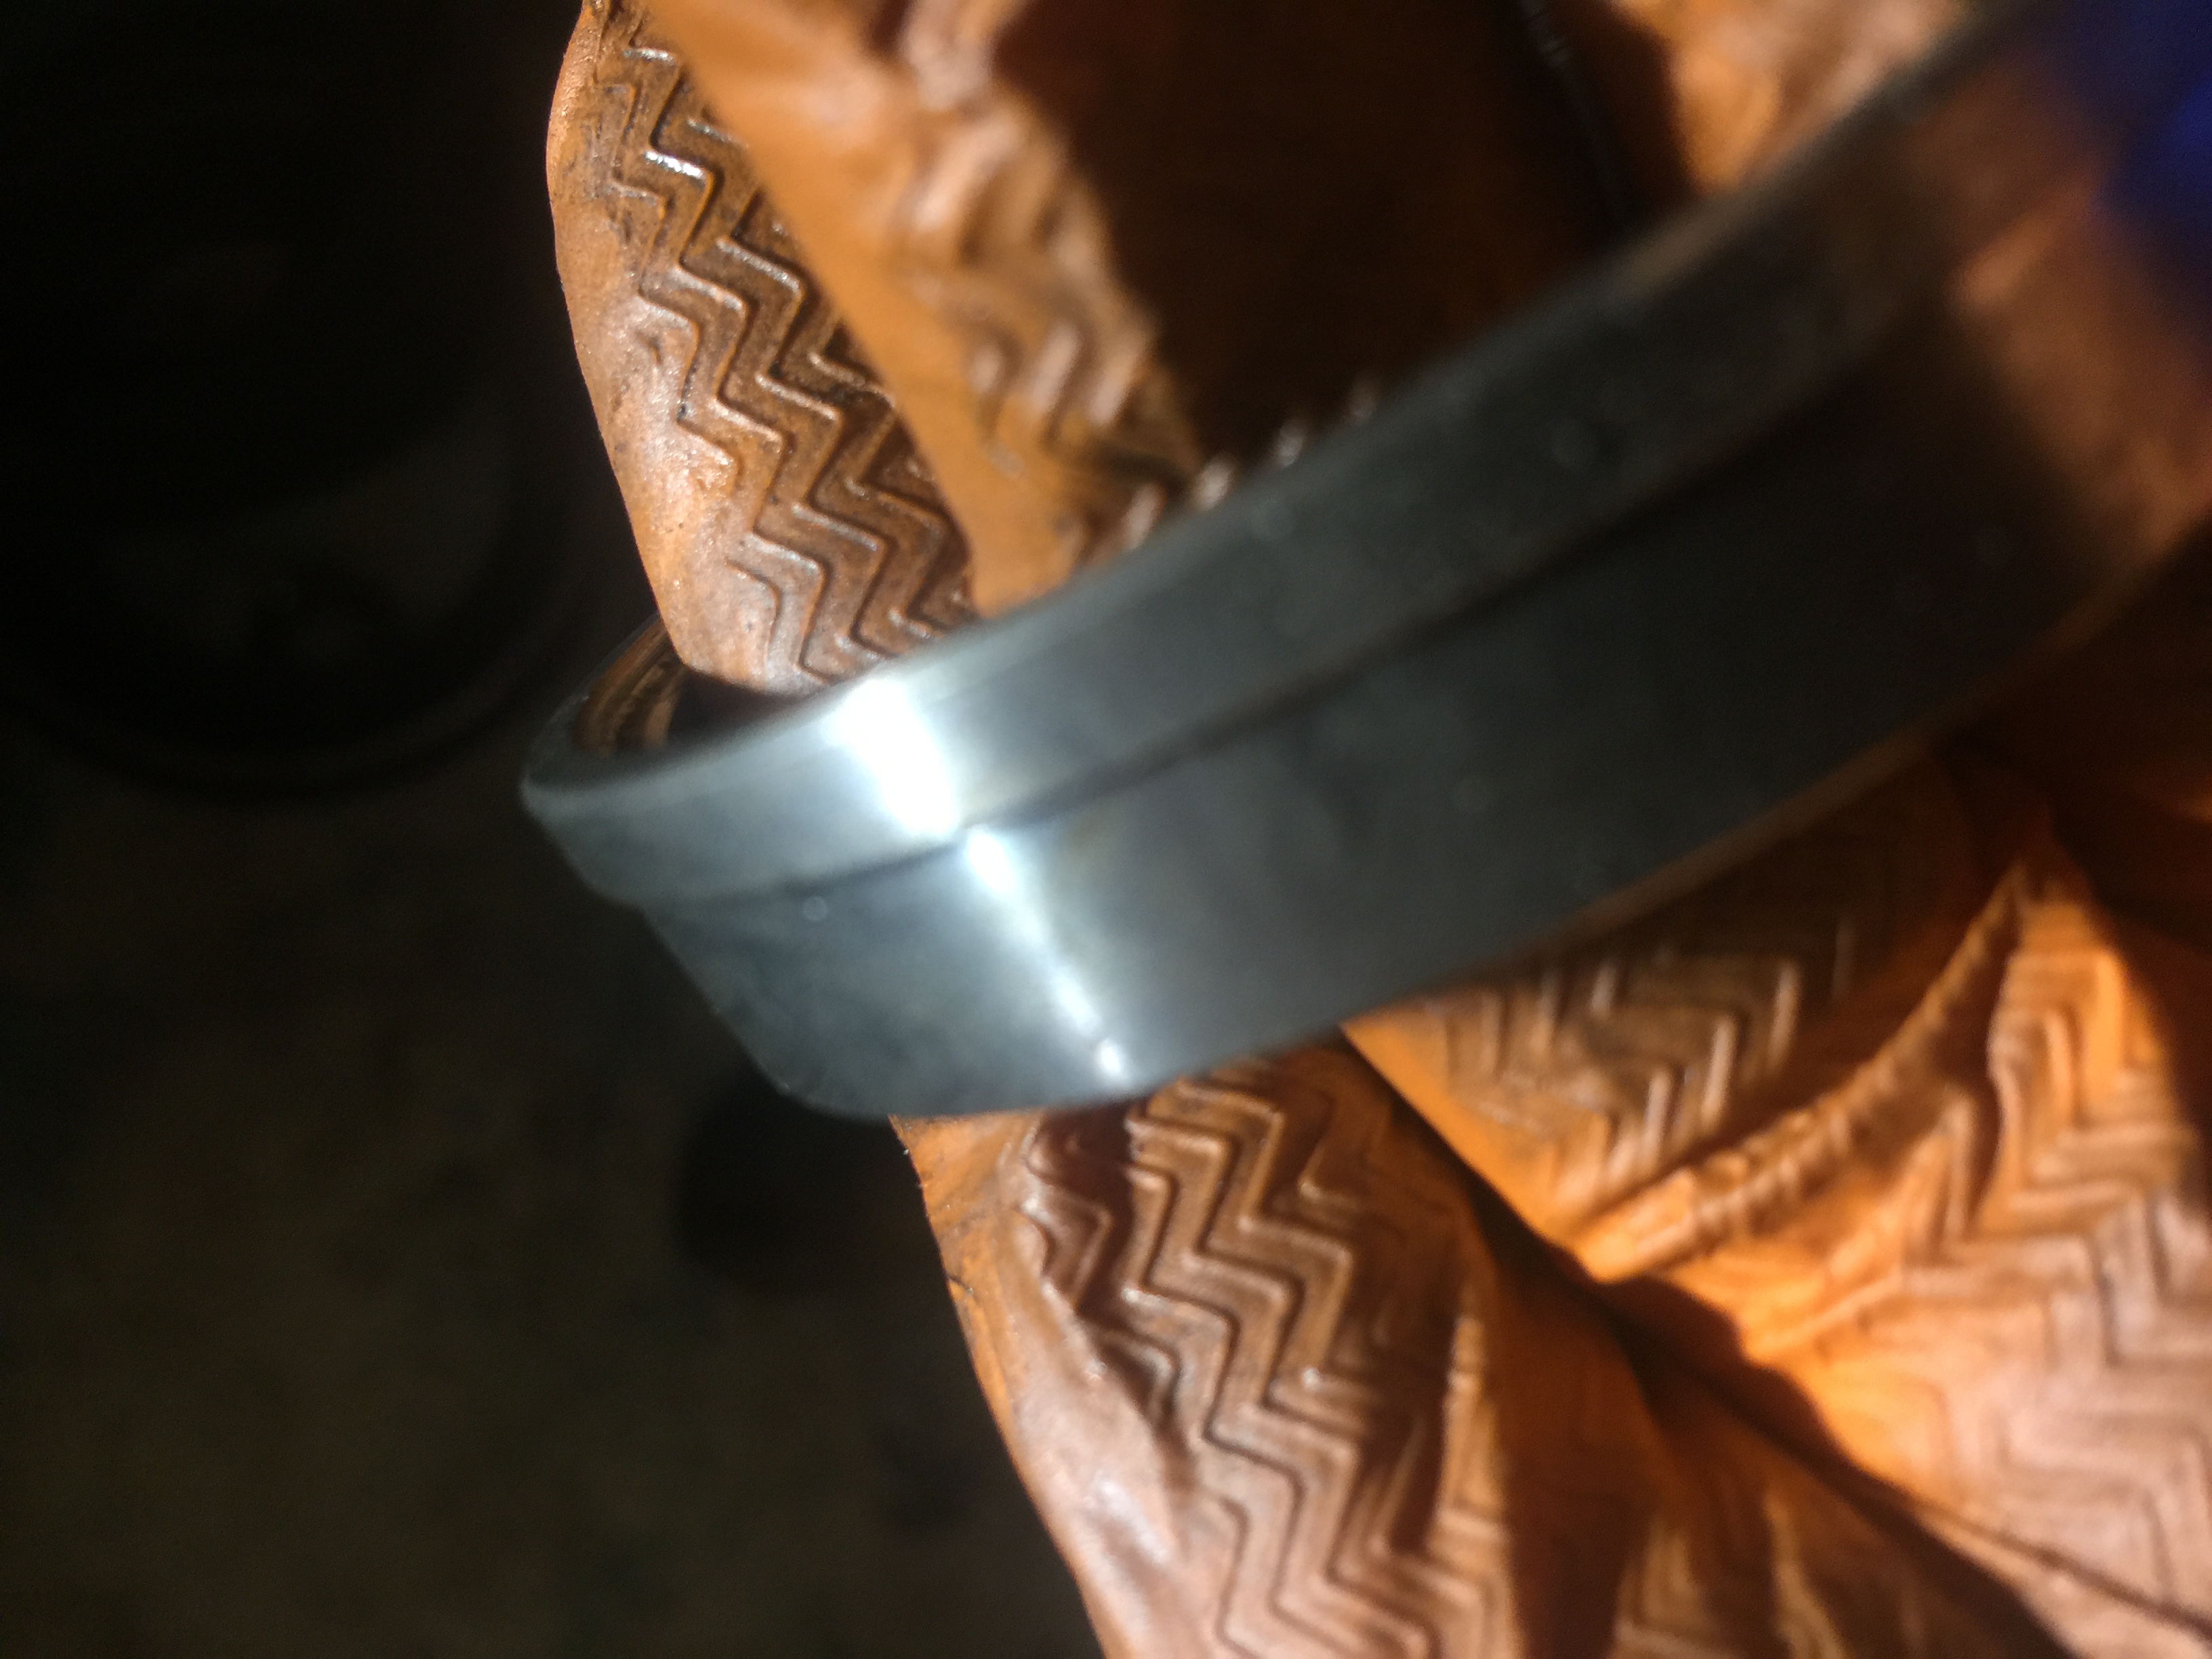
6.) After packing the bearings with quality wheel bearing grease press the wheel bearing onto the axle. The larger lip goes toward the backingplate splines and the narrowed portion of the bearing assembly goes toward the backing plate. It is VERY IMPORTANT to only press the bearing up against the small step and not press the bearing onto the stepped-up surface that the outer seal rides on.
7.) After carefully pressing on the axle bearing, press the press ring (retainer) on until it bottoms out against the bearing assembly. It is VERY IMPORTANT to only press the bearing against the small step. Due to the bghter than standard design, press ring may scrape along length of axle. (tip. a light coat of white lithium grease aids in pressing the bearing and retaining ring onto the axle shaft.)
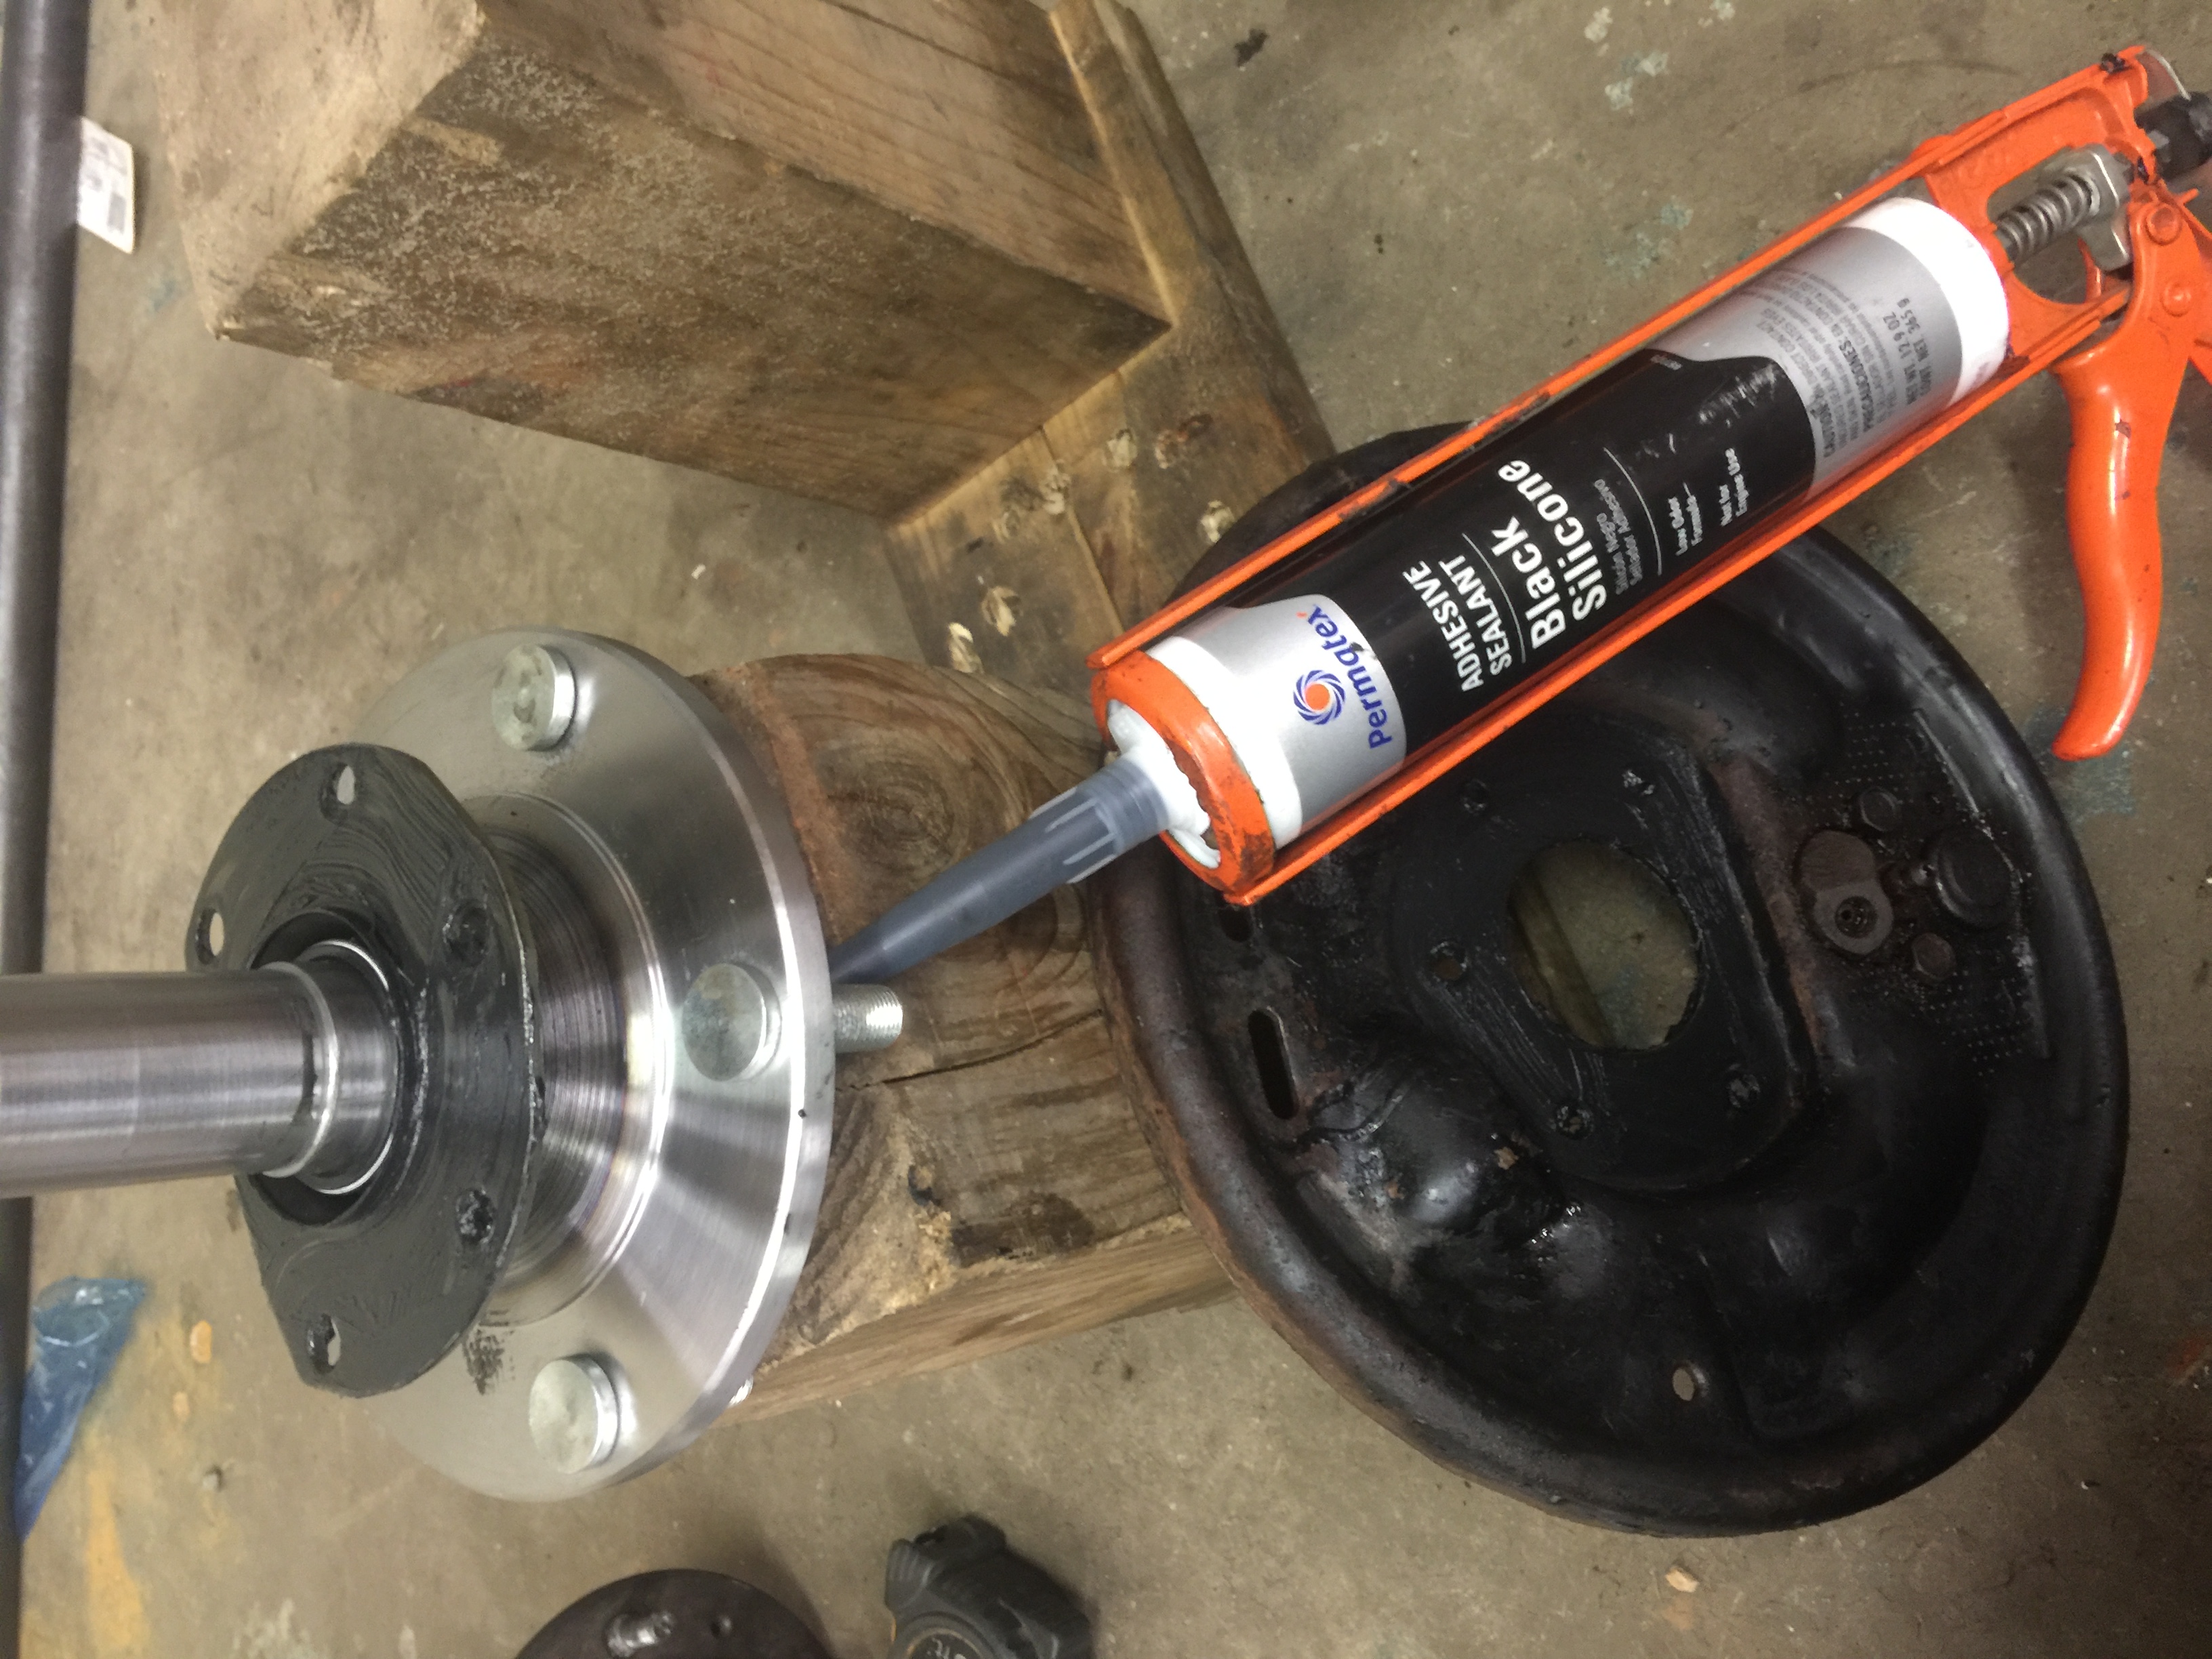
8.) Before installing the assembly into the housing, smear a silicone sealer around the housing end, and between the backing plate and the outer seal flange.
9.) Tighten all of the bolts and finish assembling the rest of the brake lines and cables.
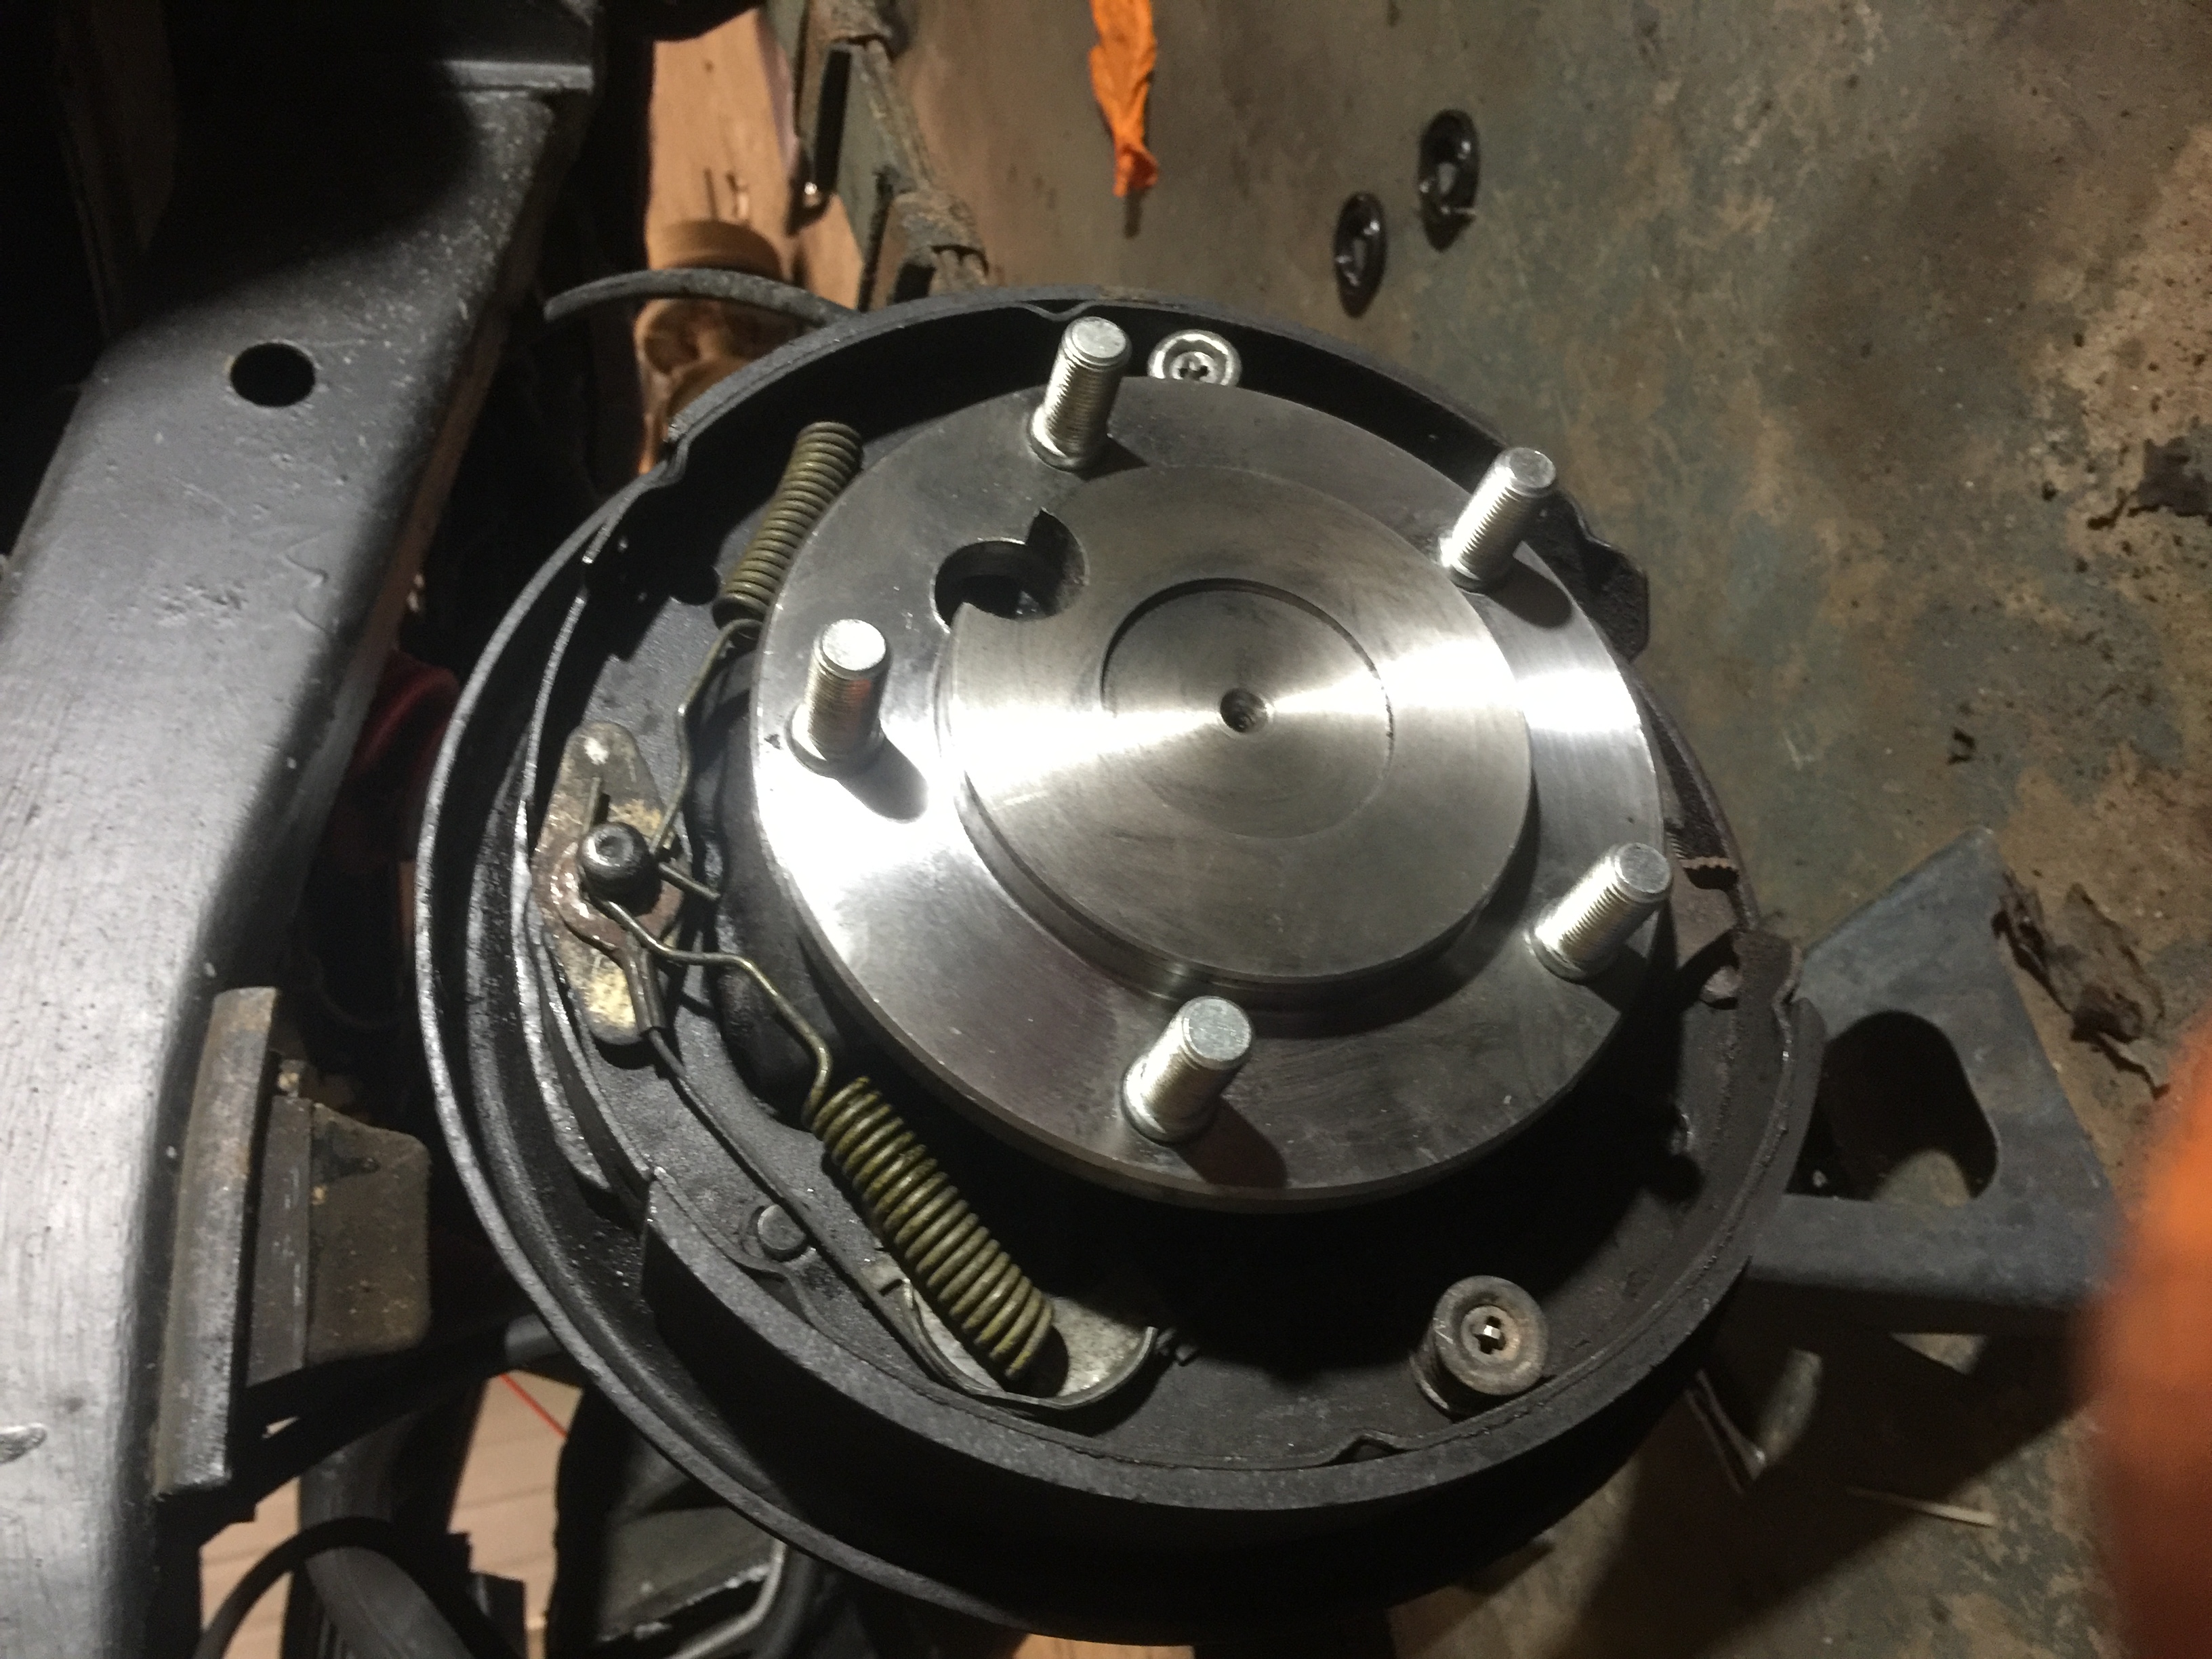
Congratulations the job is complete!
Not sure you want to do this on your own?
It’s a pretty involved job and requires a lot of patience and specialized equipment. If you want assistance, its ok… thats what we are here for! So give us a call or shoot us an email to schedule an appointment.